Nightstands
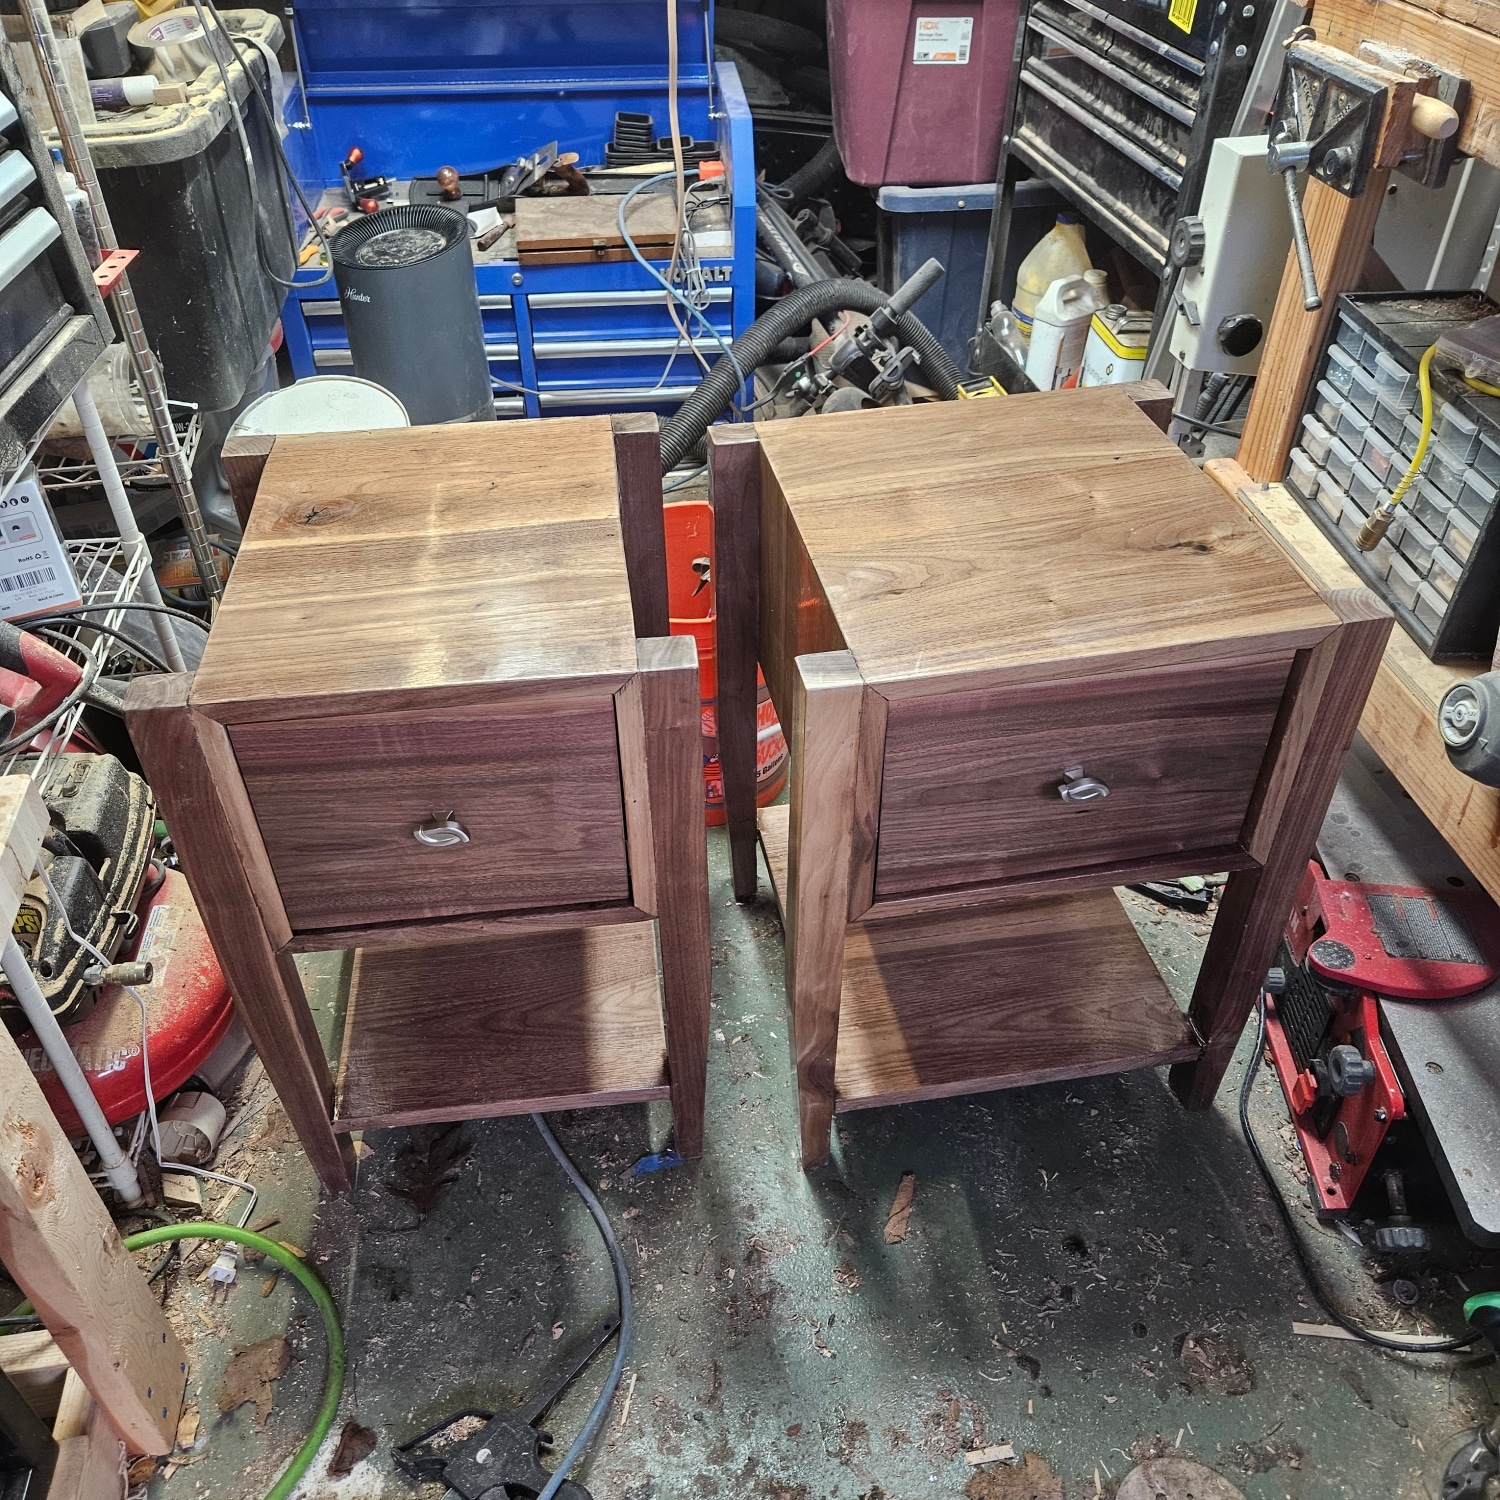
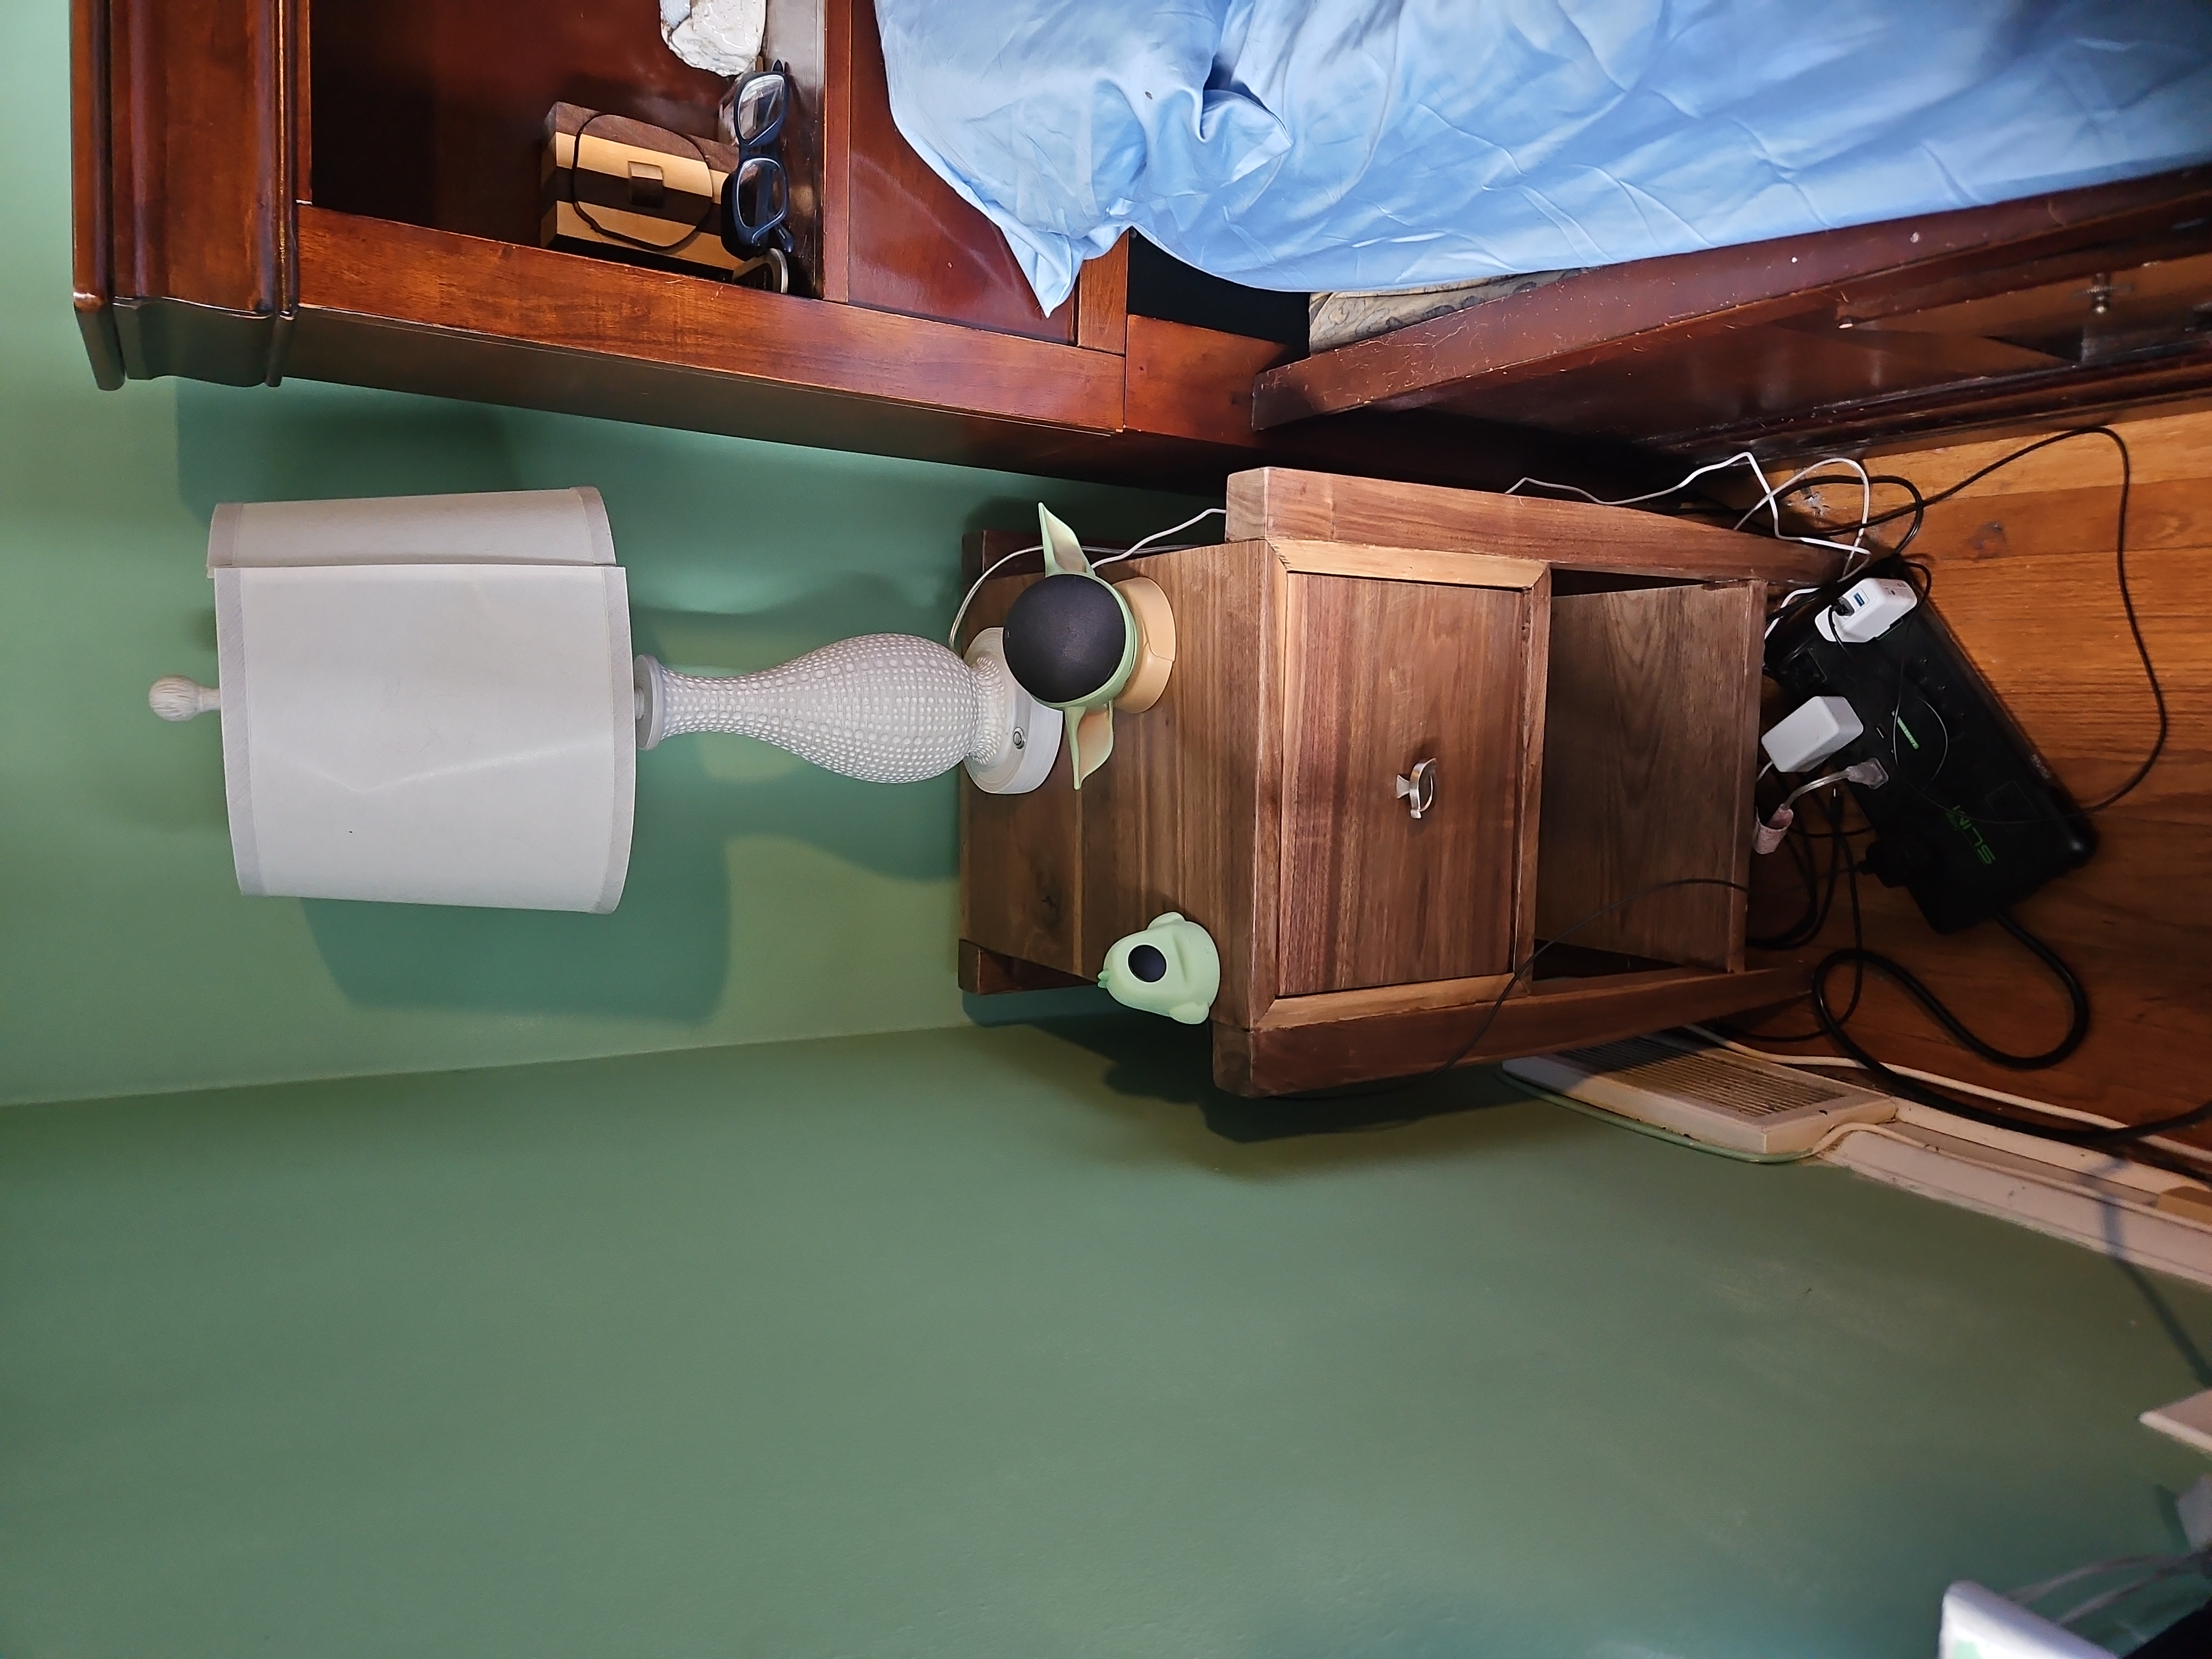
I built these nightstands to upgrade our furniture. We previously had Ikea nightstands in our bedroom, and while they did the job… Doing the job isn’t really enough. They were beat up from being 15 year old laminated particle board. They had had a good run, but were not for us anymore.
I chose to build these night stands out of solid Walnut. As always, with any project, it starts at the wood supplier. I buy 90% of my wood from Willard Brothers in South Jersey. They’re fairly close to me, have superb customer service, and a great selection of woods, specializing mainly in domestic species (But they have basically everything), which is what I prefer to use.
I wanted something a bit different, almost midcentury inspired, but my own twist. I went for tapered legs and ended up putting the legs on the outside, with everything in the nightstand attached to the legs… Almost like a floating box with a drawer, and a floating shelf near the bottom. I think the effect came out cool, and I haven’t seen this design before. And after 2 years, it’s holding up great.
The first step for a project like this is laying out and gluing up your panels. In this case, I knew I wanted to make my nightstands have a continuous grain all around them. Which meant gluing up two large panels, and making mitered cuts to form a box.
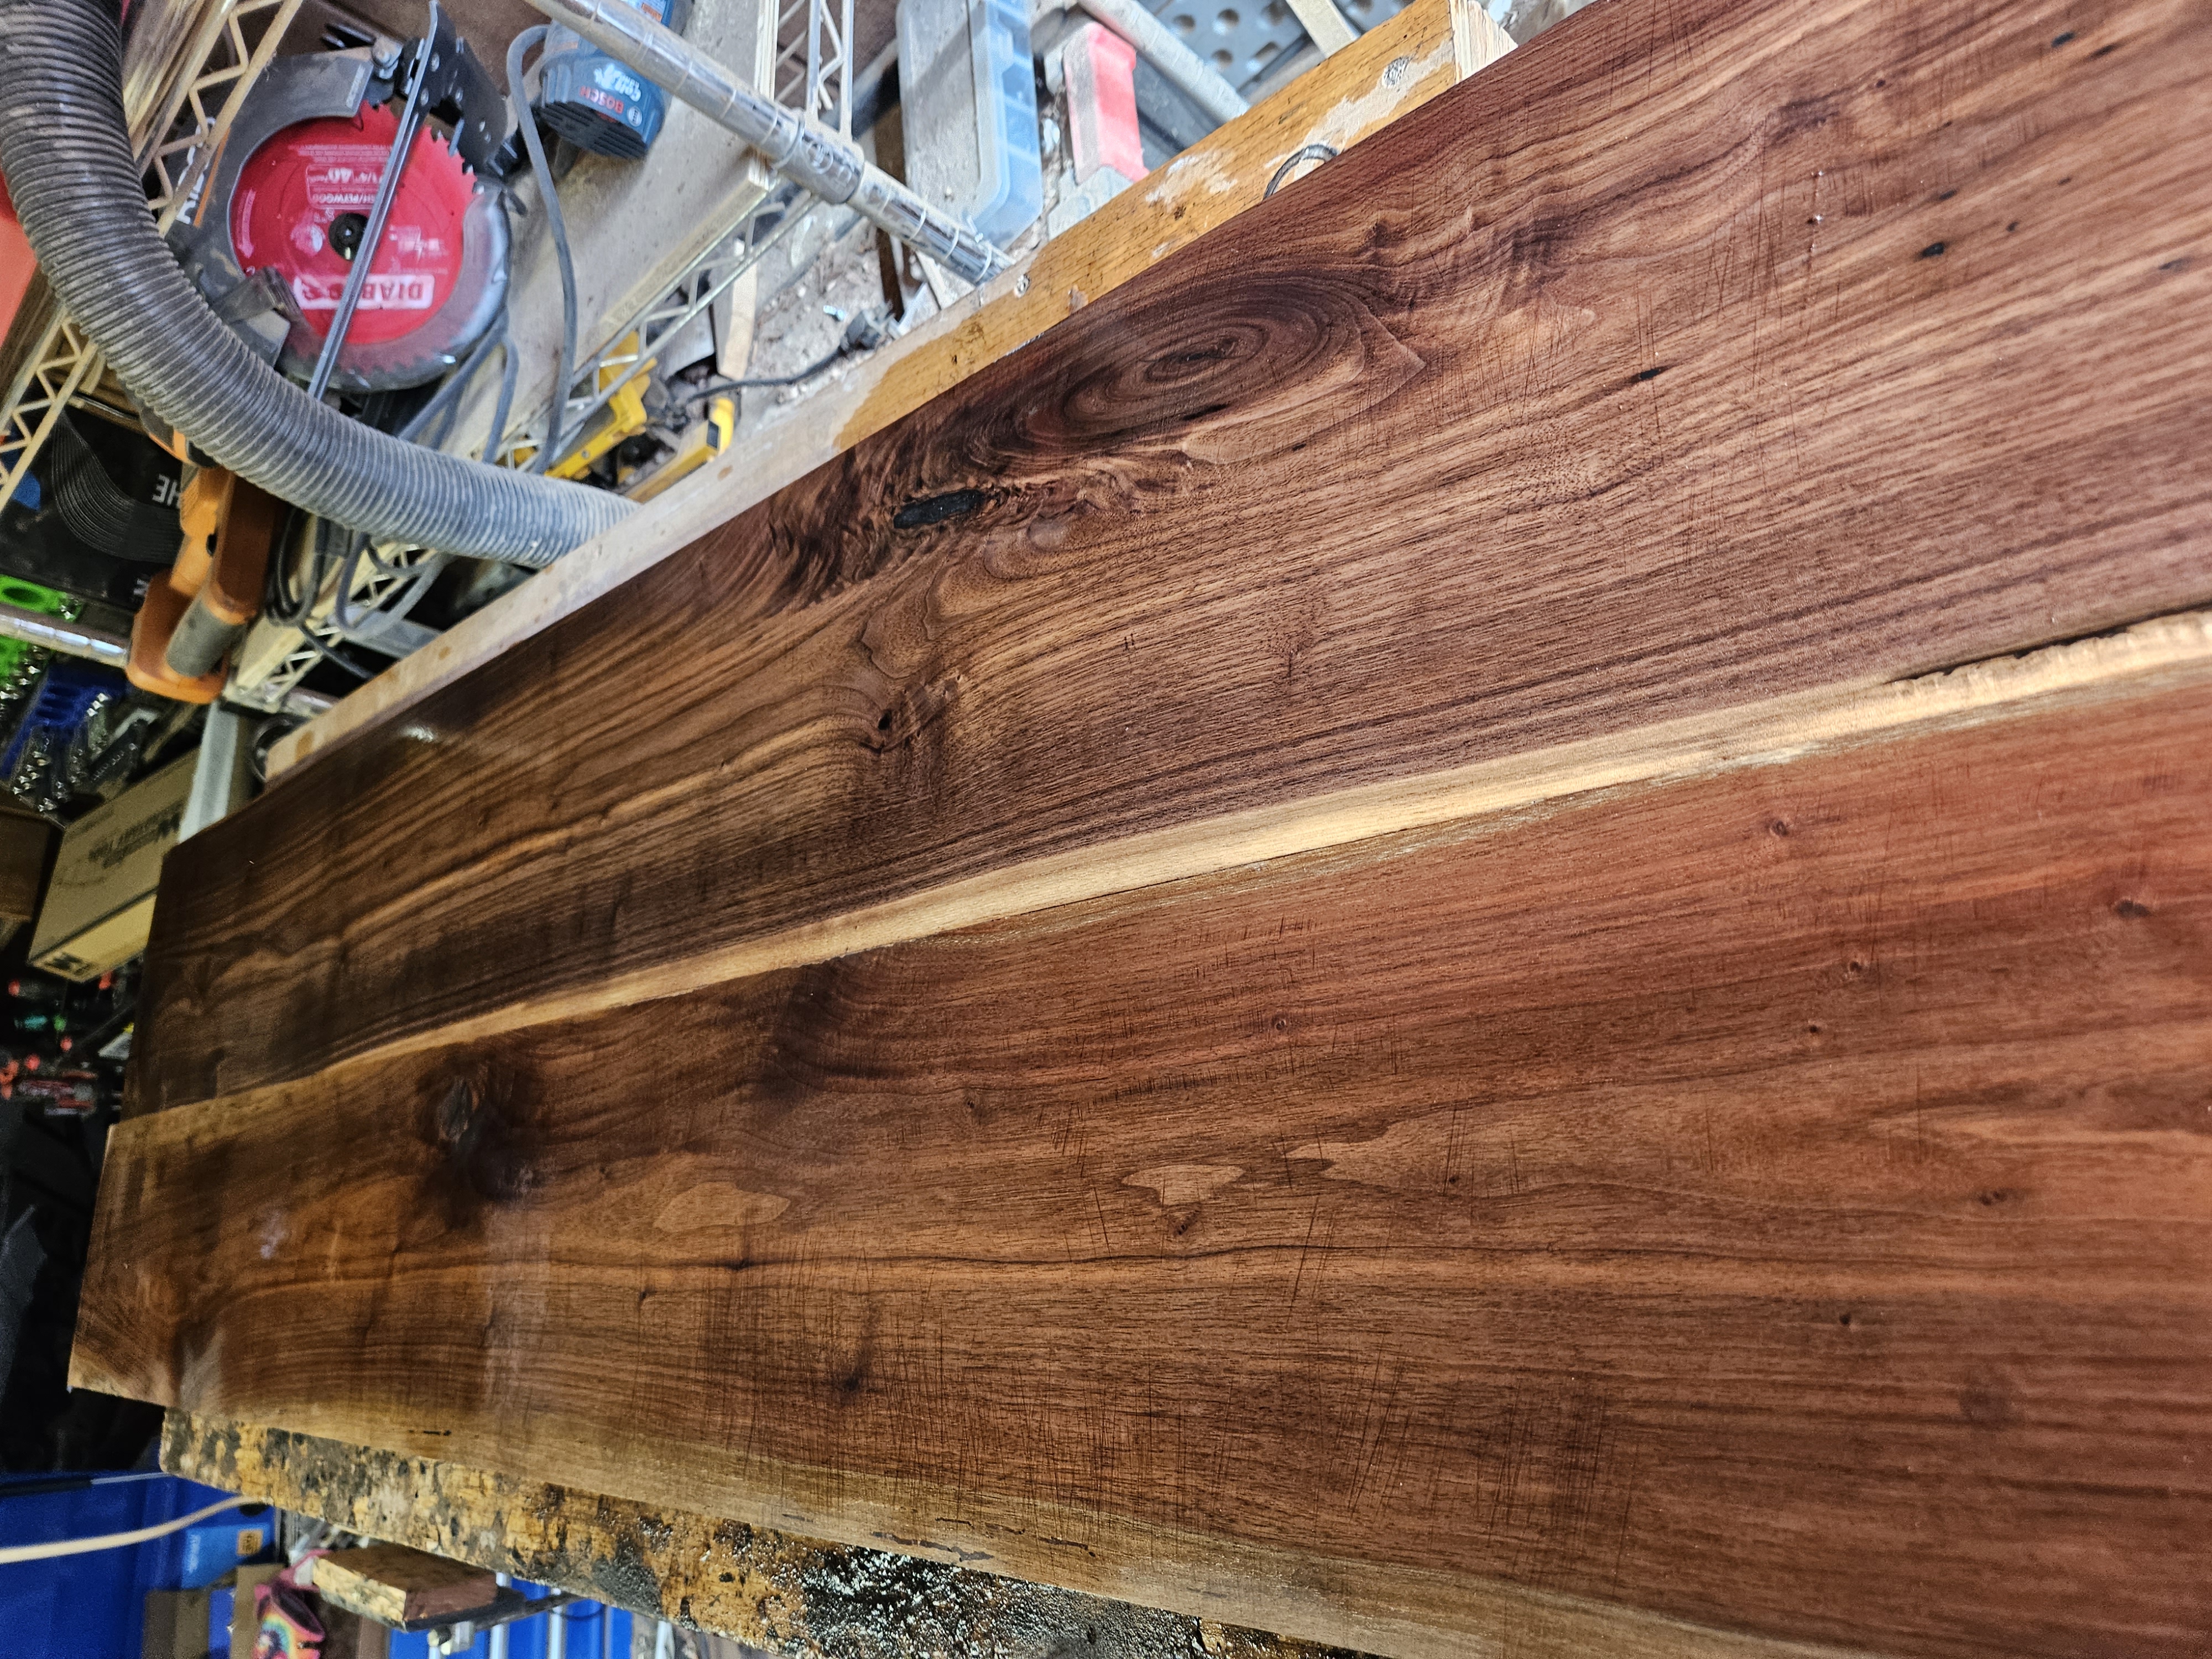
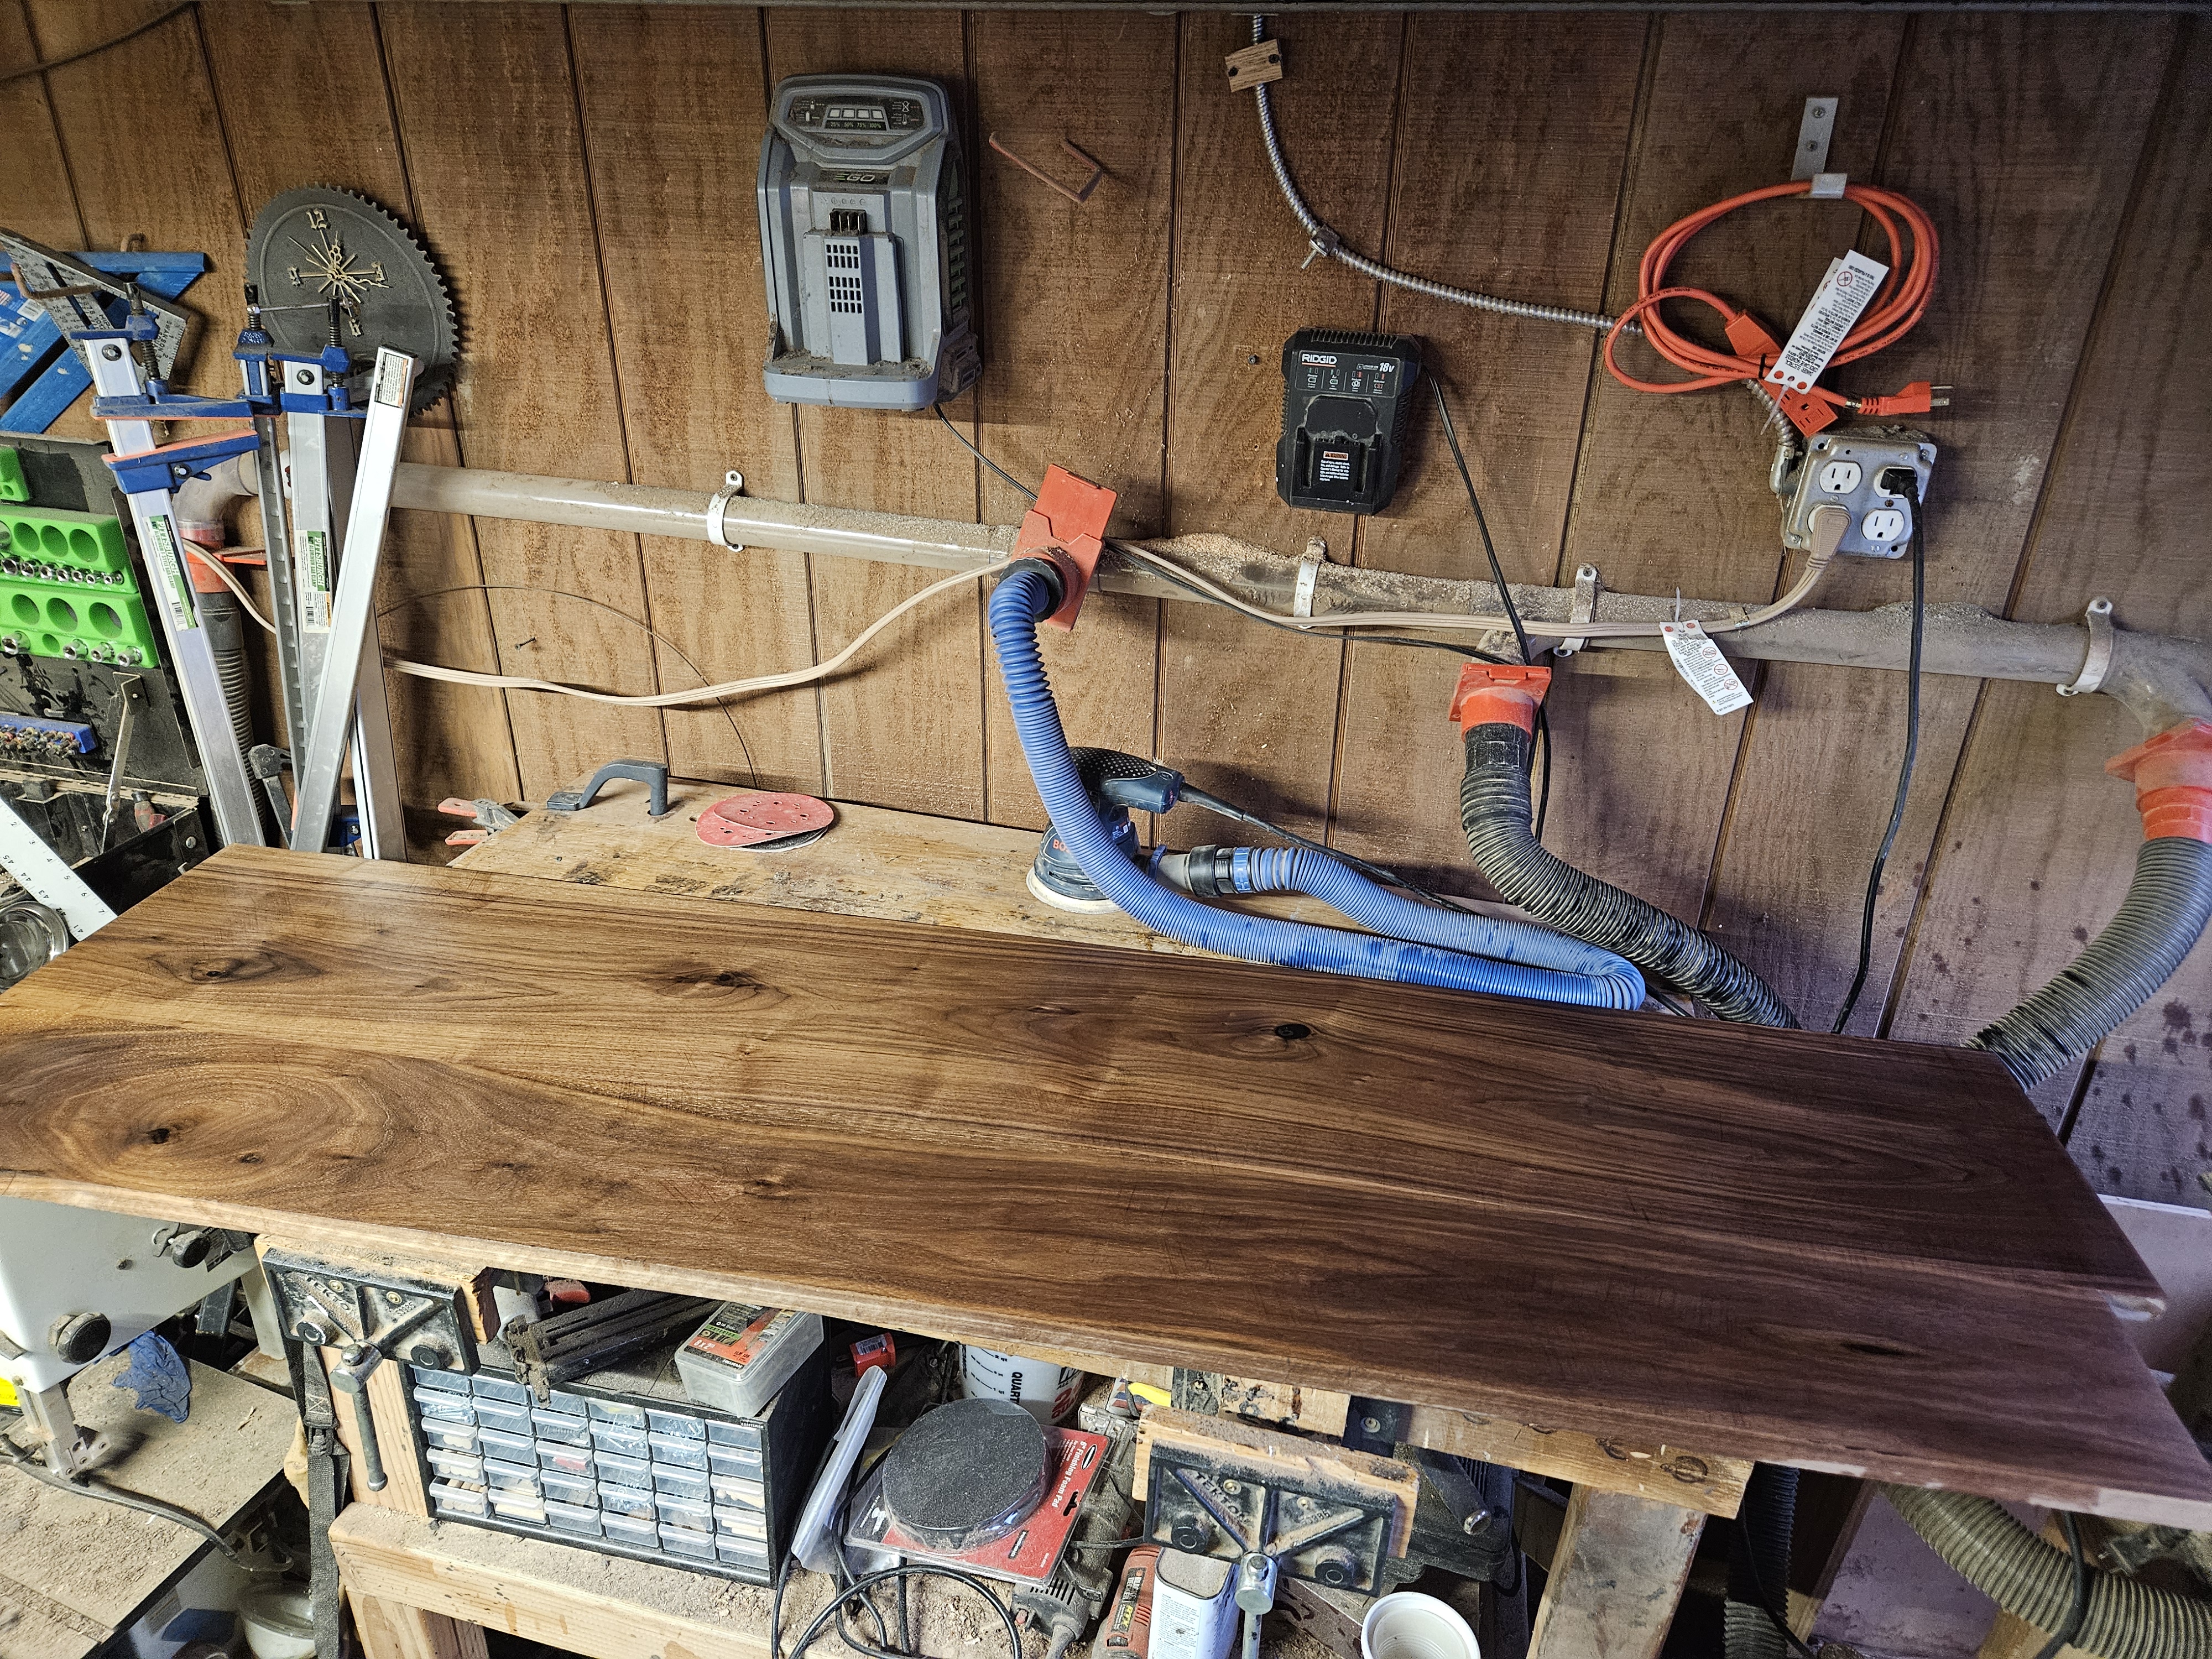
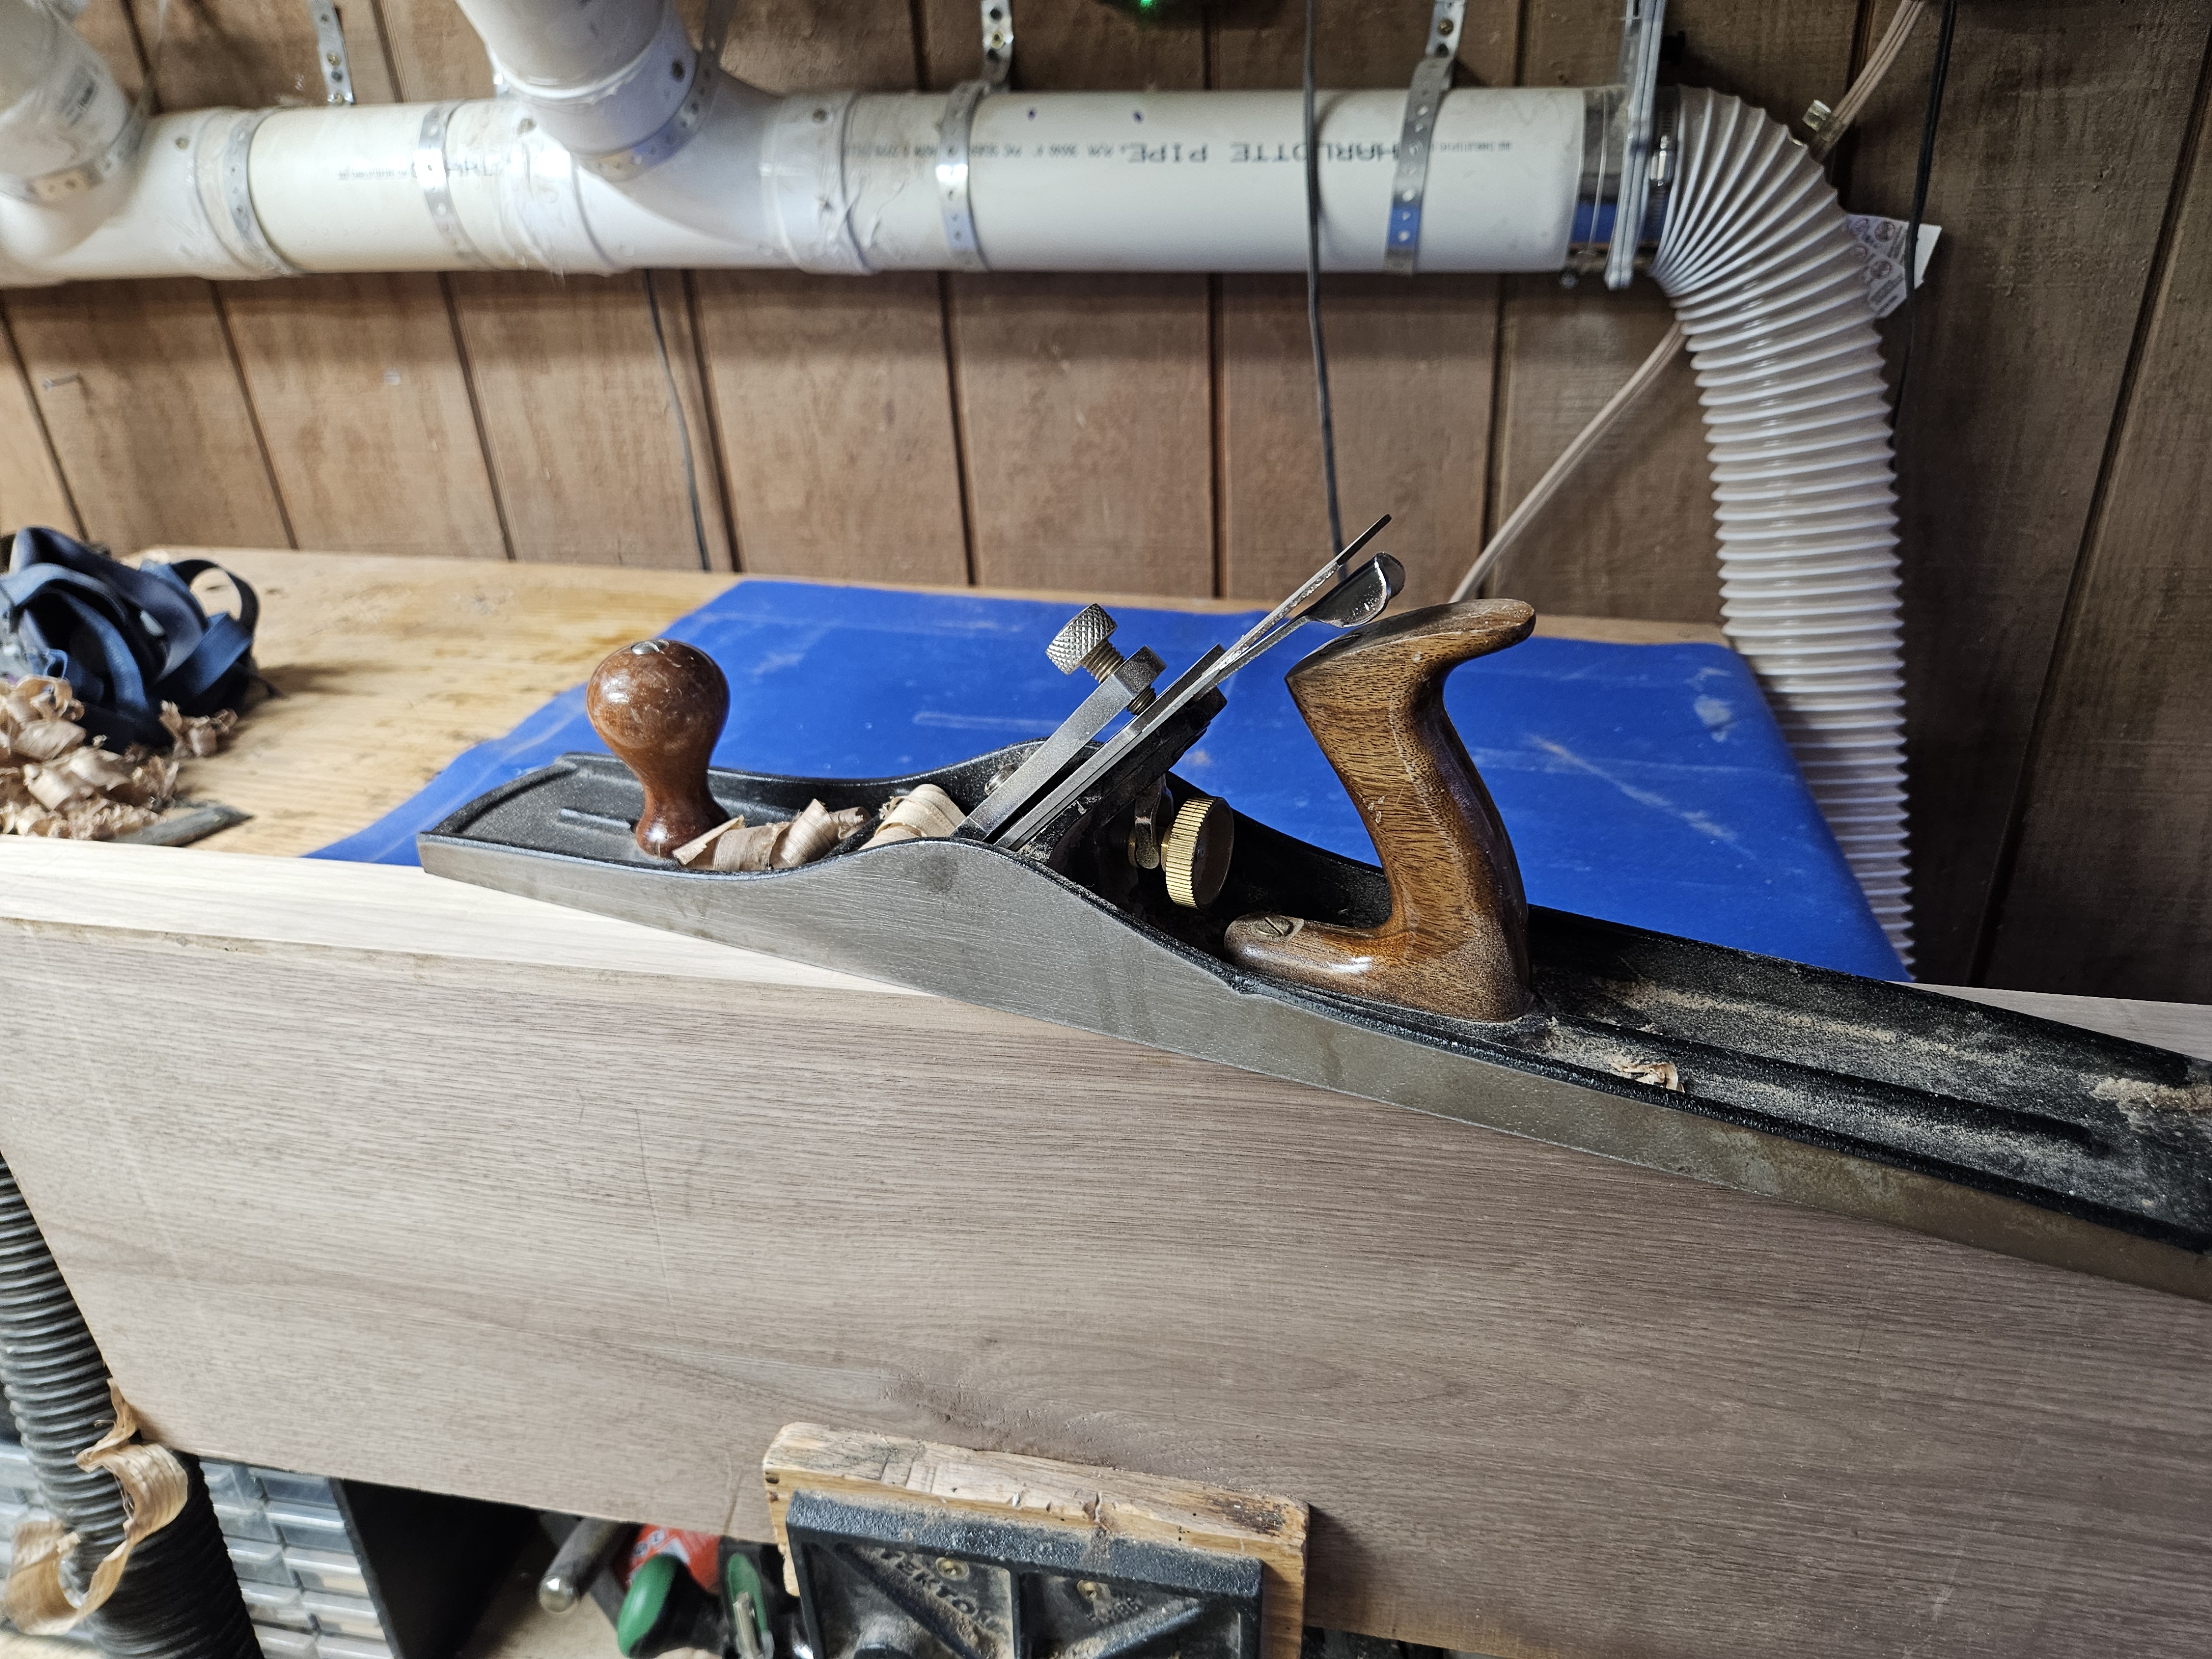
I jointed and planed some 4/4 black walnut boards, then glued them up.
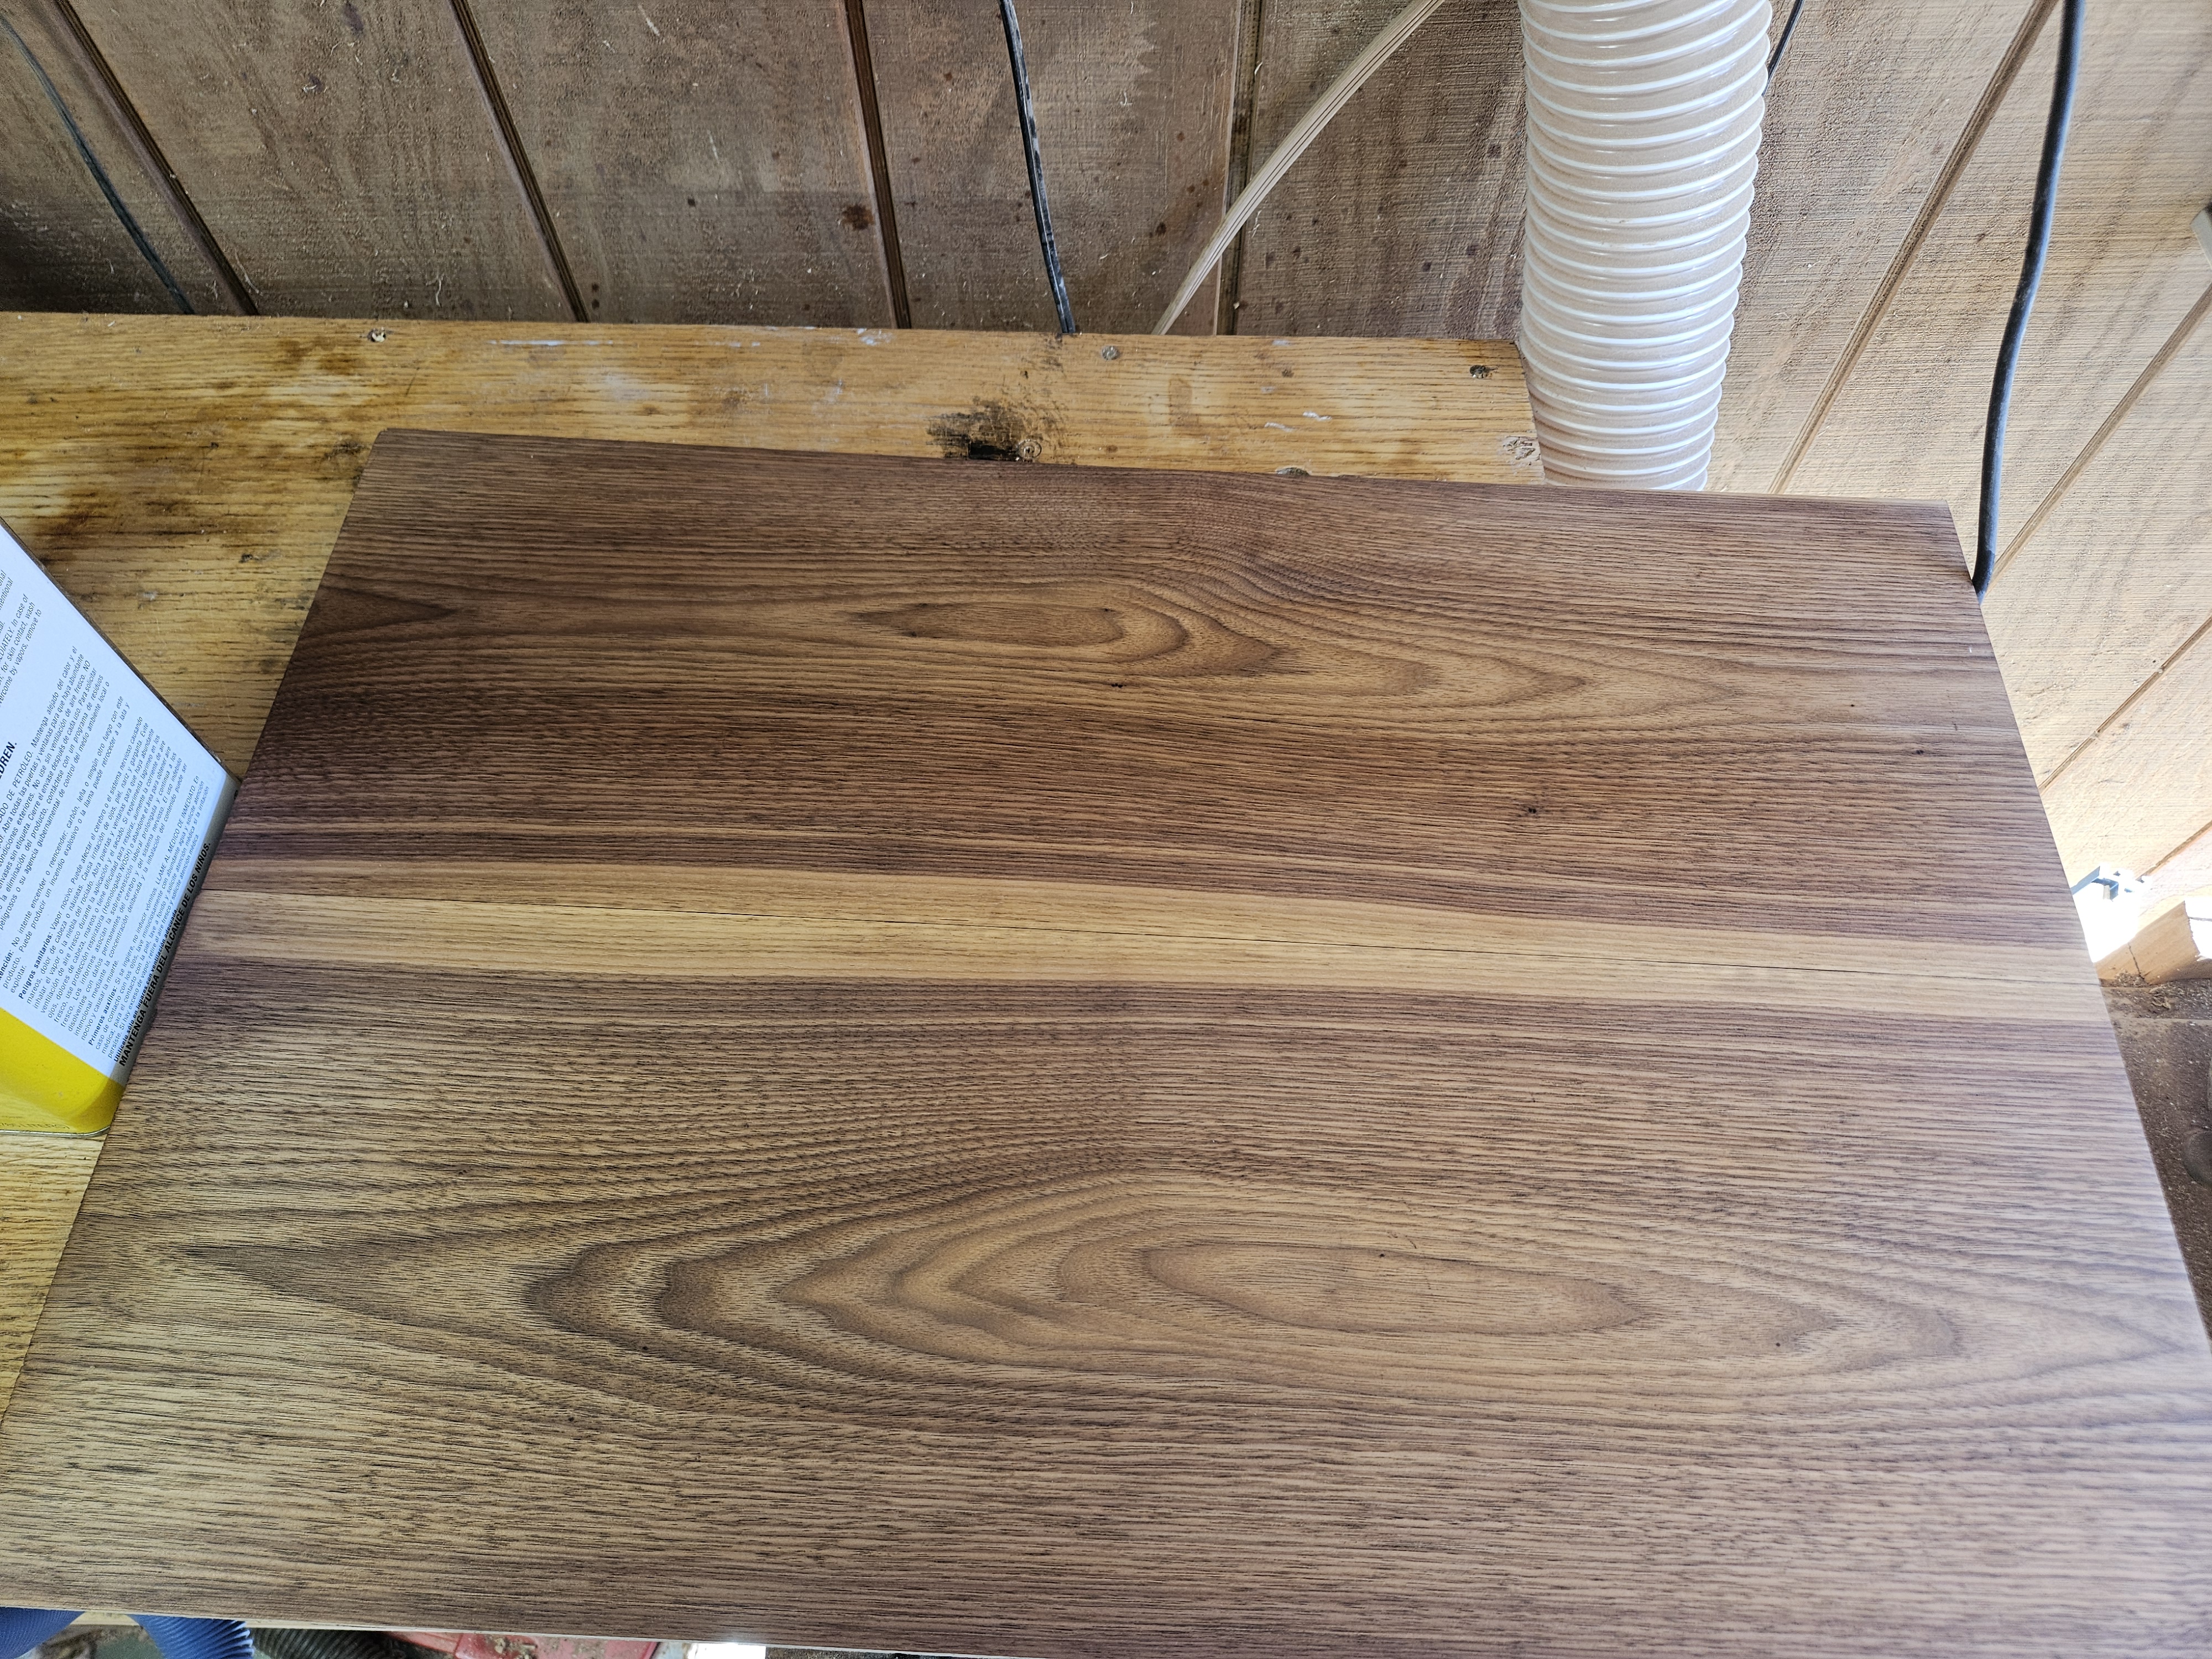
I cut each panel into 4 pieces, below is the top panel for one of the night stands. I wanted to make sure to get that character (I prefer my Walnut with “character”, sapwood, knots, interesting grain) on the top so it could be seen, as I think that’s that most beautiful thing about this wood.
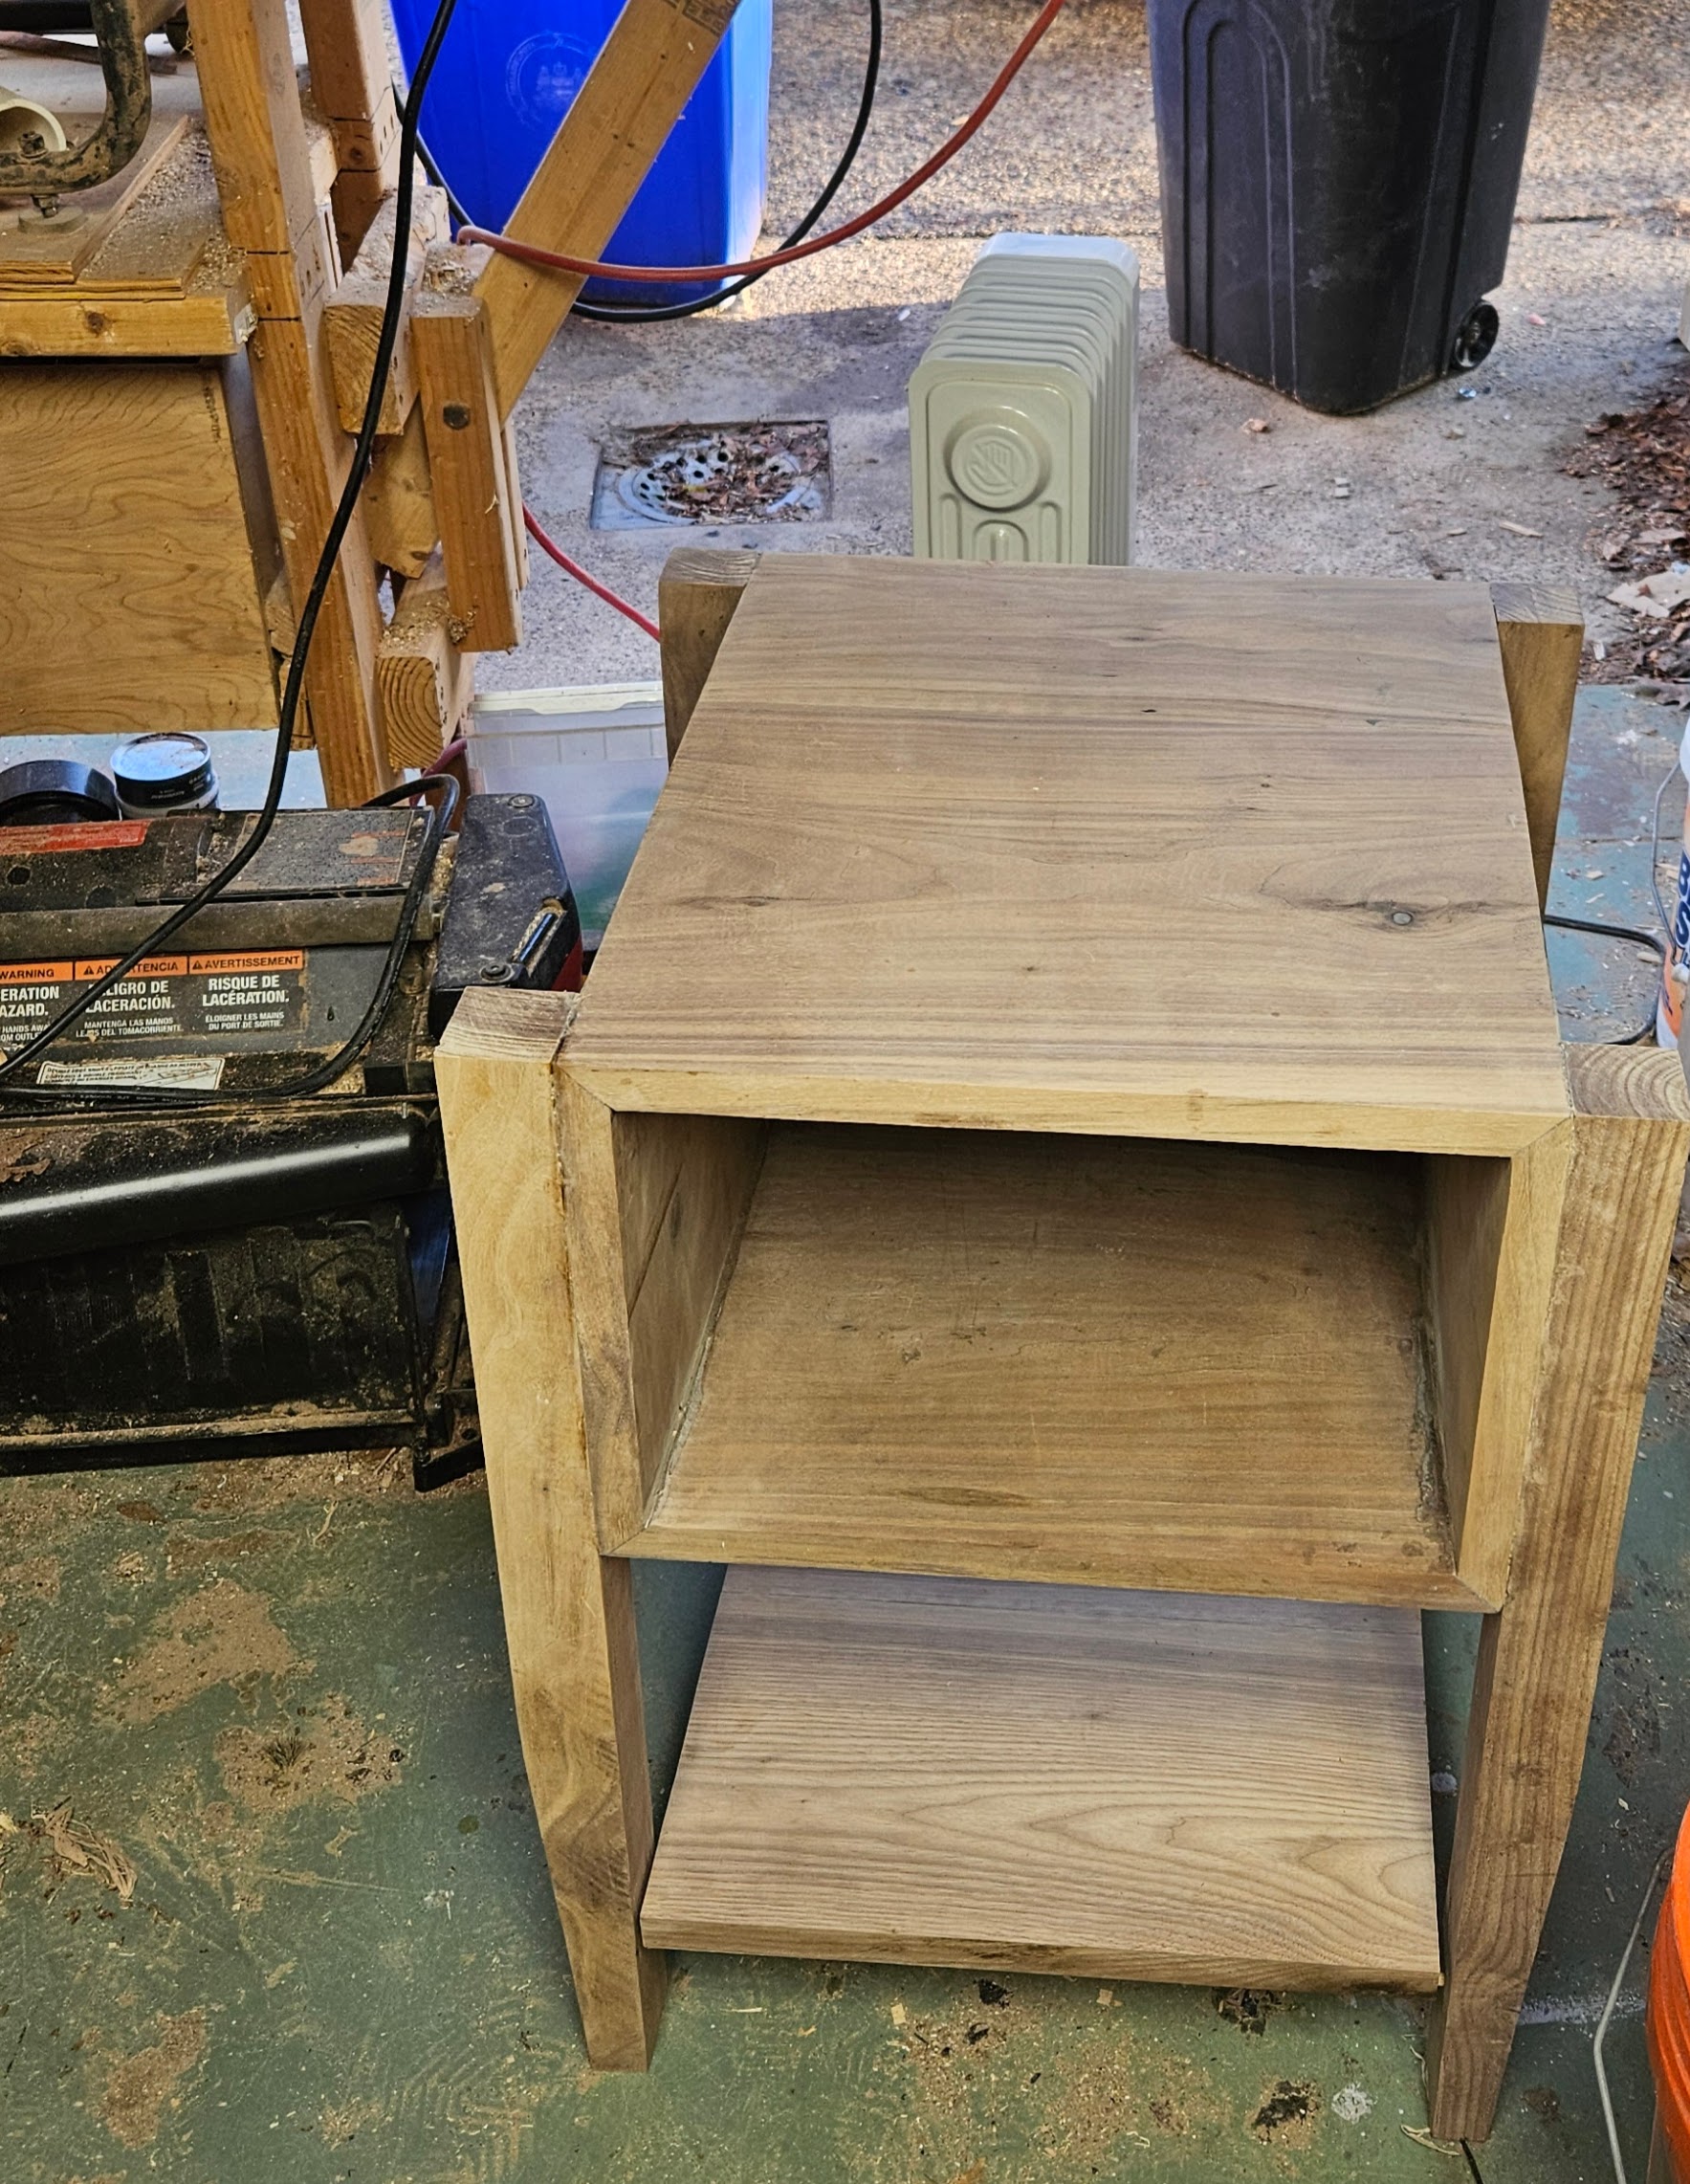
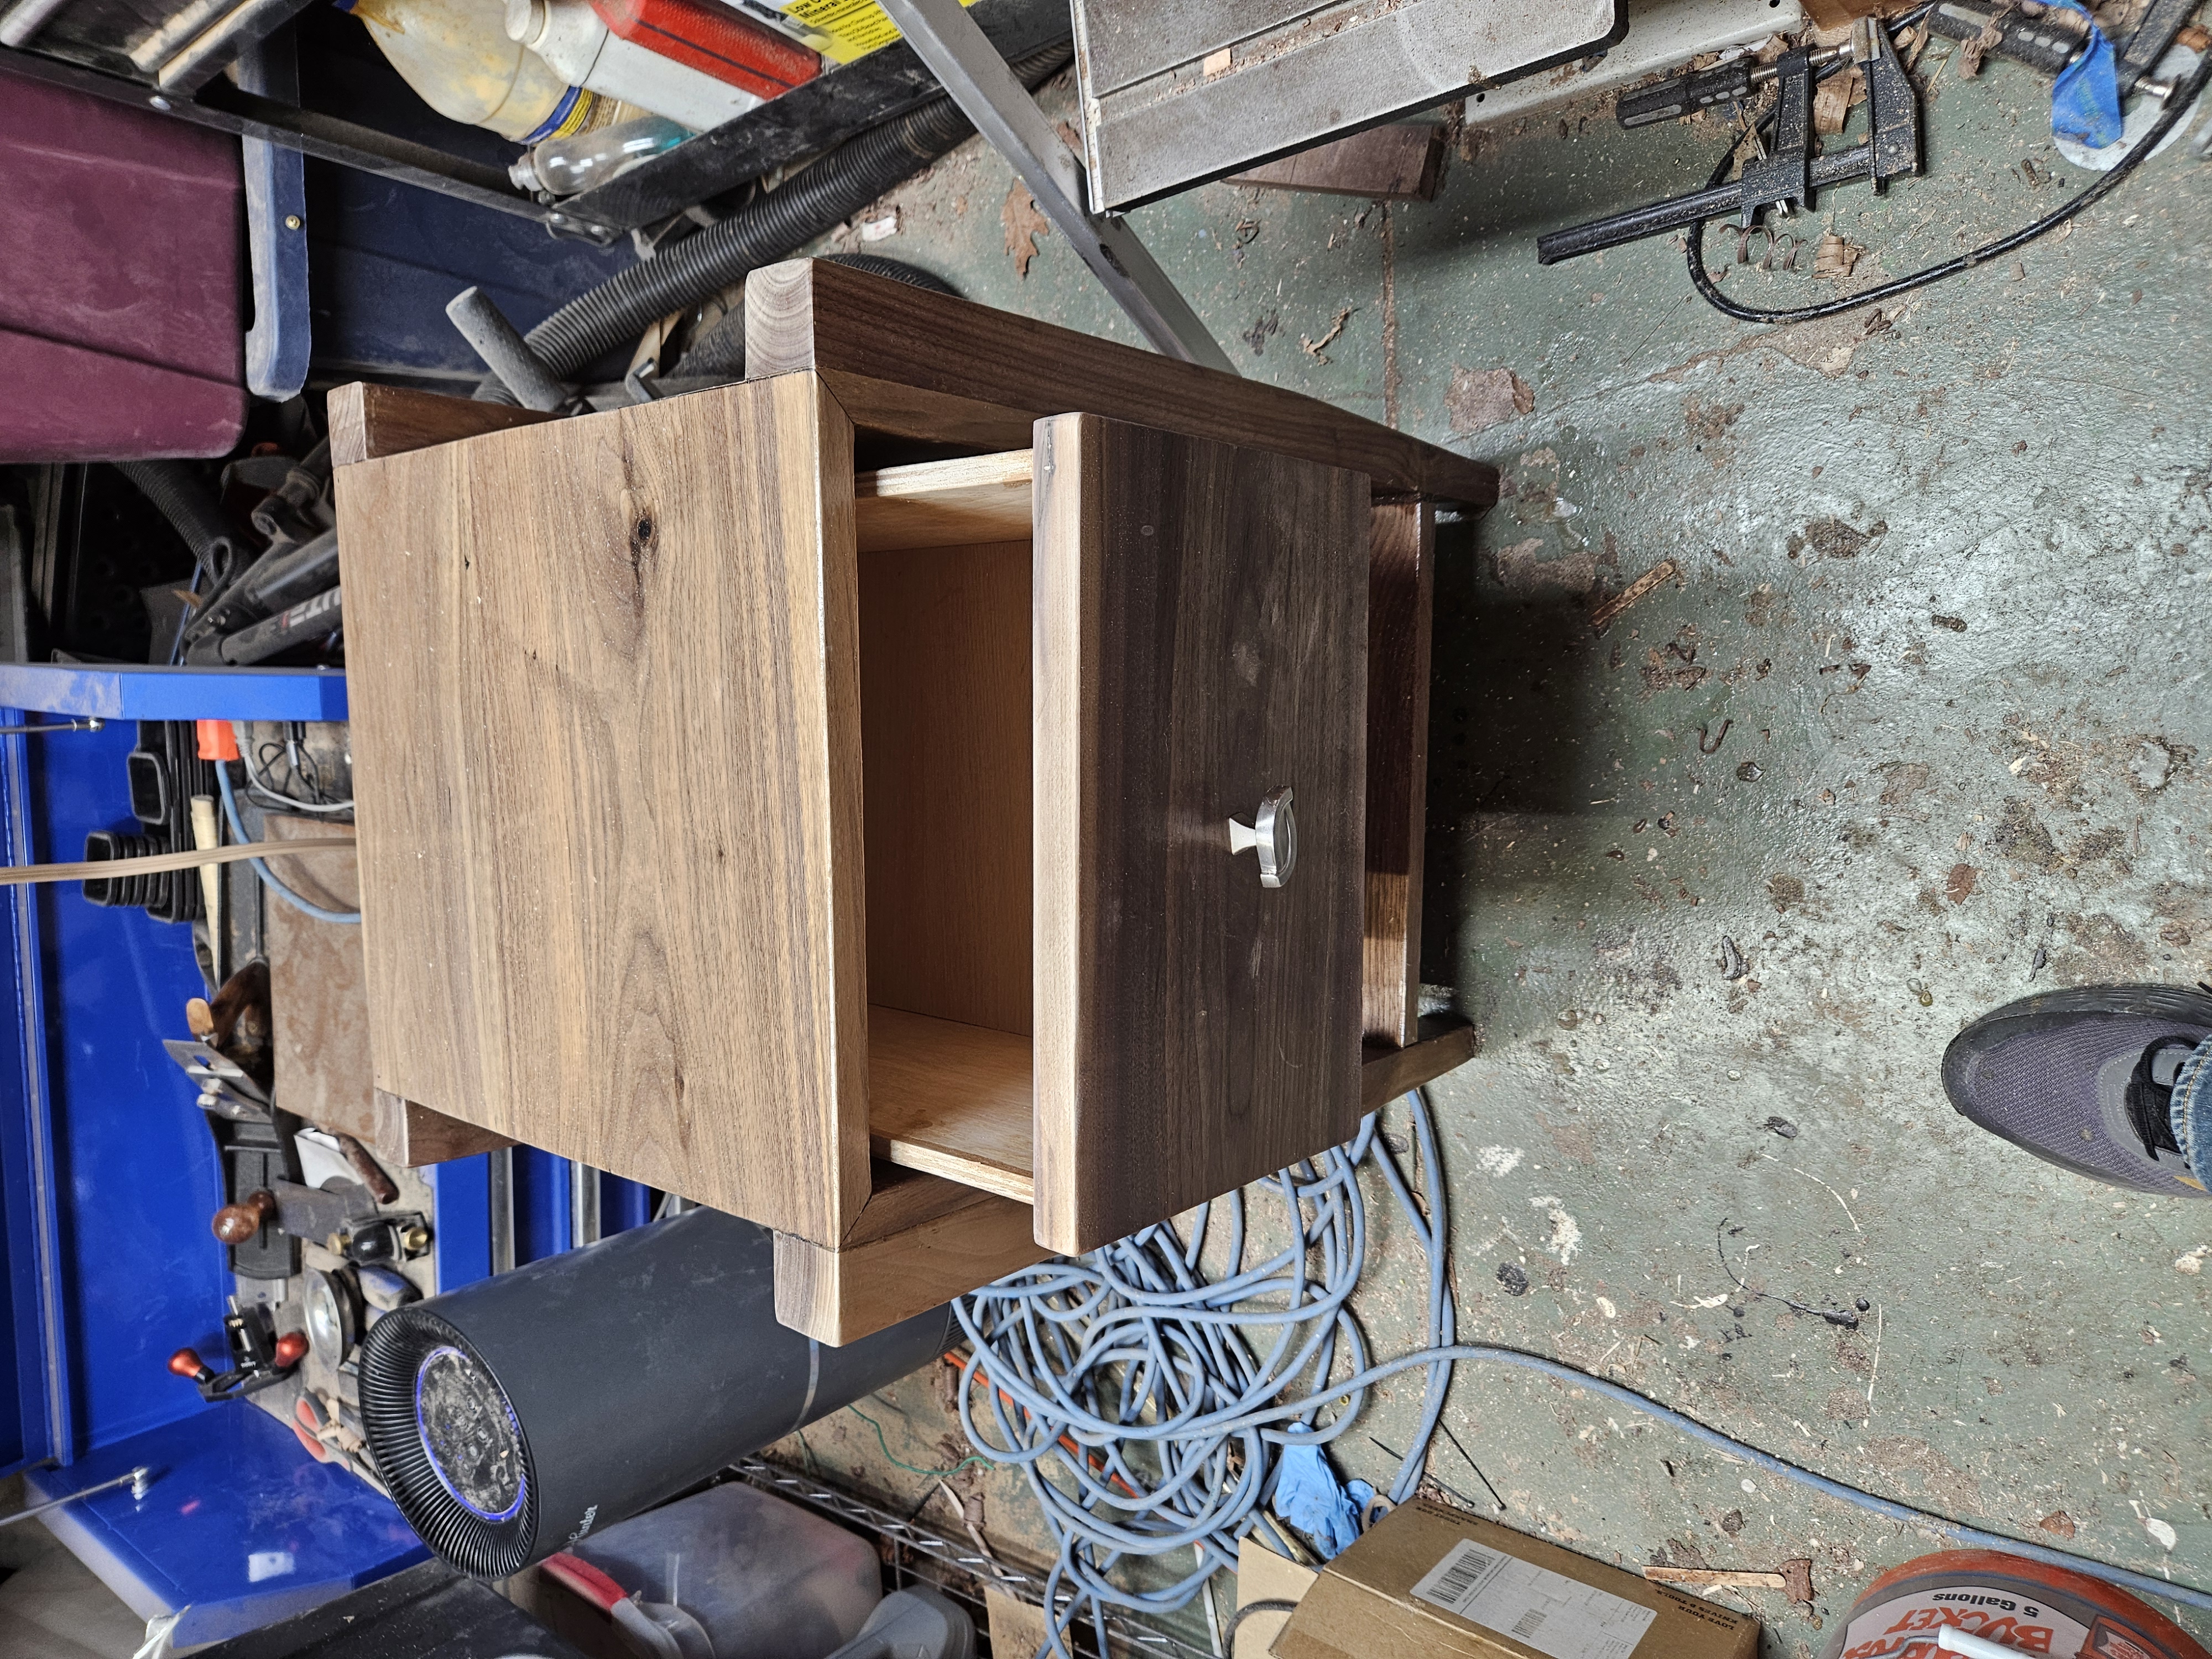
Before I did the finish work, I assembled everything including the drawer. Then took the drawer out to finish separately.
I ended up trying something new with finishing. I bought a cheap HVLP sprayer off amazon and sprayed a water based poly urethane that I thinned out. While I’m happy with the end result… I think it put down too thick a coat (Probably a user error), when all was said and done, and it made a MESS. I ended up having to spend a lot of time with fine grit sand papers getting that polished smooth finish. You can kind of see how it started before I started sanding on the finish in the next two photos.
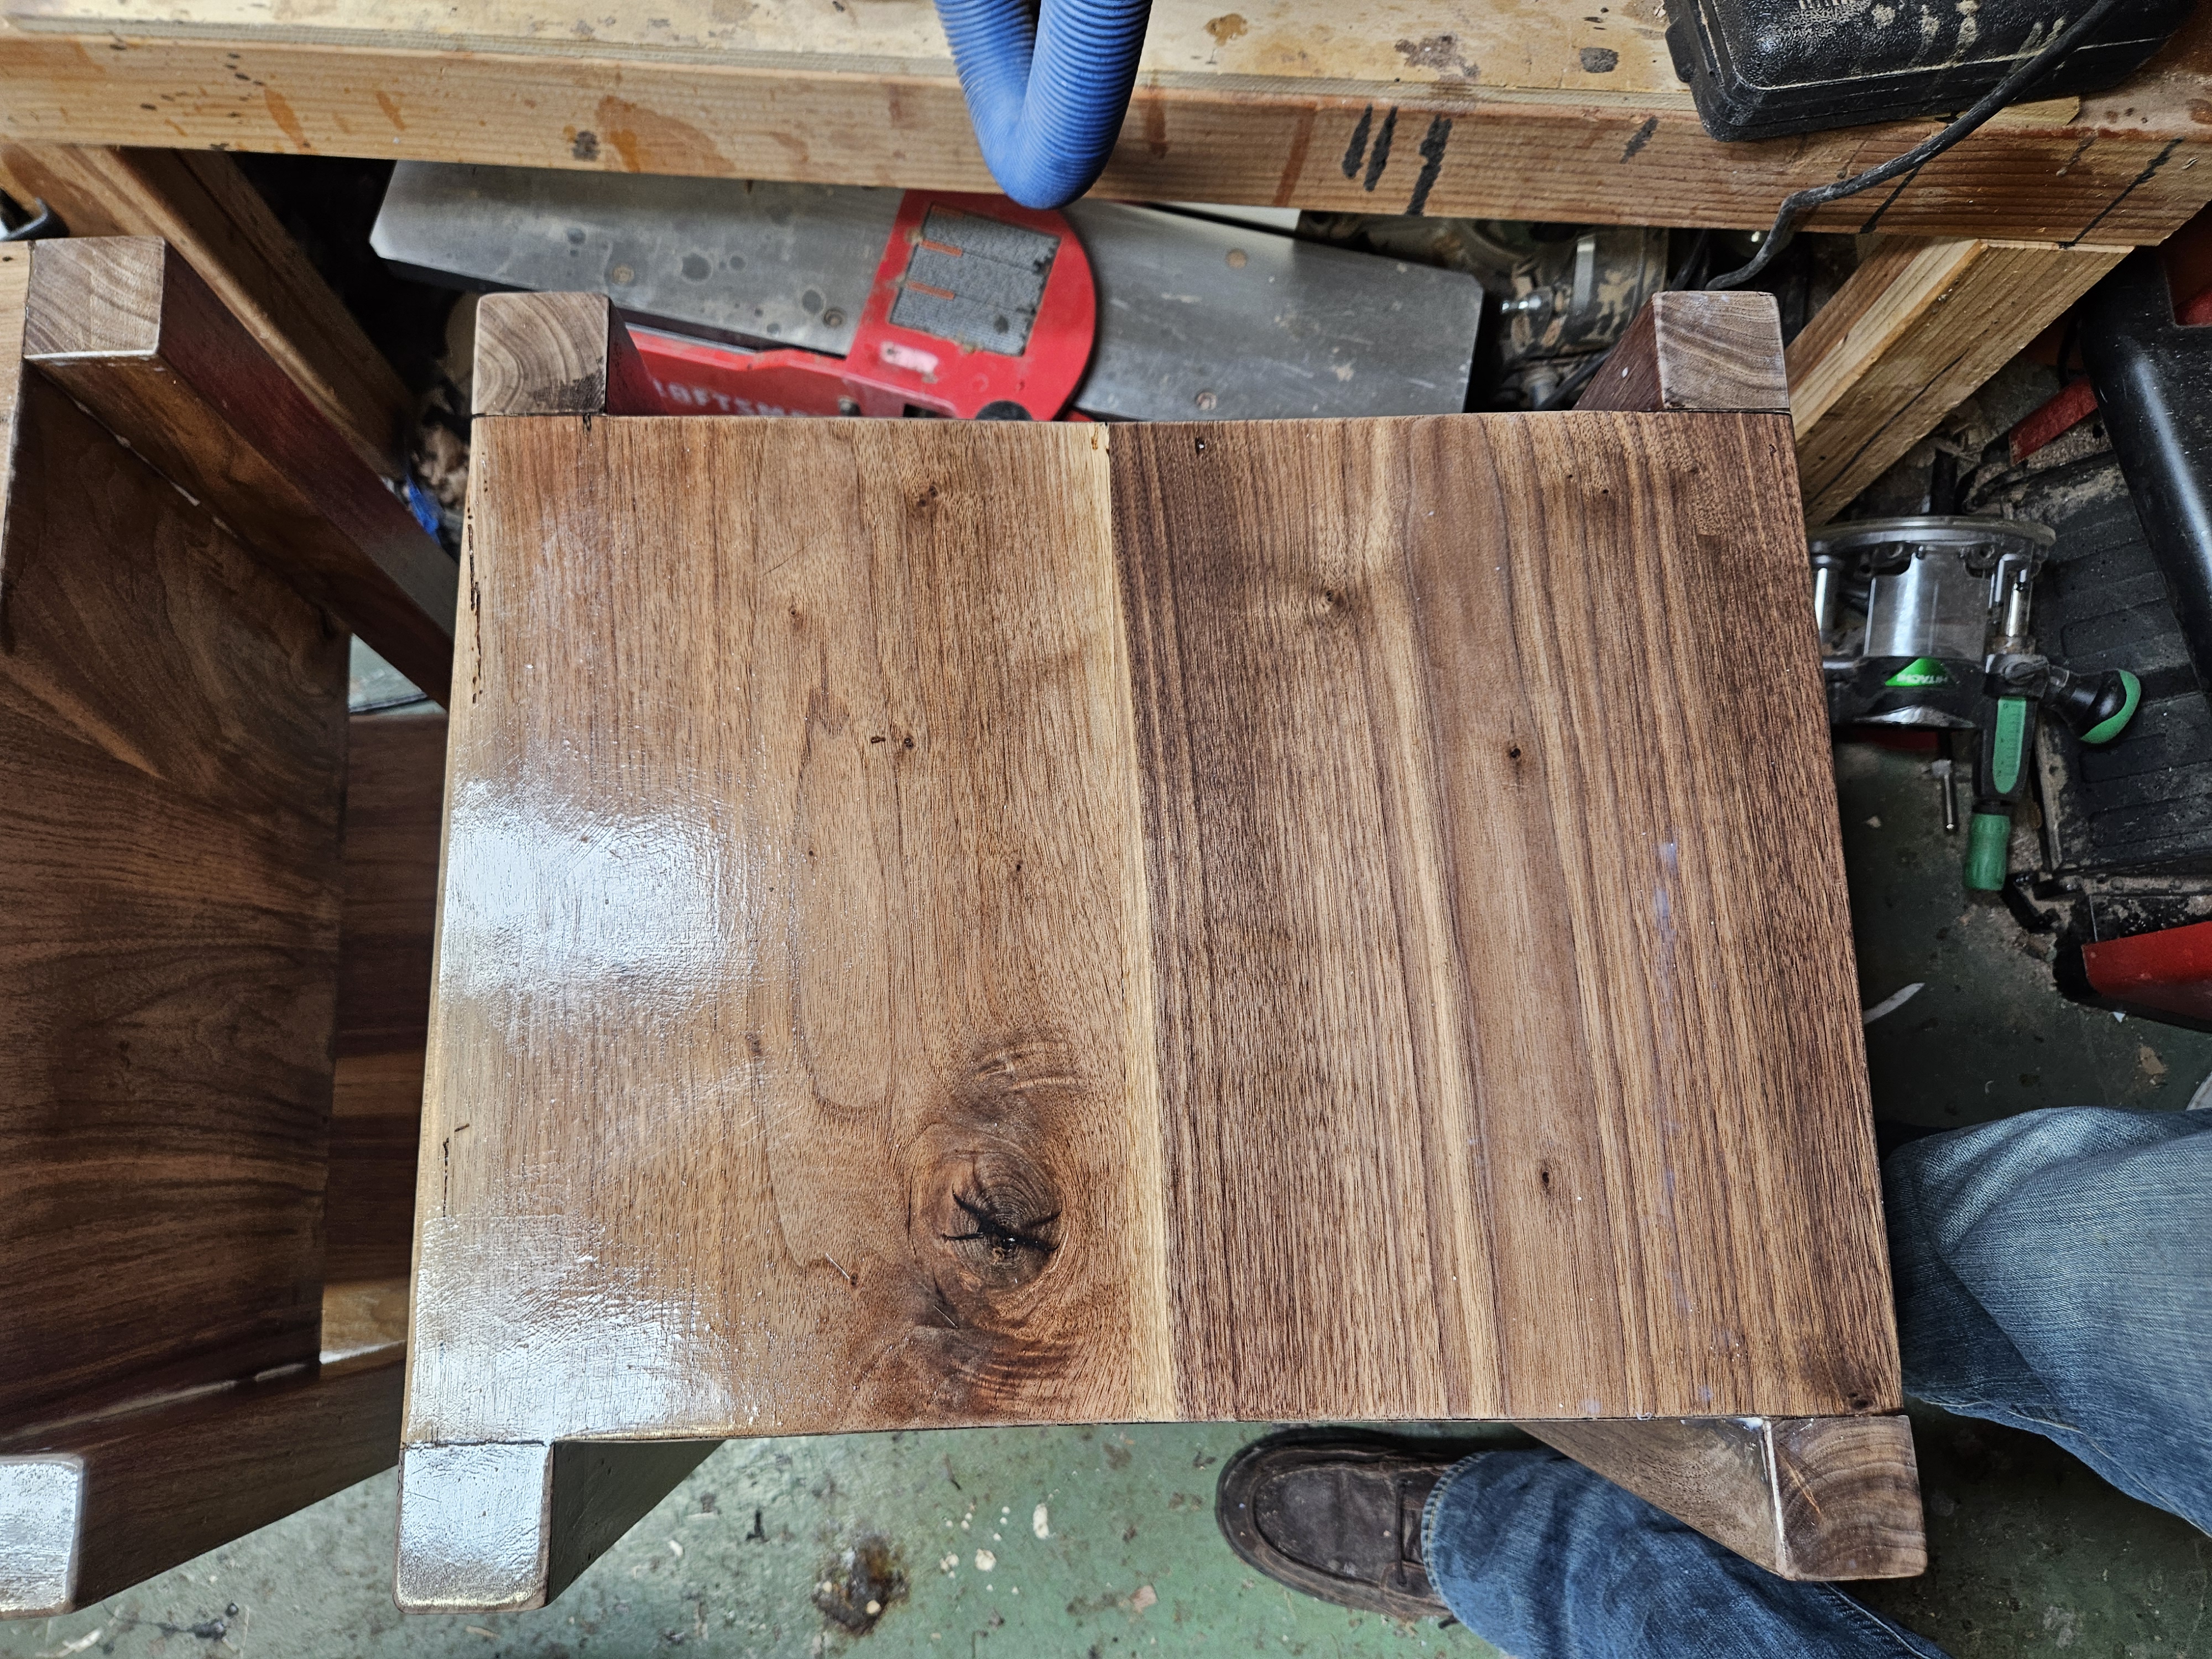
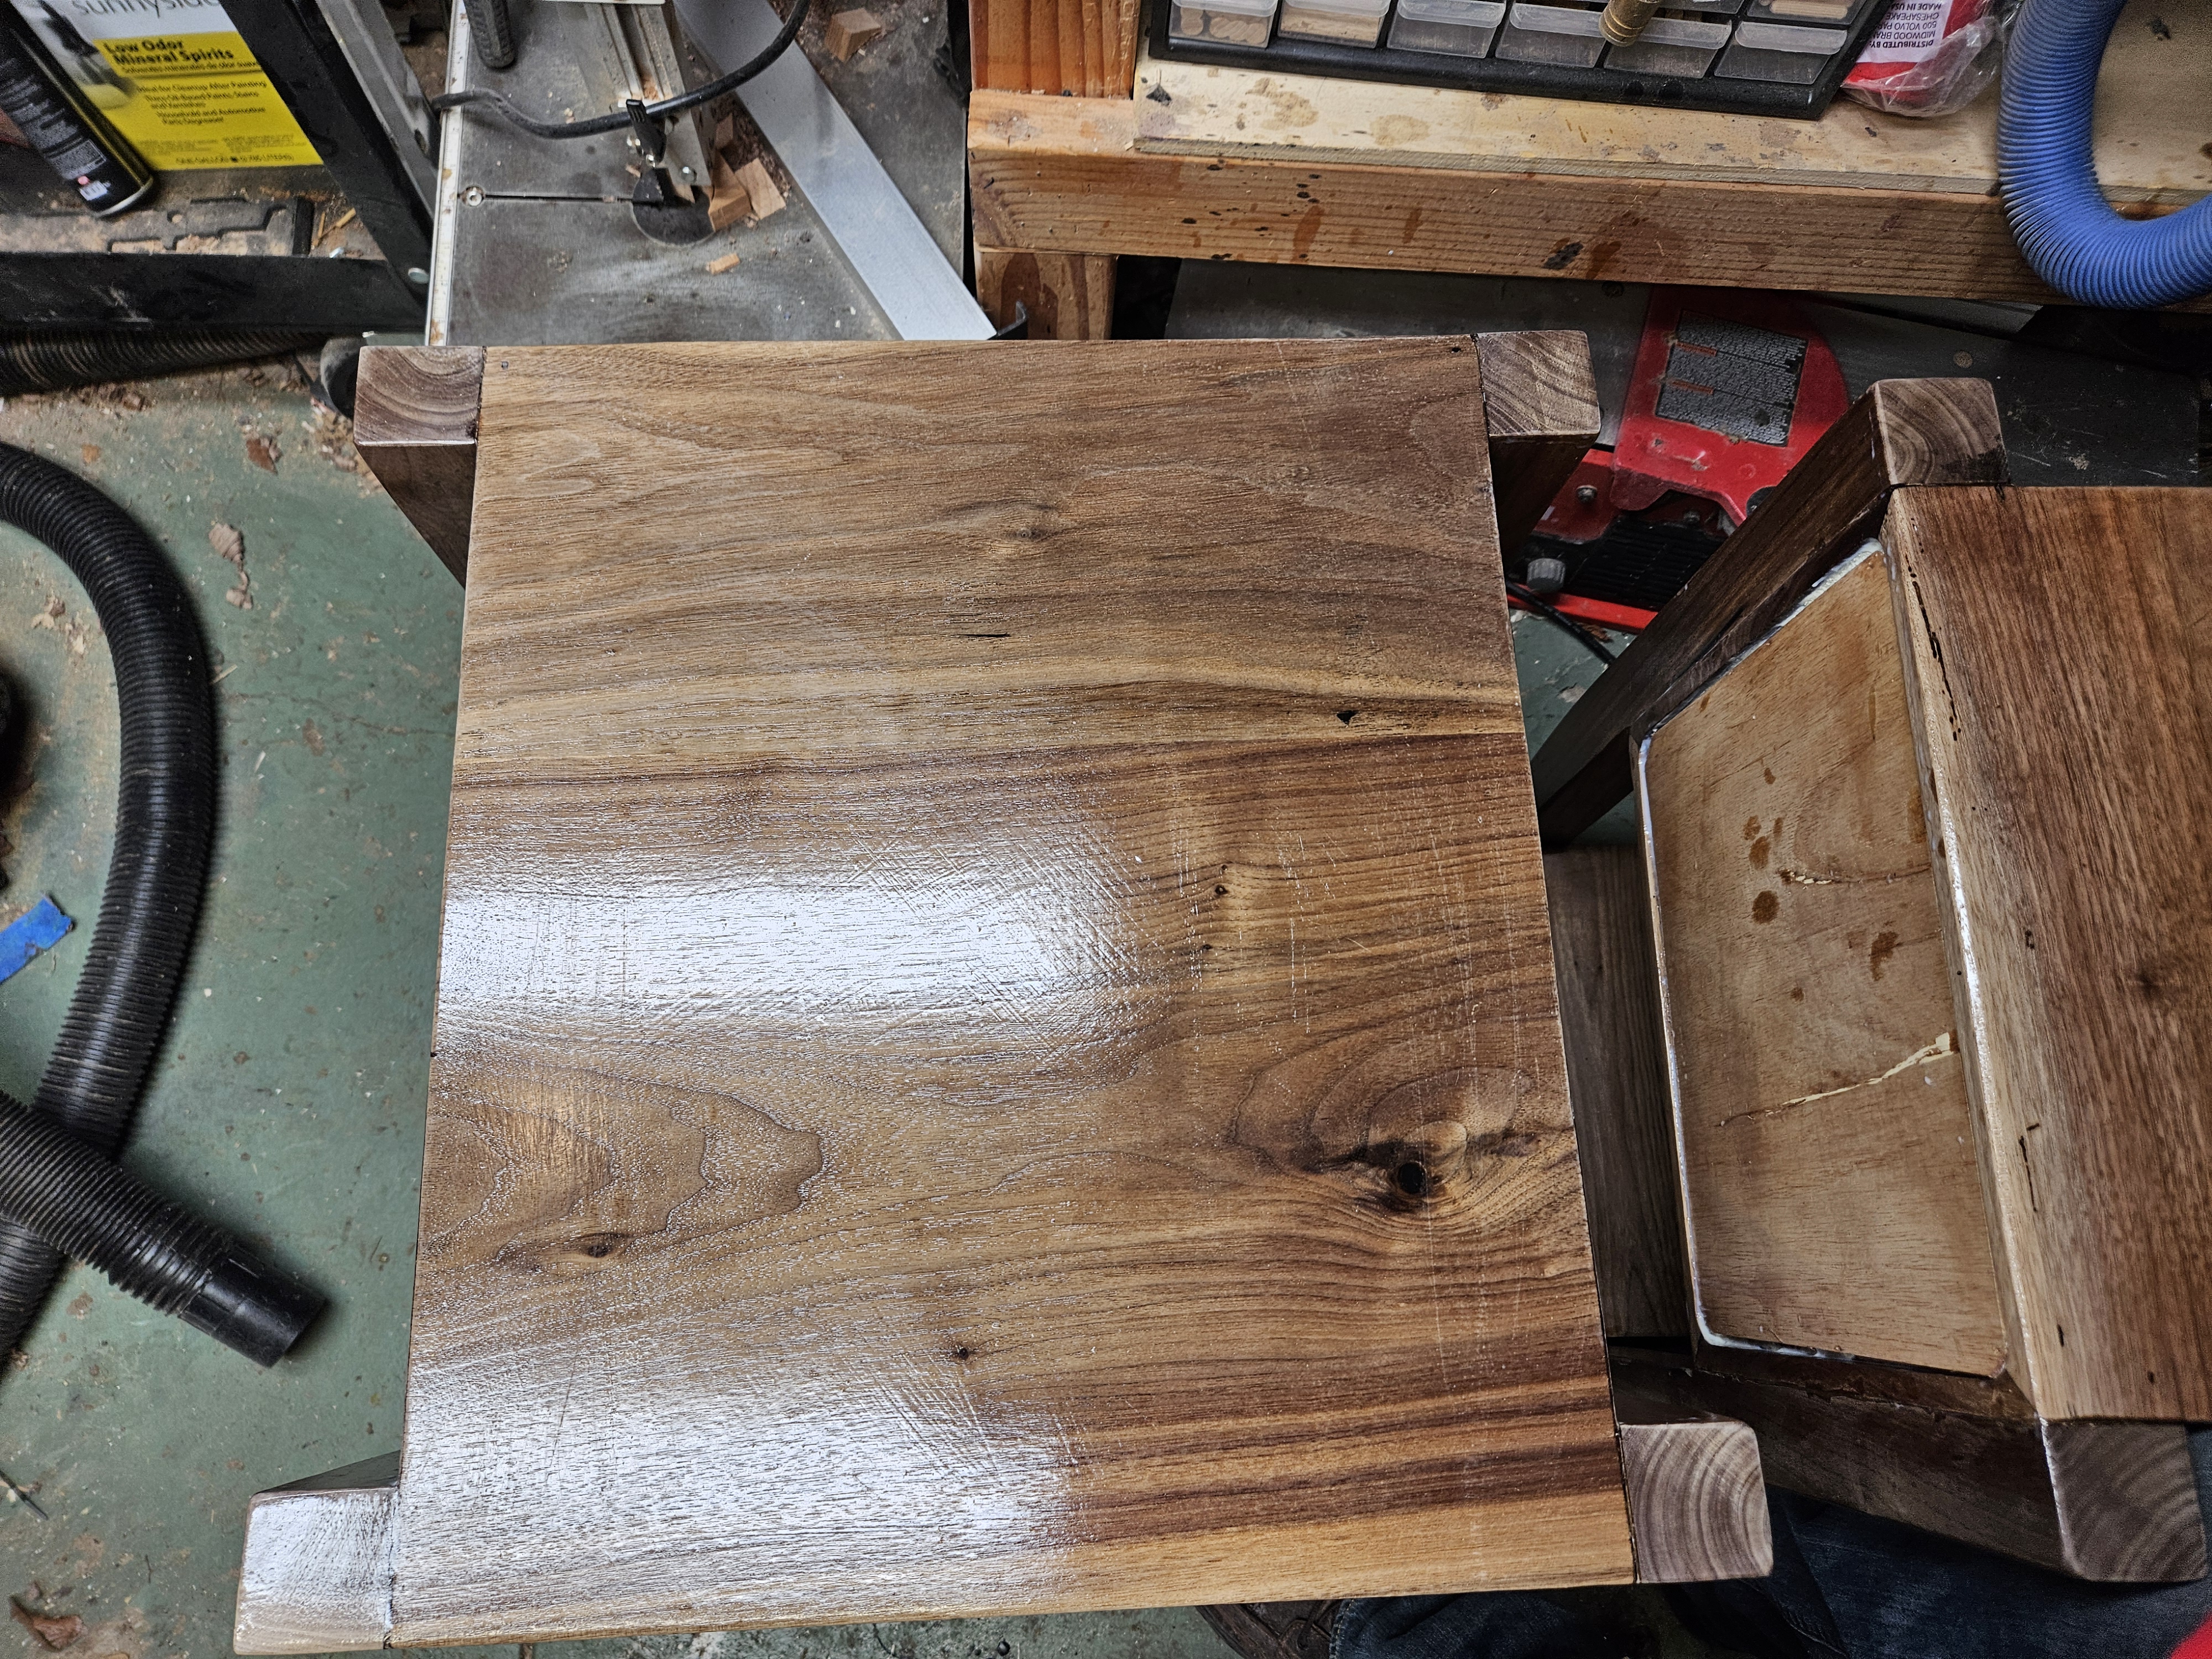
Overall, I’m pleased with how these turned out, and it was definitely a unique and new challenge to build two of exactly the same thing. They’re dimensionally about the same within a quarter inch. Which… I was surprised I was able to do. I think a big part of that was making little things to do setups for my repeated cuts. Using stop blocks with my miter saw for leg dimensioning, using stops with my taper jig, rather than just measuring every time.