Kay's Dining Table
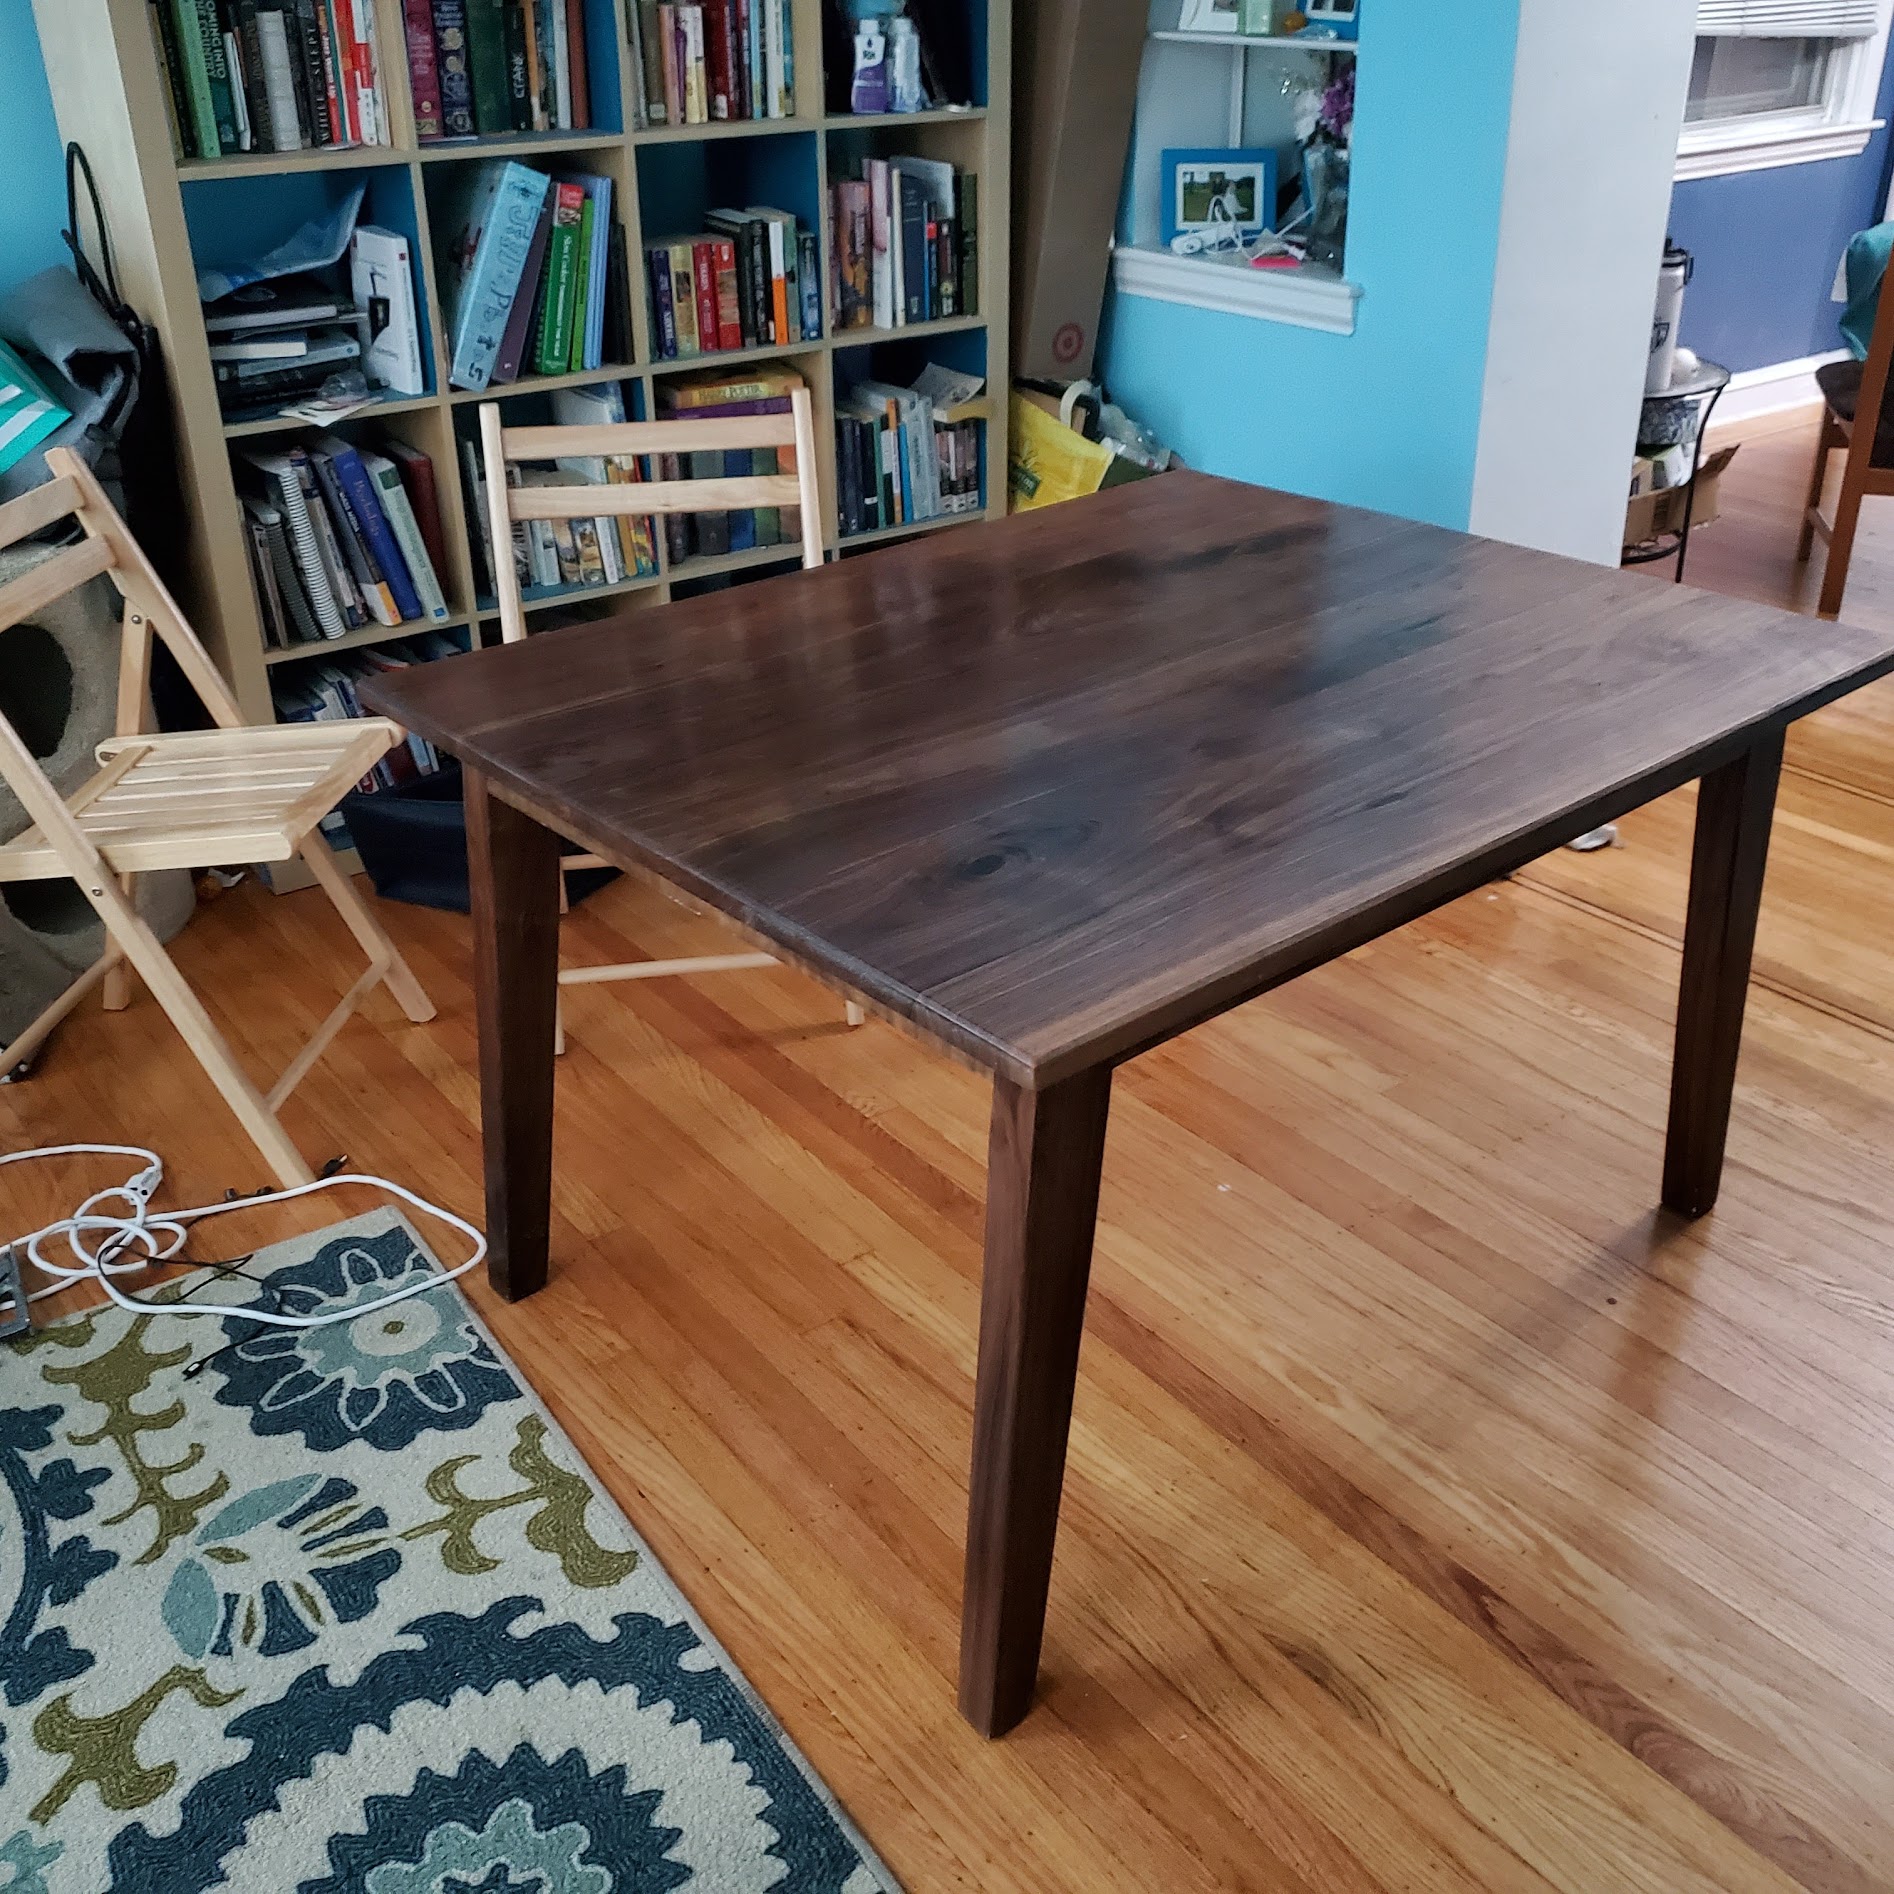
I built this table for my wife’s friend’s sister. She really wanted a walnut mid-century modern style dining table, and I was happy to oblige her.
This was actually the first piece of midcentury modern furniture I’ve ever built, as I’ve generally been more attracted to shaker style (I grew up watching Norm Abrams, how could I not be?). However, the challenge of building this, the geometry, and planning, made me fall in love with the style.
I took inspiration from the tapers and splayed legs common in many midcentury modern pieces.
Blueprints
Like many of my projects, this started with a drawing. I’m not really great at CAD, so I used google’s draw tool to get a rough idea of what I would be building to illustrate the points I’m making to the client, and so that I could visualize it and do the math for the tapers and splayed legs.
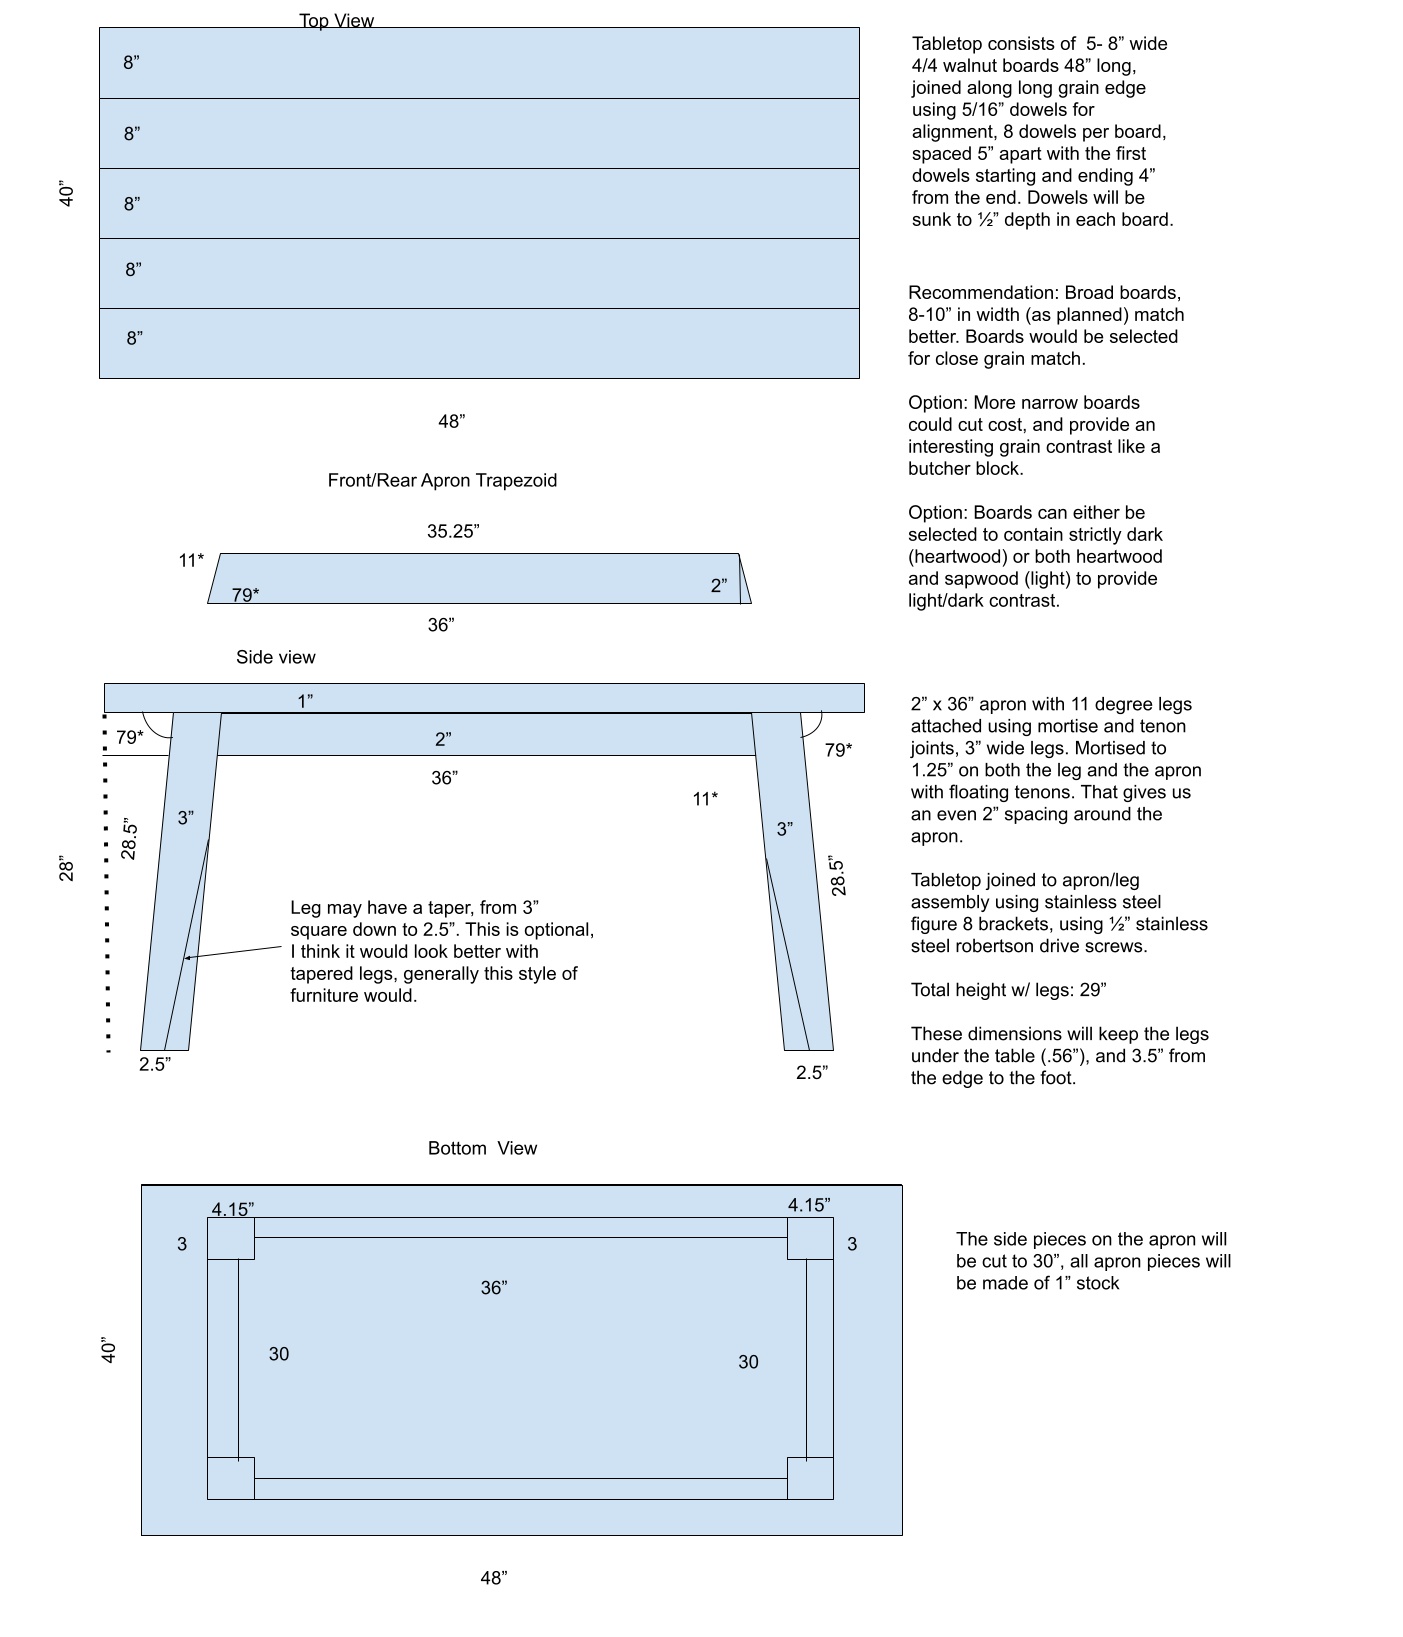
Because of the geometry of this table, I felt it was especially important to get detailed on the measurements and angles. I used highschool geometry to solve for the dimensions of the trapezoid once I settled on angles and overall dimensions for the apron.
I also marked up the image with notes for the client to decide.
Selecting wood
With these drawings in hand, I went to my lumber supplier Willard Brothers in South Jersey. Over the years, I’ve bought a lot of my hardwoods from them, and they’ve been great to work with, and super helpful. If you’re in the Philadelphia area, highly recommend them.
When buying walnut you can buy steamed, or unsteamed walnut. Steamed walnut will hide the lighter sapwood in the walnut, it’ll give you that uniform dark brown color. And in unsteamed walnut you can buy it without sapwood (Generally for a higher price). Personally, I enjoy working with wood that has both the light sapwood and the dark heartwood. I find the character offers some unique challenges in matching pieces, but the results can be well worth the effort and can make for stunning contrasts and pieces with unique character. In this instance, the client and I opted to get wood that was mainly heartwood, but she was OK with having some sapwood - She trusted my judgement in that regard.

Typically, when I’m selecting the wood for my project, I’ll lay it out on saw horses at the lumber yard and get an idea of the panels I’m going to glue up, and figure out what will match up well.
Prepping wood
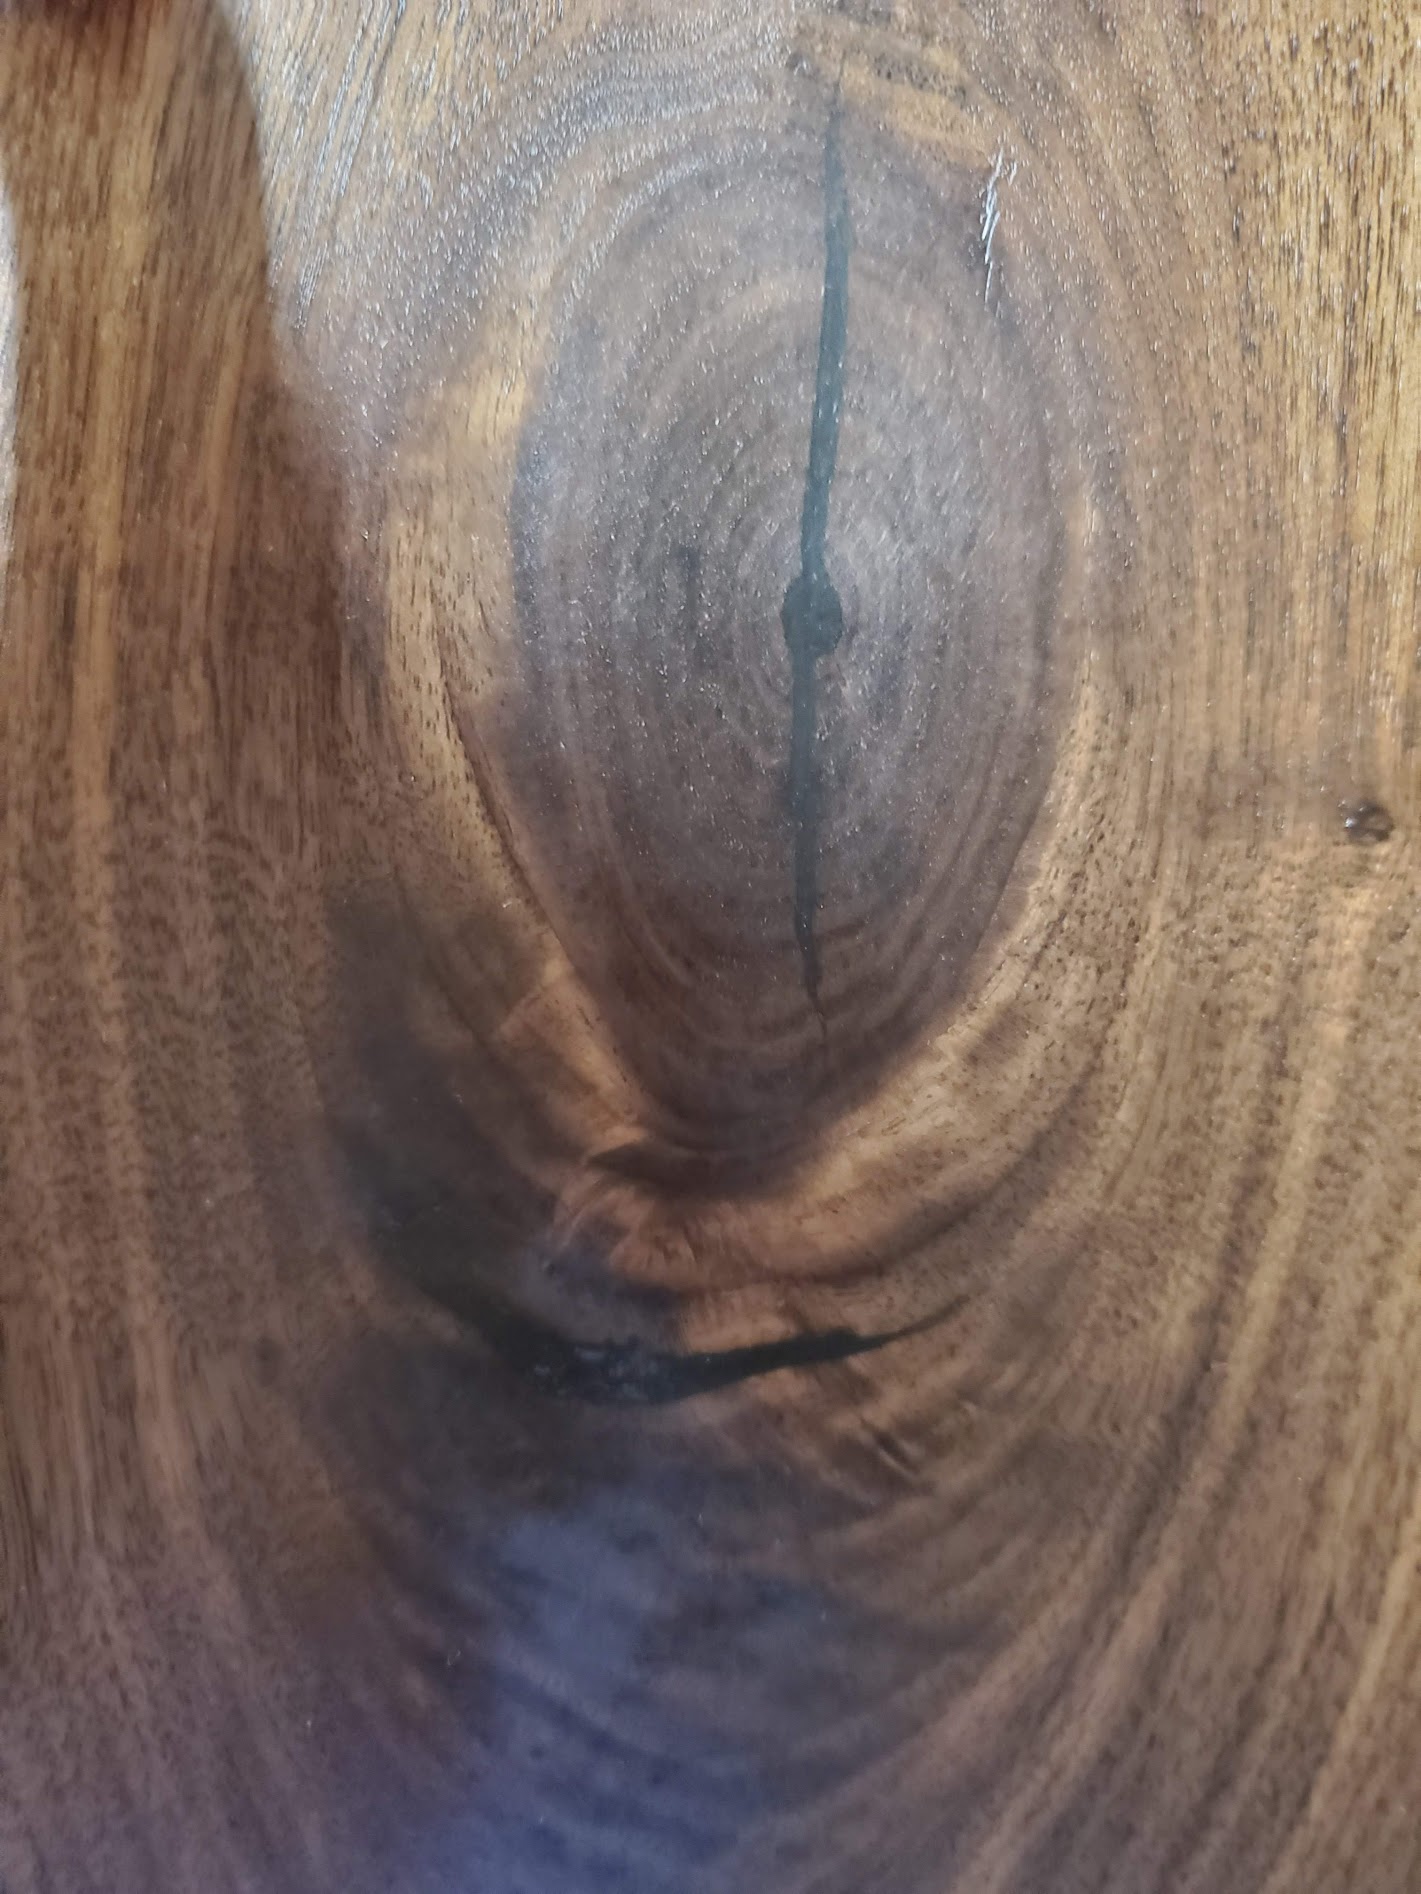
As a part of the normal process of handling rough cut lumber, I plane and join my boards to get them flat, parallel, and to a final thickness. Additionally, I’ll handle any imperfections, such as knots. Depending on what the project calls for, I will either avoid the knot entirely and leave it out of the final surface, or fill them with black epoxy.
In this case, we felt it added to the character to incorporate the wood’s natural features.
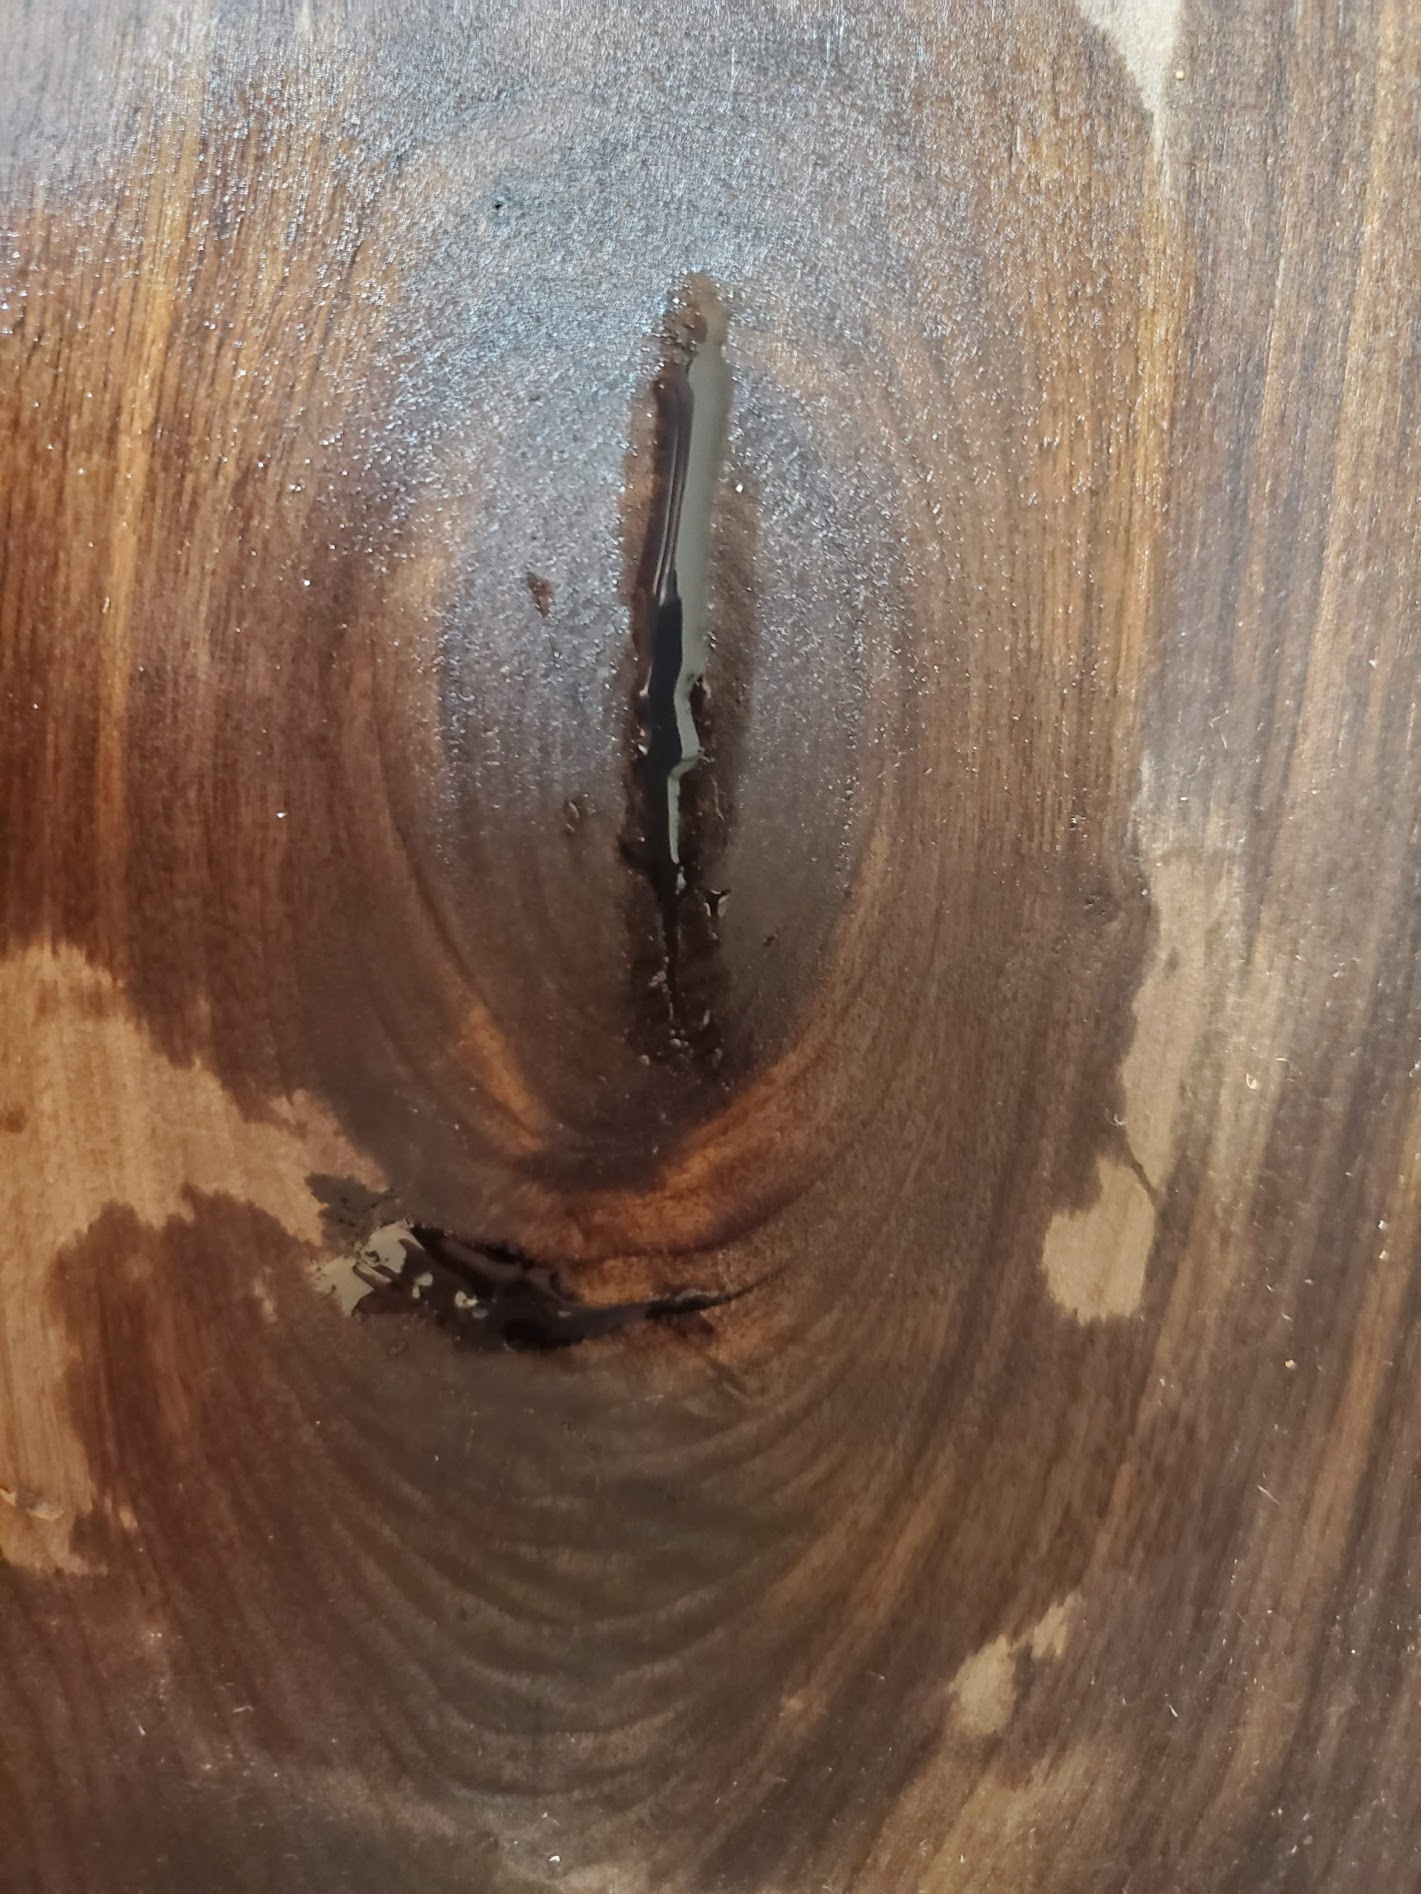
To fill the knot, I mix up some 5 minute epoxy with a black dye, and fill it until it’s just proud of the surface. Then scrape it with a sharp chisel, and sand it flush.
Gluing up the panel
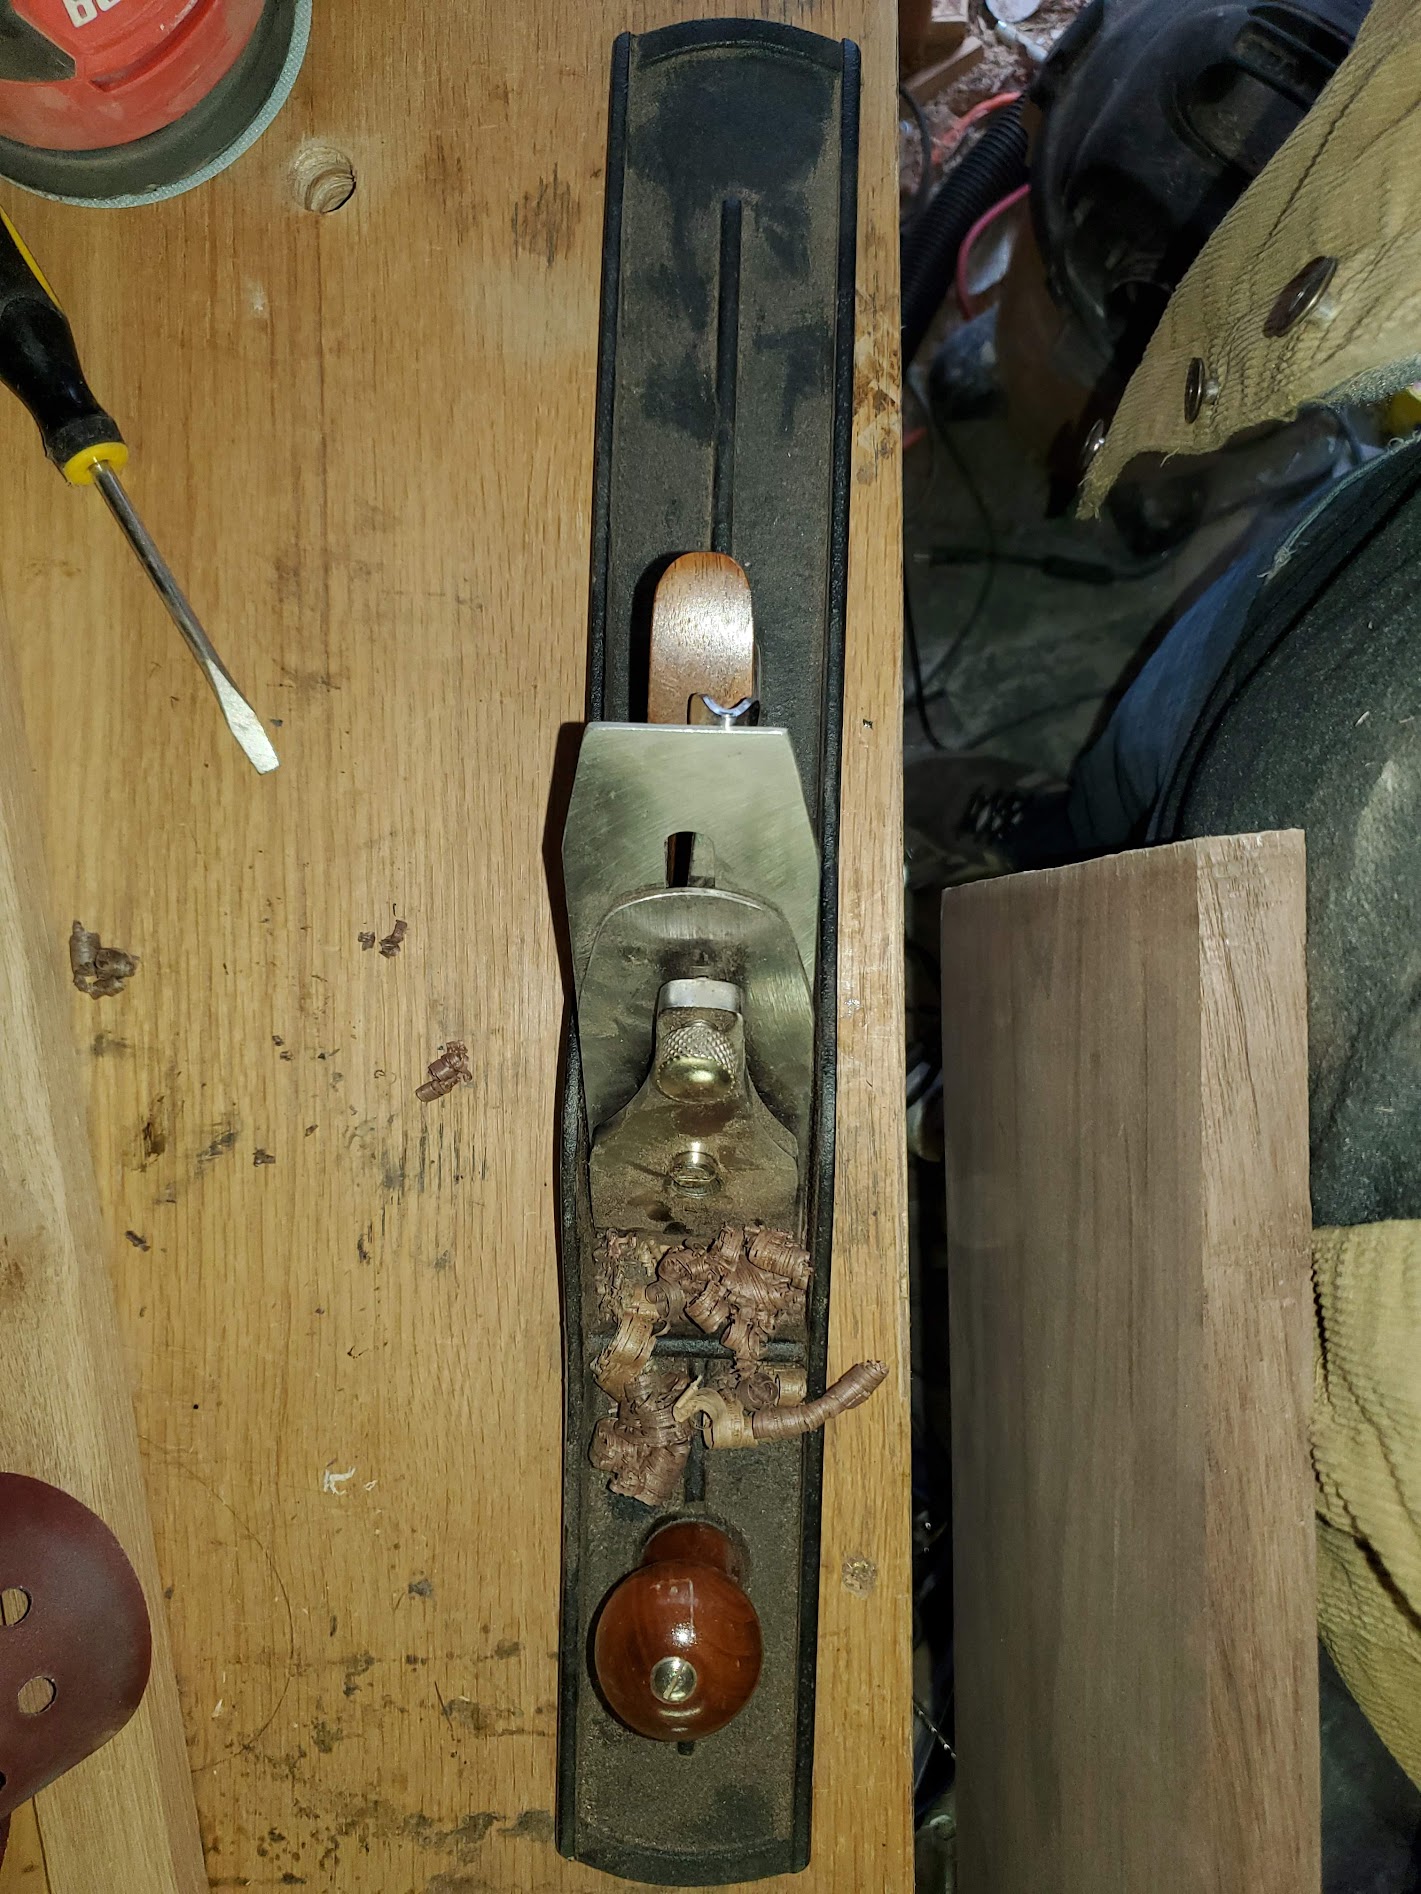
To get a better result in my glueup I edge jointed my pieces with my hand jointer plane, and drilled holes for dowels to help keep the panel aligned exactly as laid out.
Hand planing builds character.
I glued up the panel using Titebond II up 2 pieces at a time, until I was ready for final assembly of the panel taking care to keep the previously numbered pieces in the order I selected on my workbench.
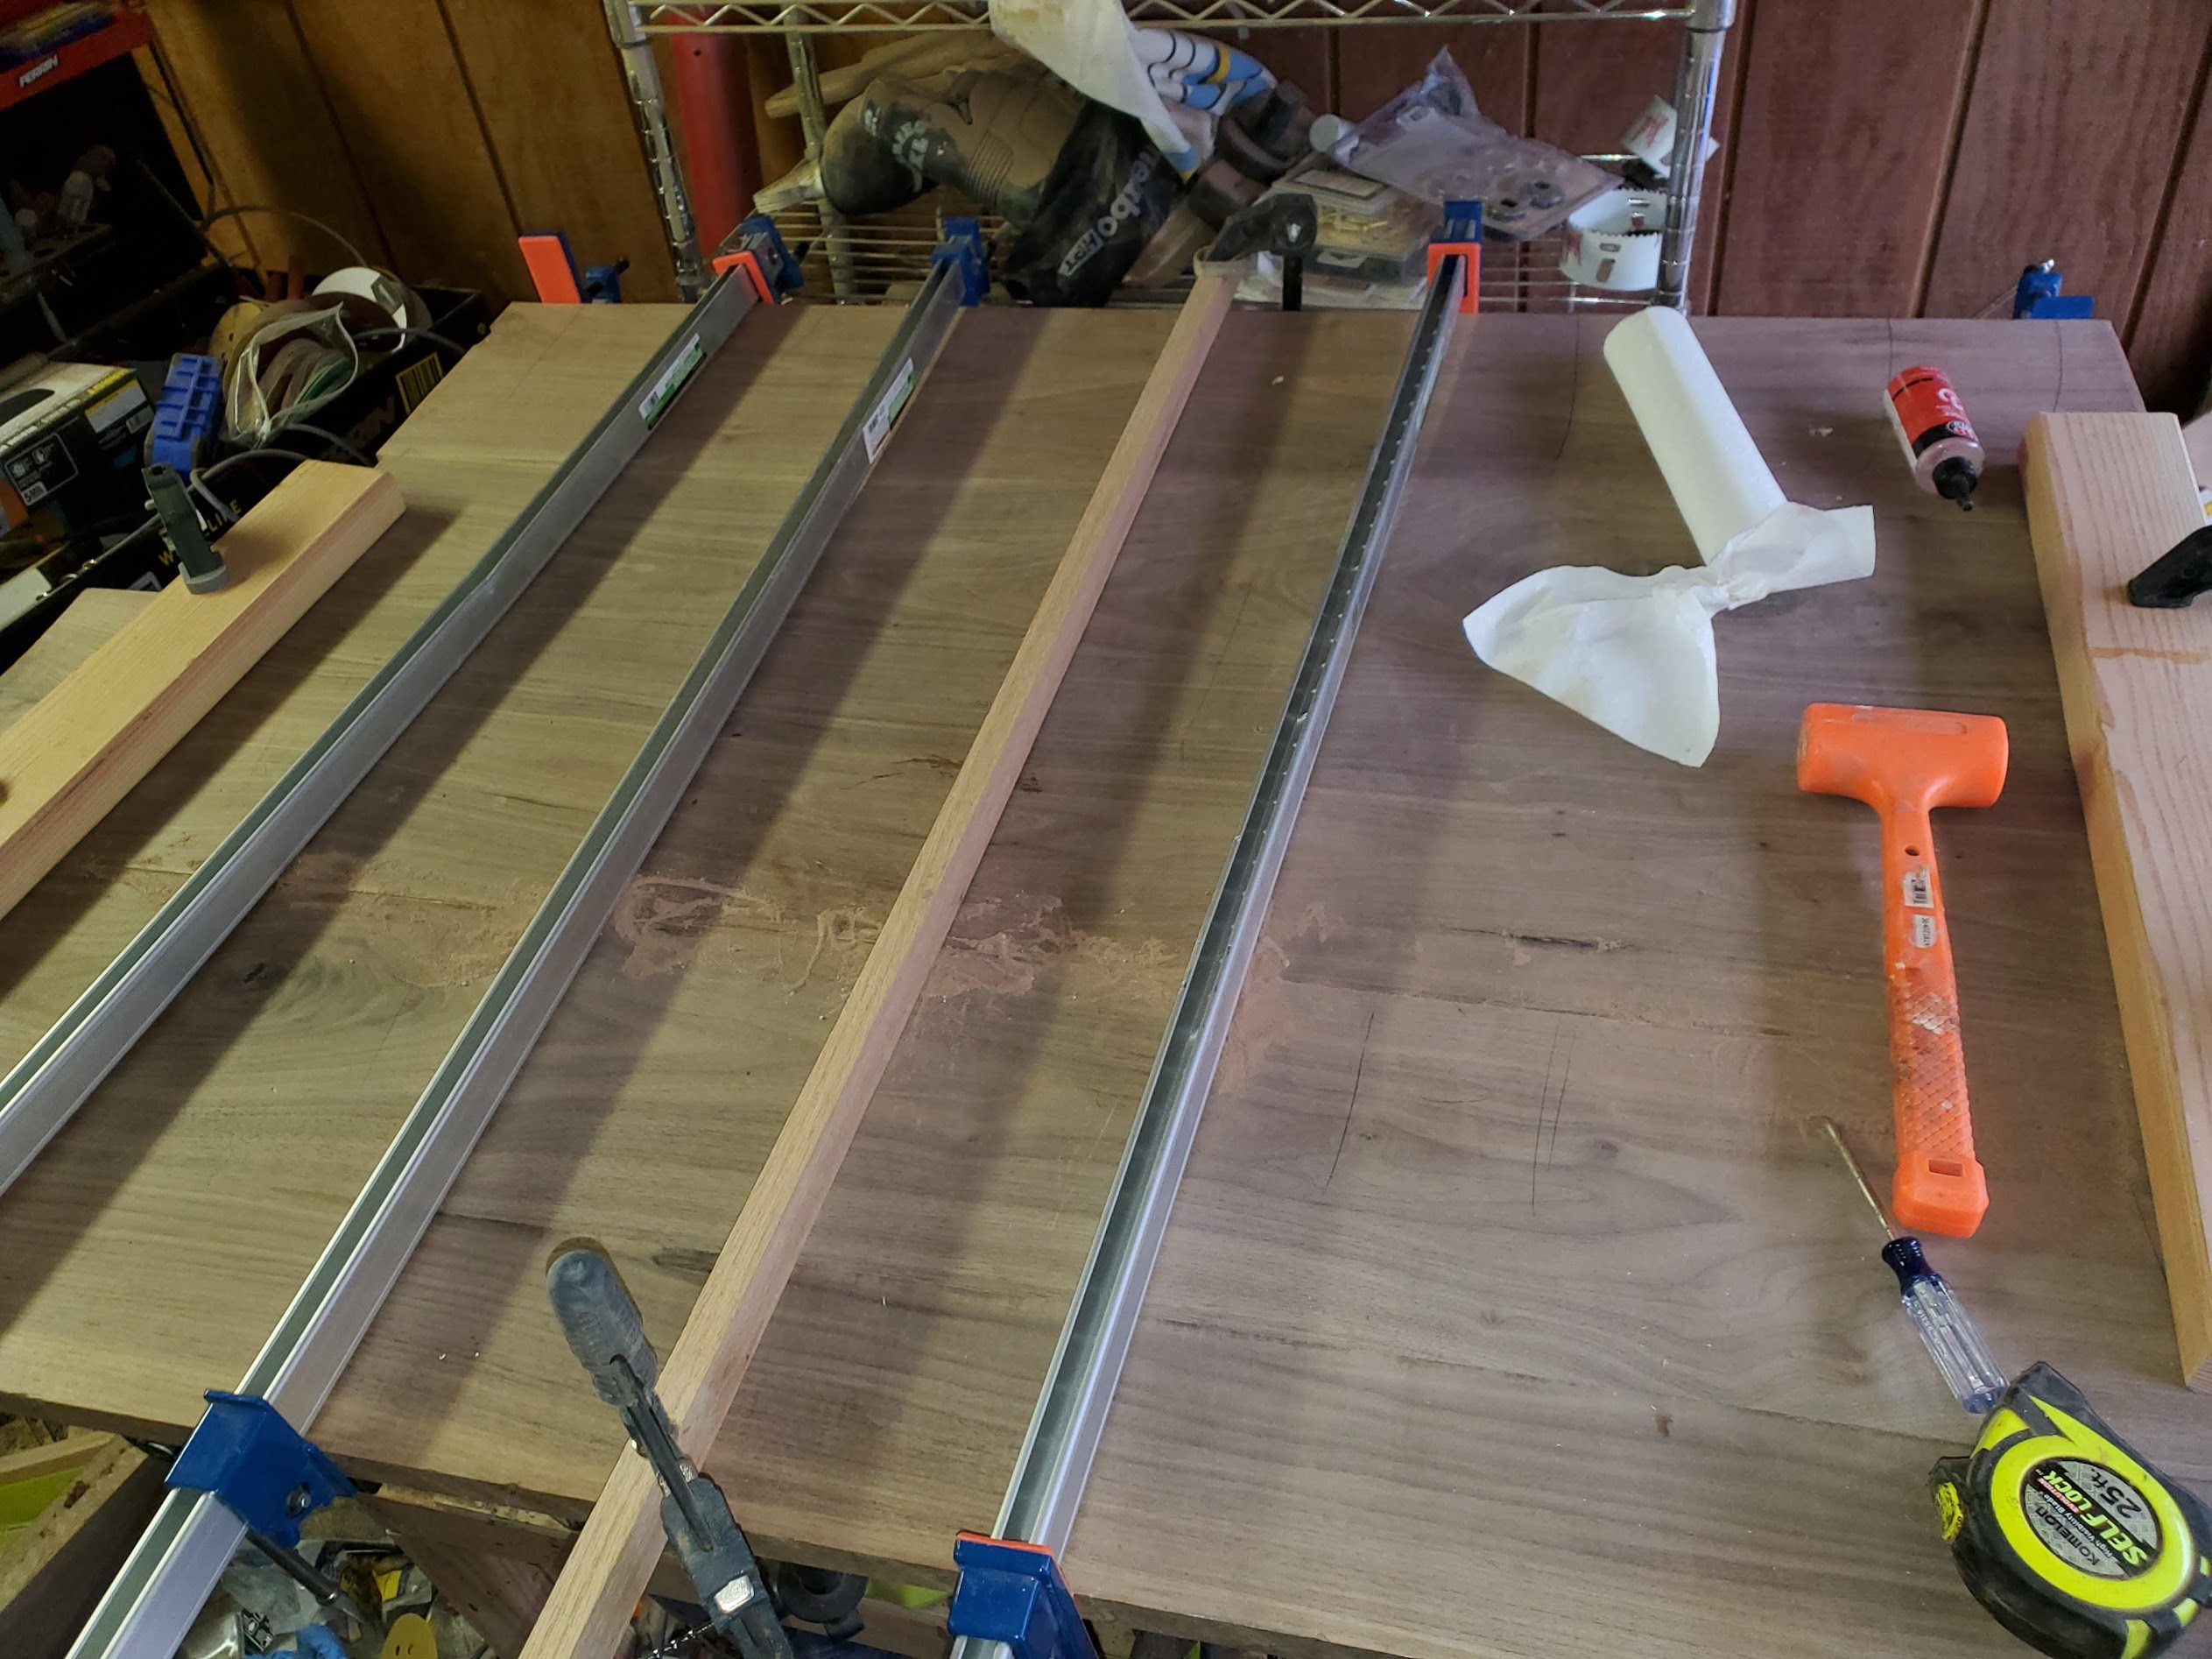
I used cauls to keep my panel flats.
And like - before, I ended up flattening the panel with the jointer plane because my planer can’t run something 36” wide. Hand planing builds character. And 48x36 is no exception. Getting the panel close before gluing helped a lot and using dowels helped a lot, but I still needed to do some planing before I was ready to sand. The result ended up perfectly flat and with a glassy smooth surface.

The final panel came out looking like this after planing and rough sanding. This is the panel with mineral spirits to help me expose imperfections.
Legs and apron
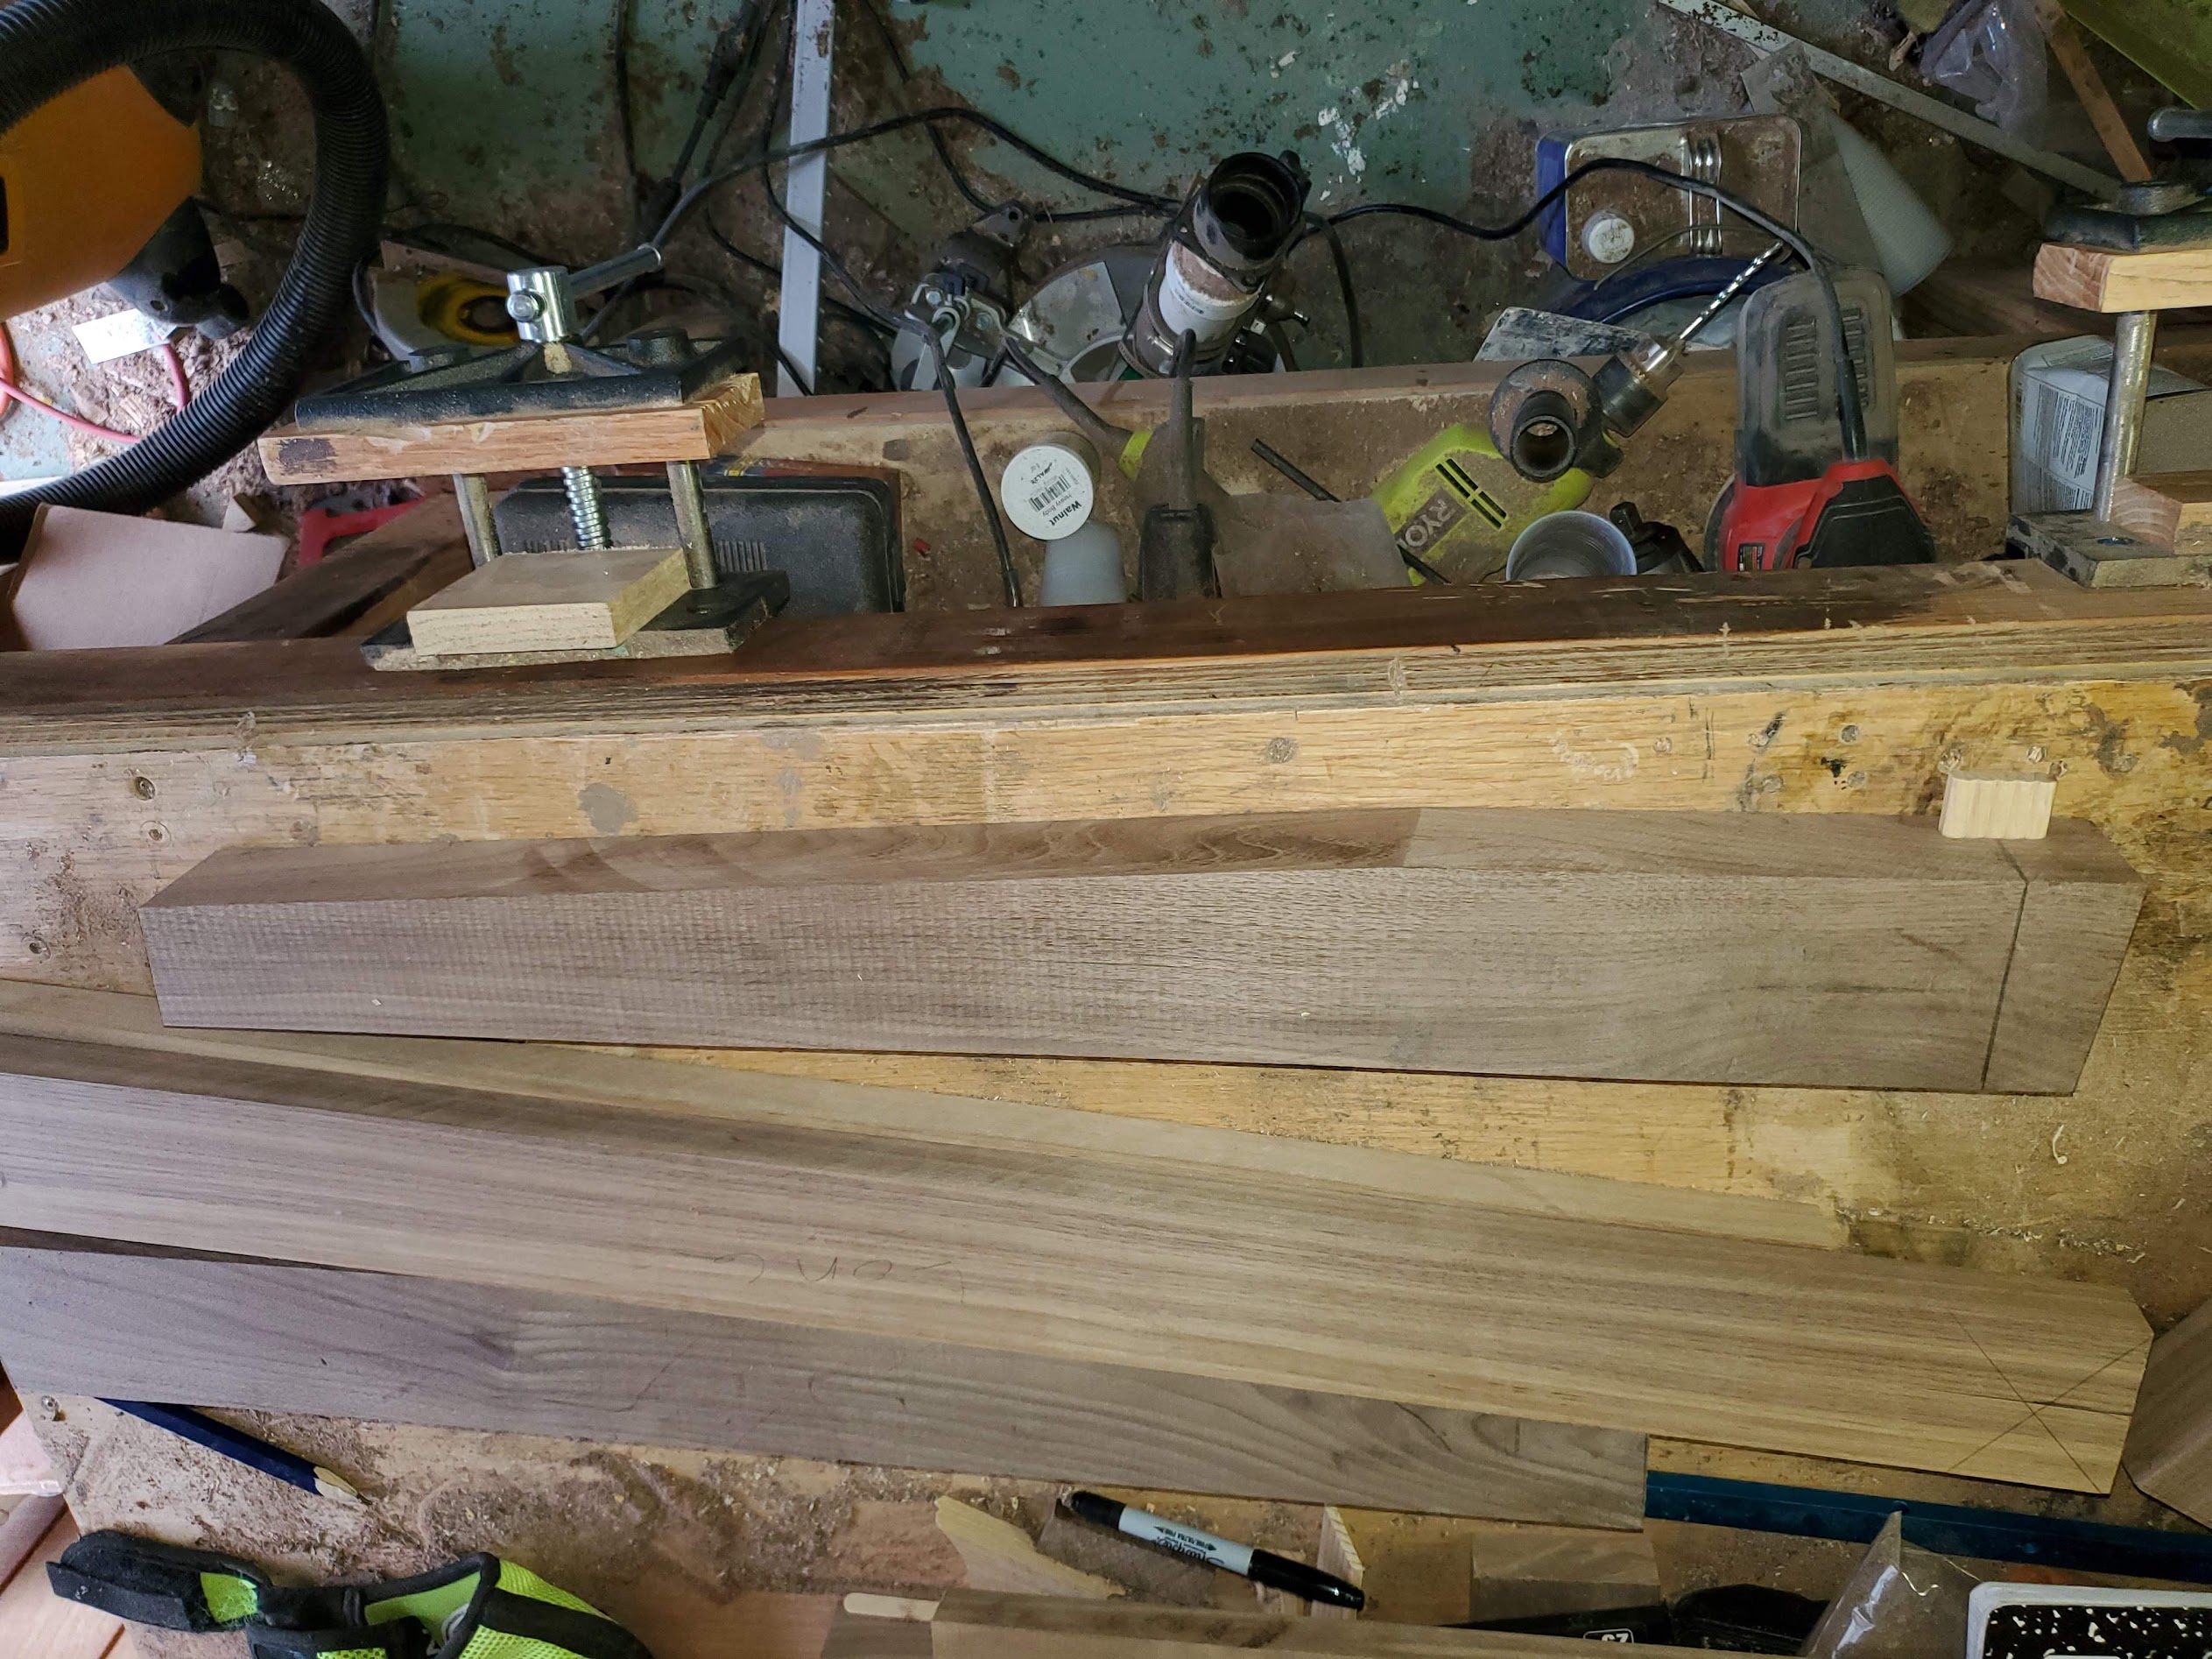
I ripped down the legs from pieces of 8/4 (2”) walnut into rough blanks, and then used my tapering jig from Rockler to rip in the taper.
After tapering, I cut the top and bottom angles, so the legs would sit flush against the tabletop, and flush against the floor.
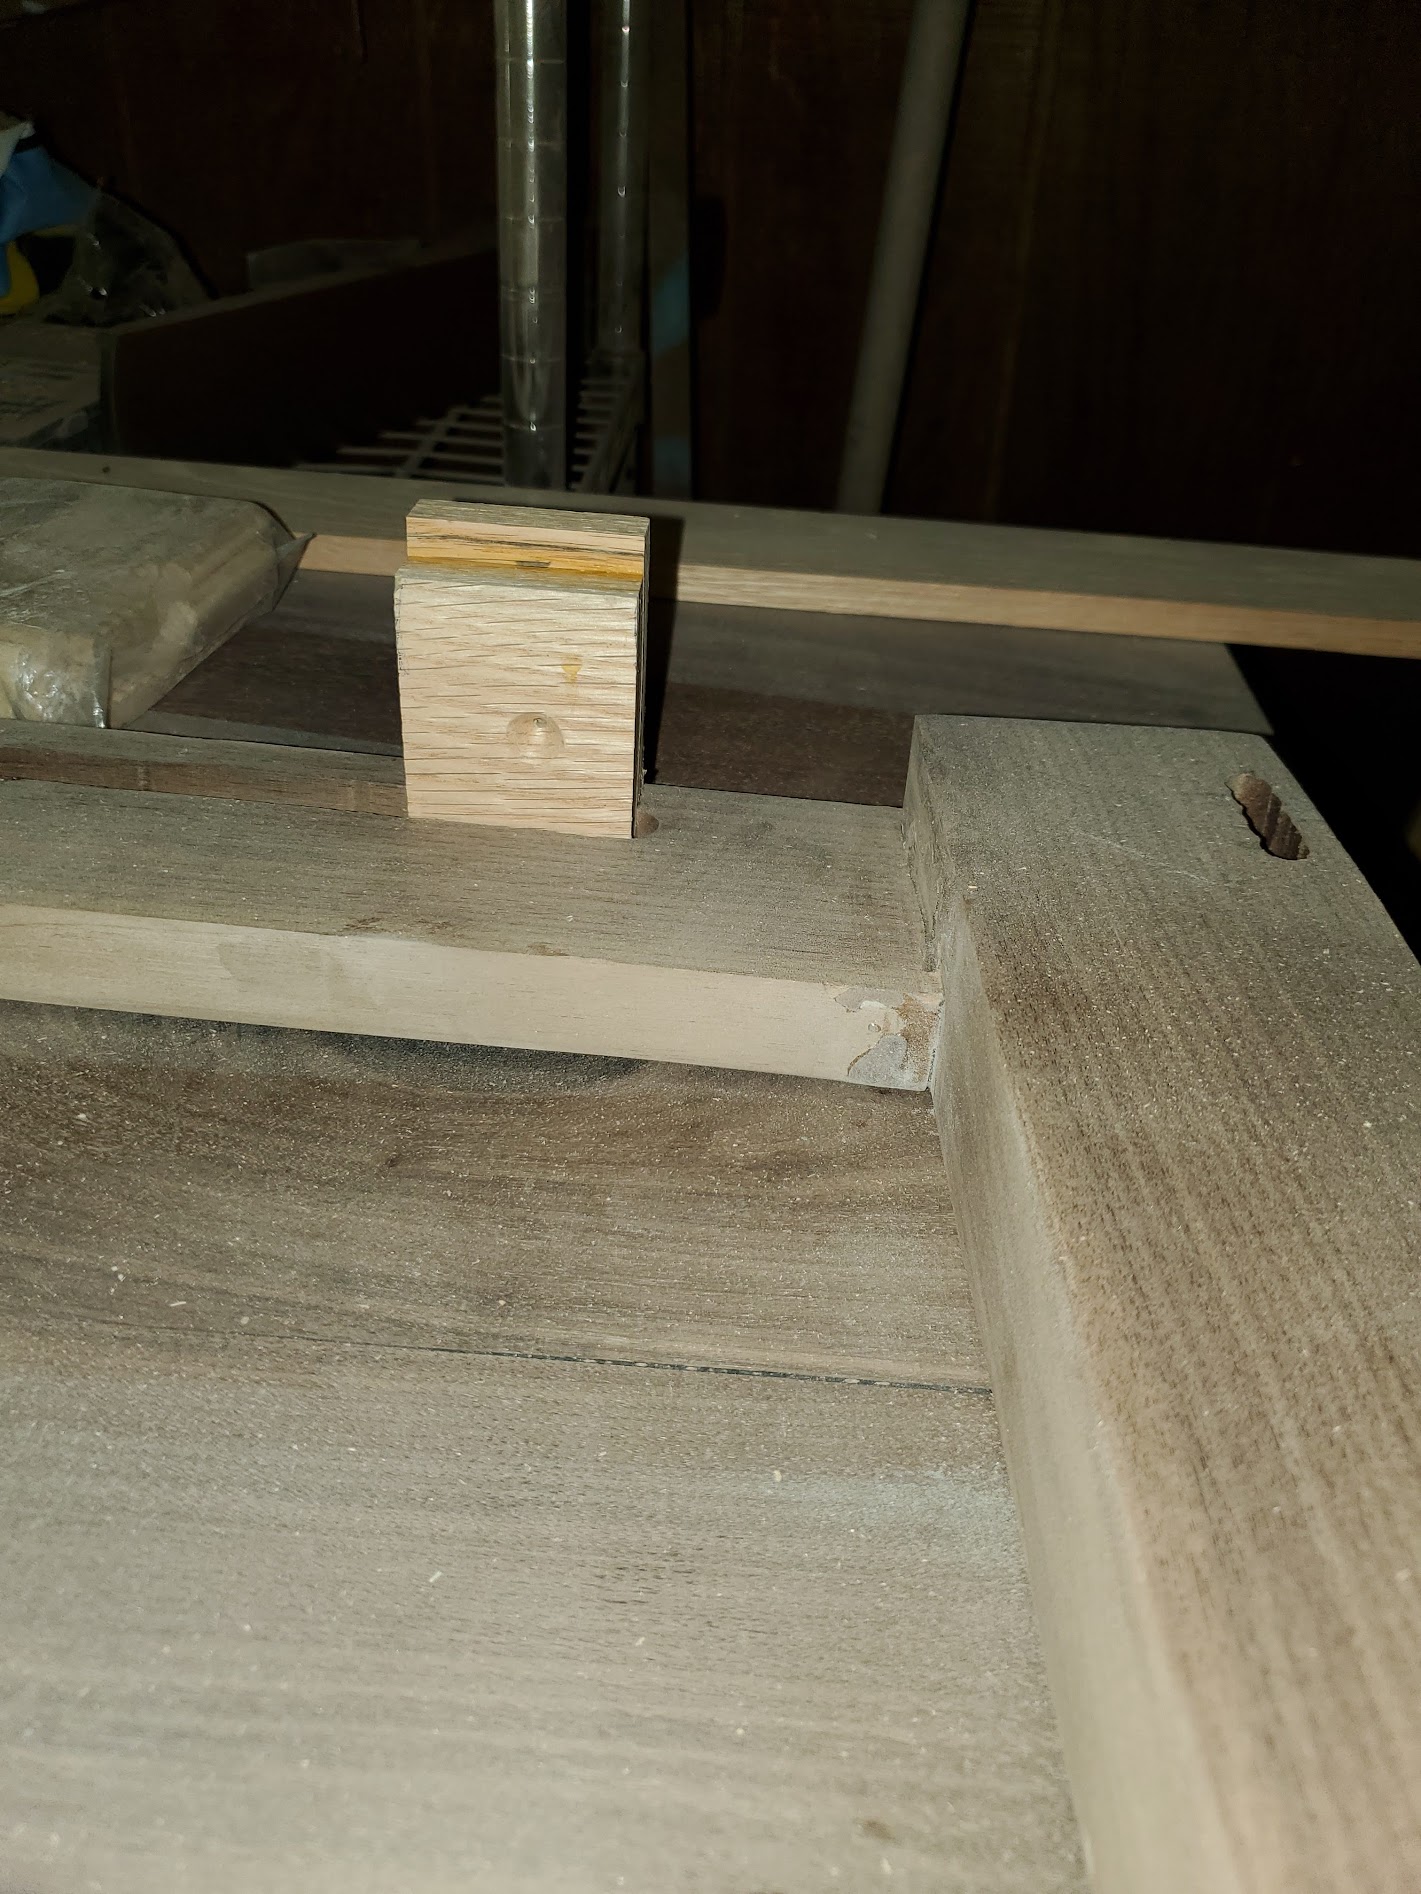
I used my Rockler Beadlock system to cut mortises for floating tennon joinery. It’s a fairly nice alternative to the domino system at a fraction of the price. It’s a bit more time consuming to use, but well, it sure beats 1000 in my tiny, non-production shop. Realistically I make 3-4 pieces each year, and not all of them are for sale/for paying customers so I can’t really justify the expense. But I’d love to be able to.
I cut a channel into each apron piece on my router table to facilitate mounting the table top using shop made table buttons. The channel allows for wood grain movement independently for both the apron/leg assembly and the table. I used white oak for the buttons.
I glued up each set of legs to its corresponding apron pieces 2 at a time using the afforementioned beadlock tennons, I used the 3/8” wide type. I find those provide plenty of strength. I used epoxy to glue them up because epoxy has great gap filling properties (Although these joints were fairly tight) and sands off cleanly without changing how the wood looks with finish.
Final product
I brought it inside the house for final assembly and to wax it before pickup.
Lessons learned
Drawing the project out on the computer made it way easier to build and communicate with my client. I hadn’t done that previously, and intend to continue doing that.
Although not entirely necessary for panel glueups, they add no real strength, the dowels definitely make it easier to make flatter panels. This was one of the flattest out of the clamps I’ve had, and best glueups. It was nice that the joints didn’t try to slide as I applied clamping pressure. So it kept things aligned as planned.
Midcentury modern is actually a lot of fun. Doing this encouraged me to do more “different” sorts of furniture.