CPU Speed Display
CPU Speed Display
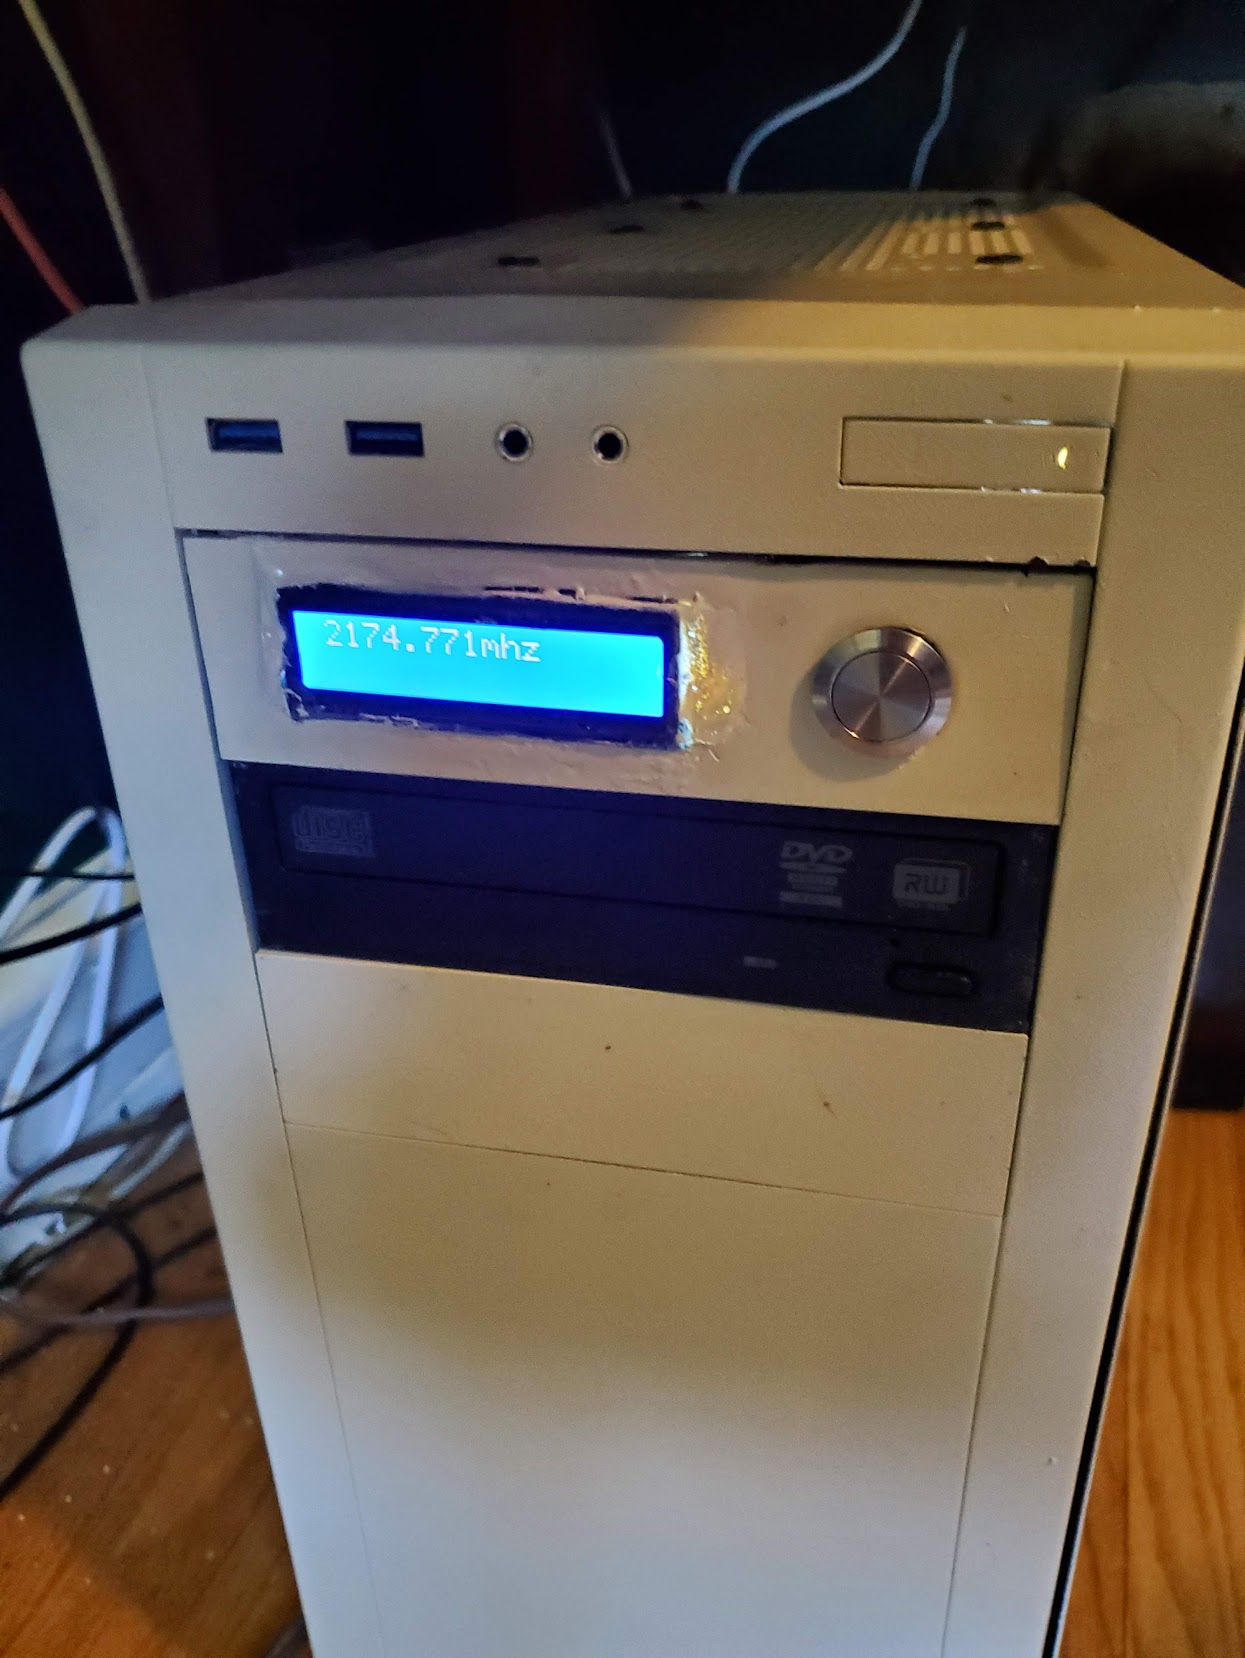
This project was a project I did using an arduino. When I built my last computer, I wanted something kind of unique, and that would remind me of the computers I built as a kid. The sort that had a little 7-segment display on the front that showed their current clockspeed. But I wanted to play around with something a bit more sophisticated, so I could show some additional information.
The idea came to me after I painted my computer case beige (Why would I do that? Well, that’s a long story, but suffice to say, it’s more about rebelling against flashy modern gaming cases than anything else).
Parts list
- Arduino uno or nano
- sunfounder LCD
- USB-A to B cable
- A momentary push switch (For mode settings)
- USB motherboard header to USB A cable
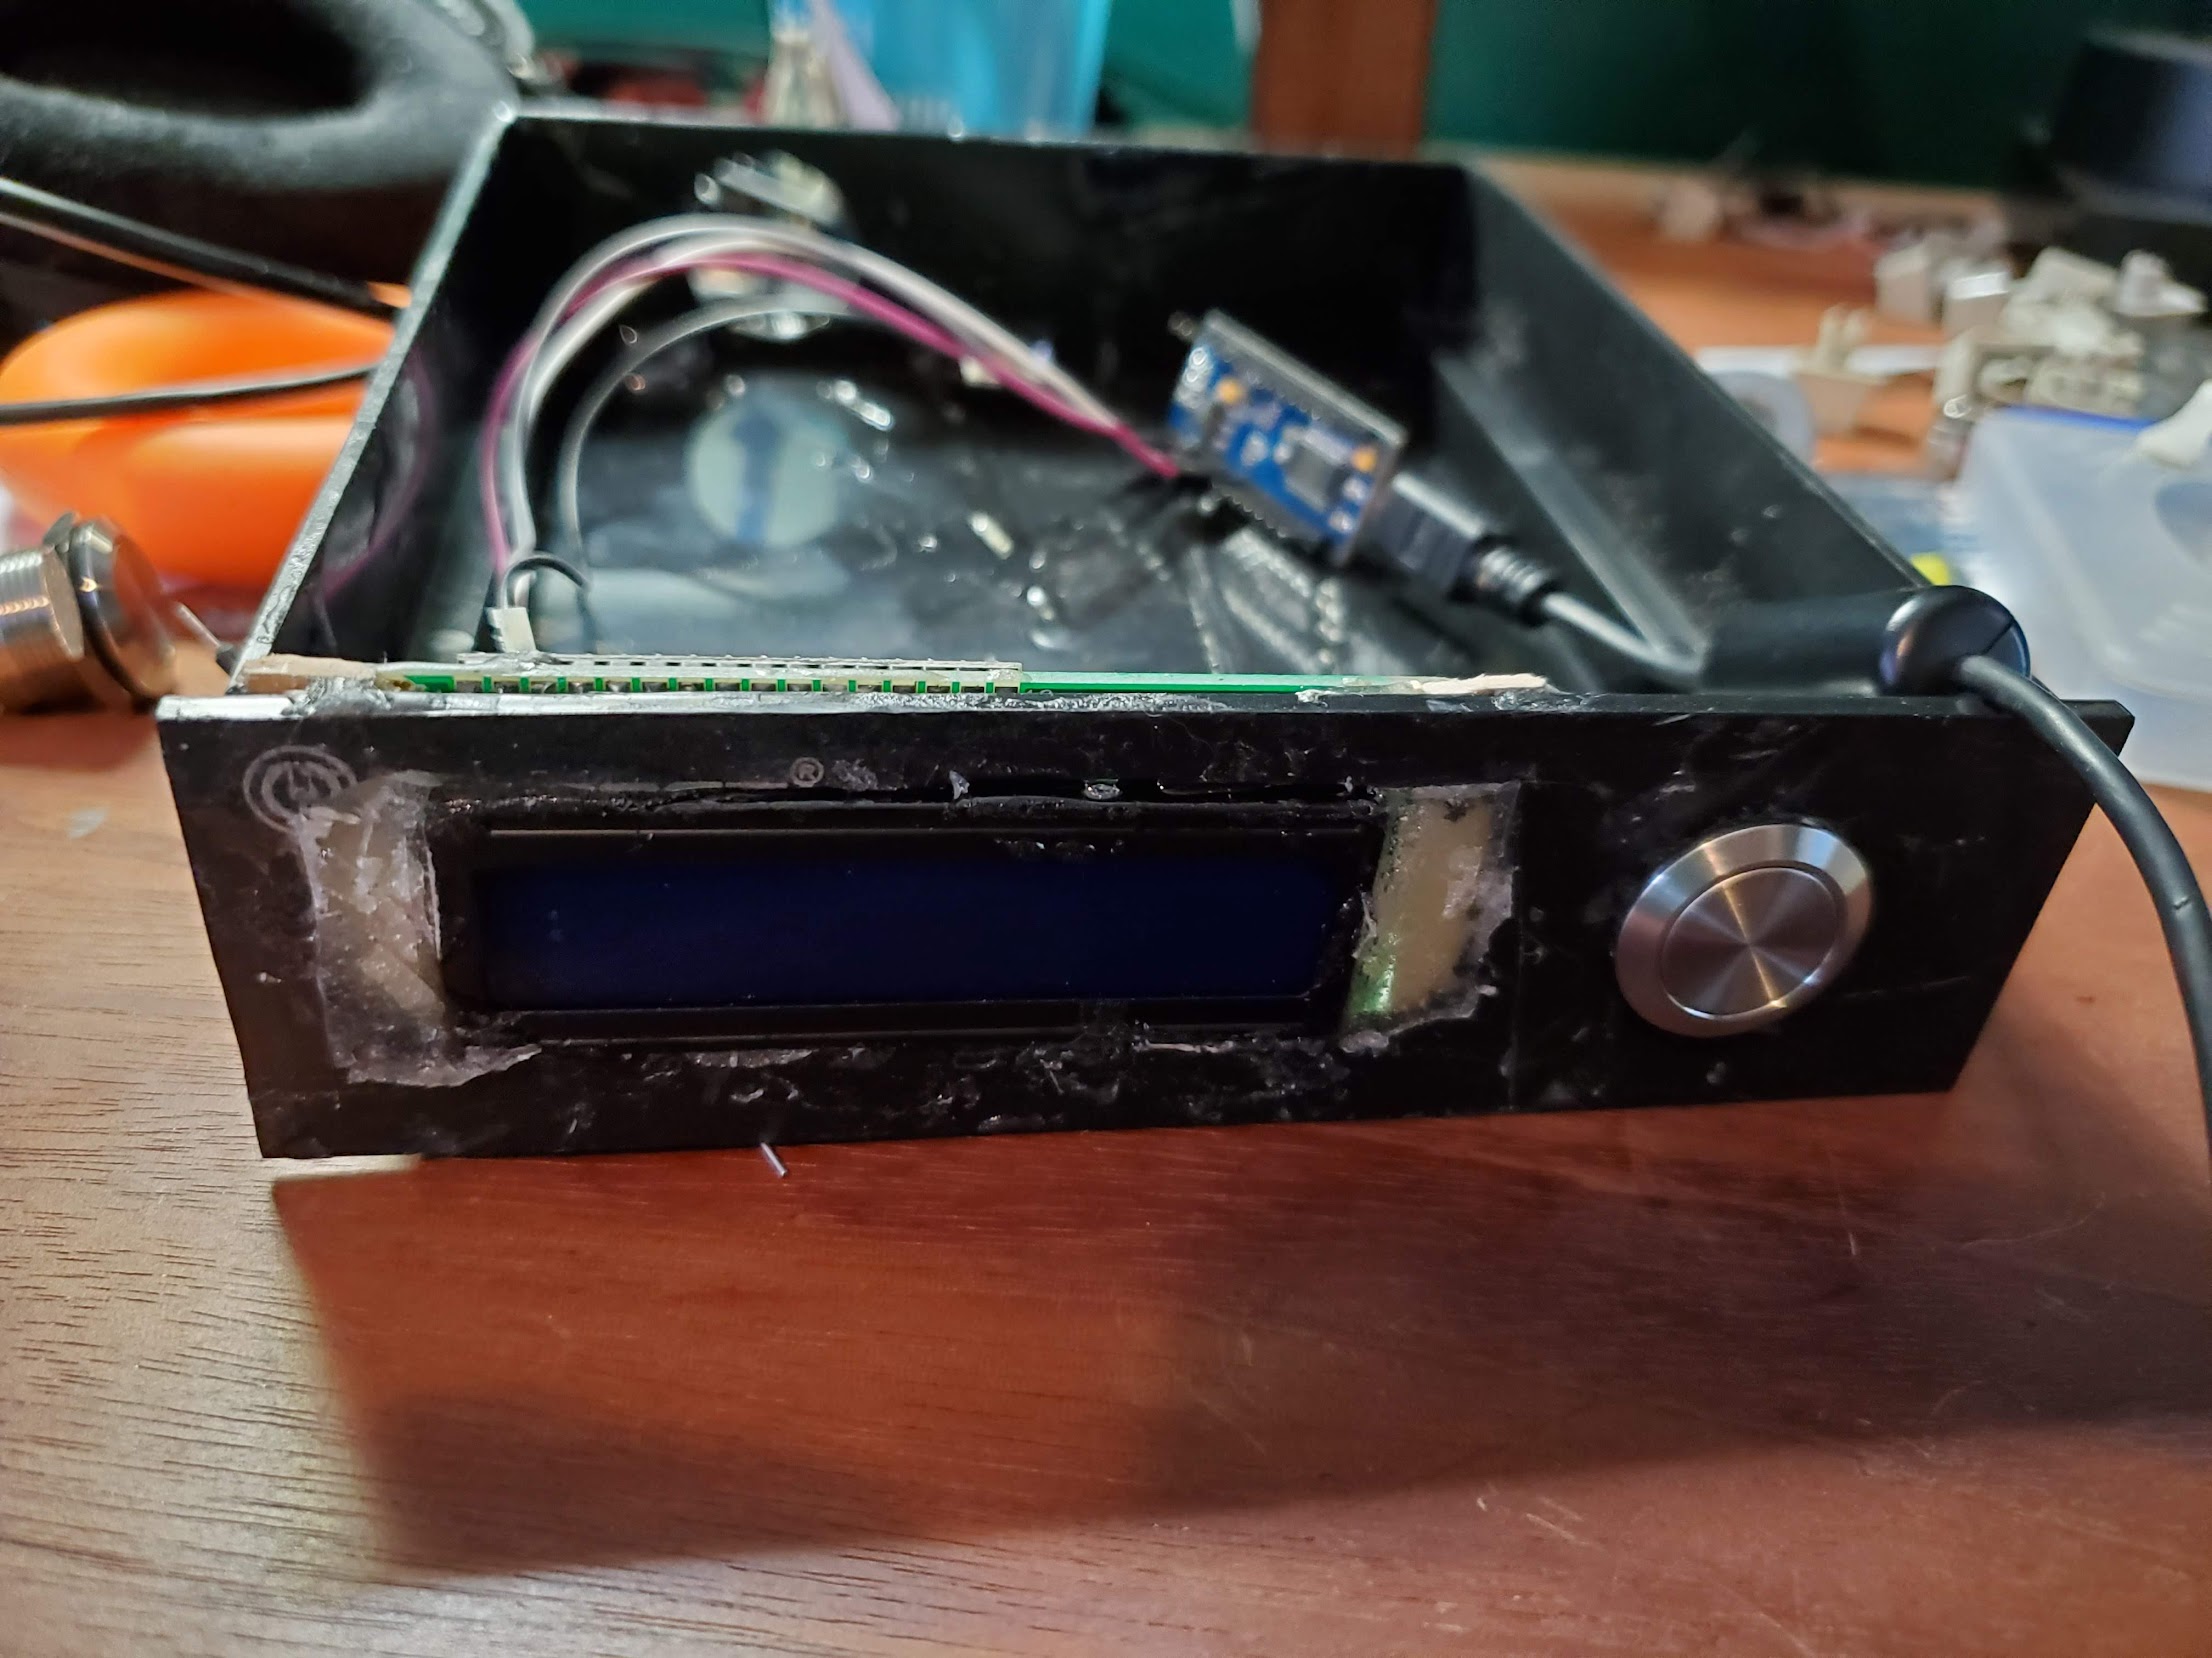
- 5.25” bay drawer
Software required
- Arduino studio
- Perl 5
- CPAN Device::SerialPort
How it was built
I started by getting an arduino uno. You can get an arduino from anywhere they sell electronics practically… Amazon, your local microcenter, etc.
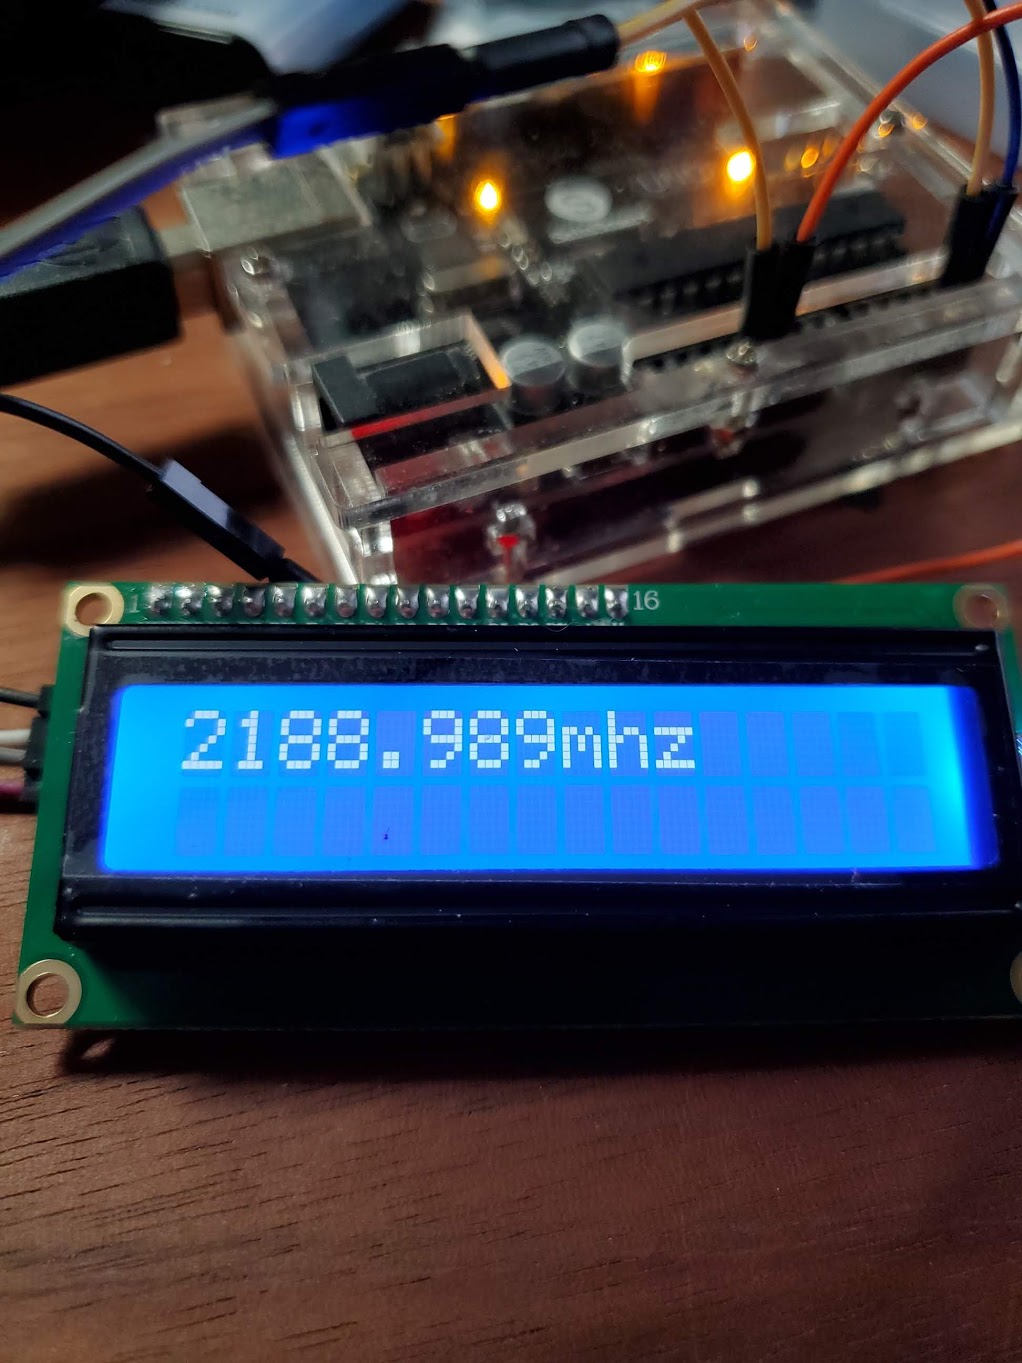
And a sunfounder LCD which I found on Amazon.
I used some spare hookup wires to hook up the LCD display, pin-wise this is how I set it up:
Connect GND on the display to a GND pin on the arduino Connect VCC to a 5V pin on the Arduino Connect SDA to Analog Pin 4 Connect SCL to Analog Pin 5
Then I connected a USB motherboard header to the arduino using the USB-A to USB-B cable to connect to a USB motherboard header to USB-A port cable.
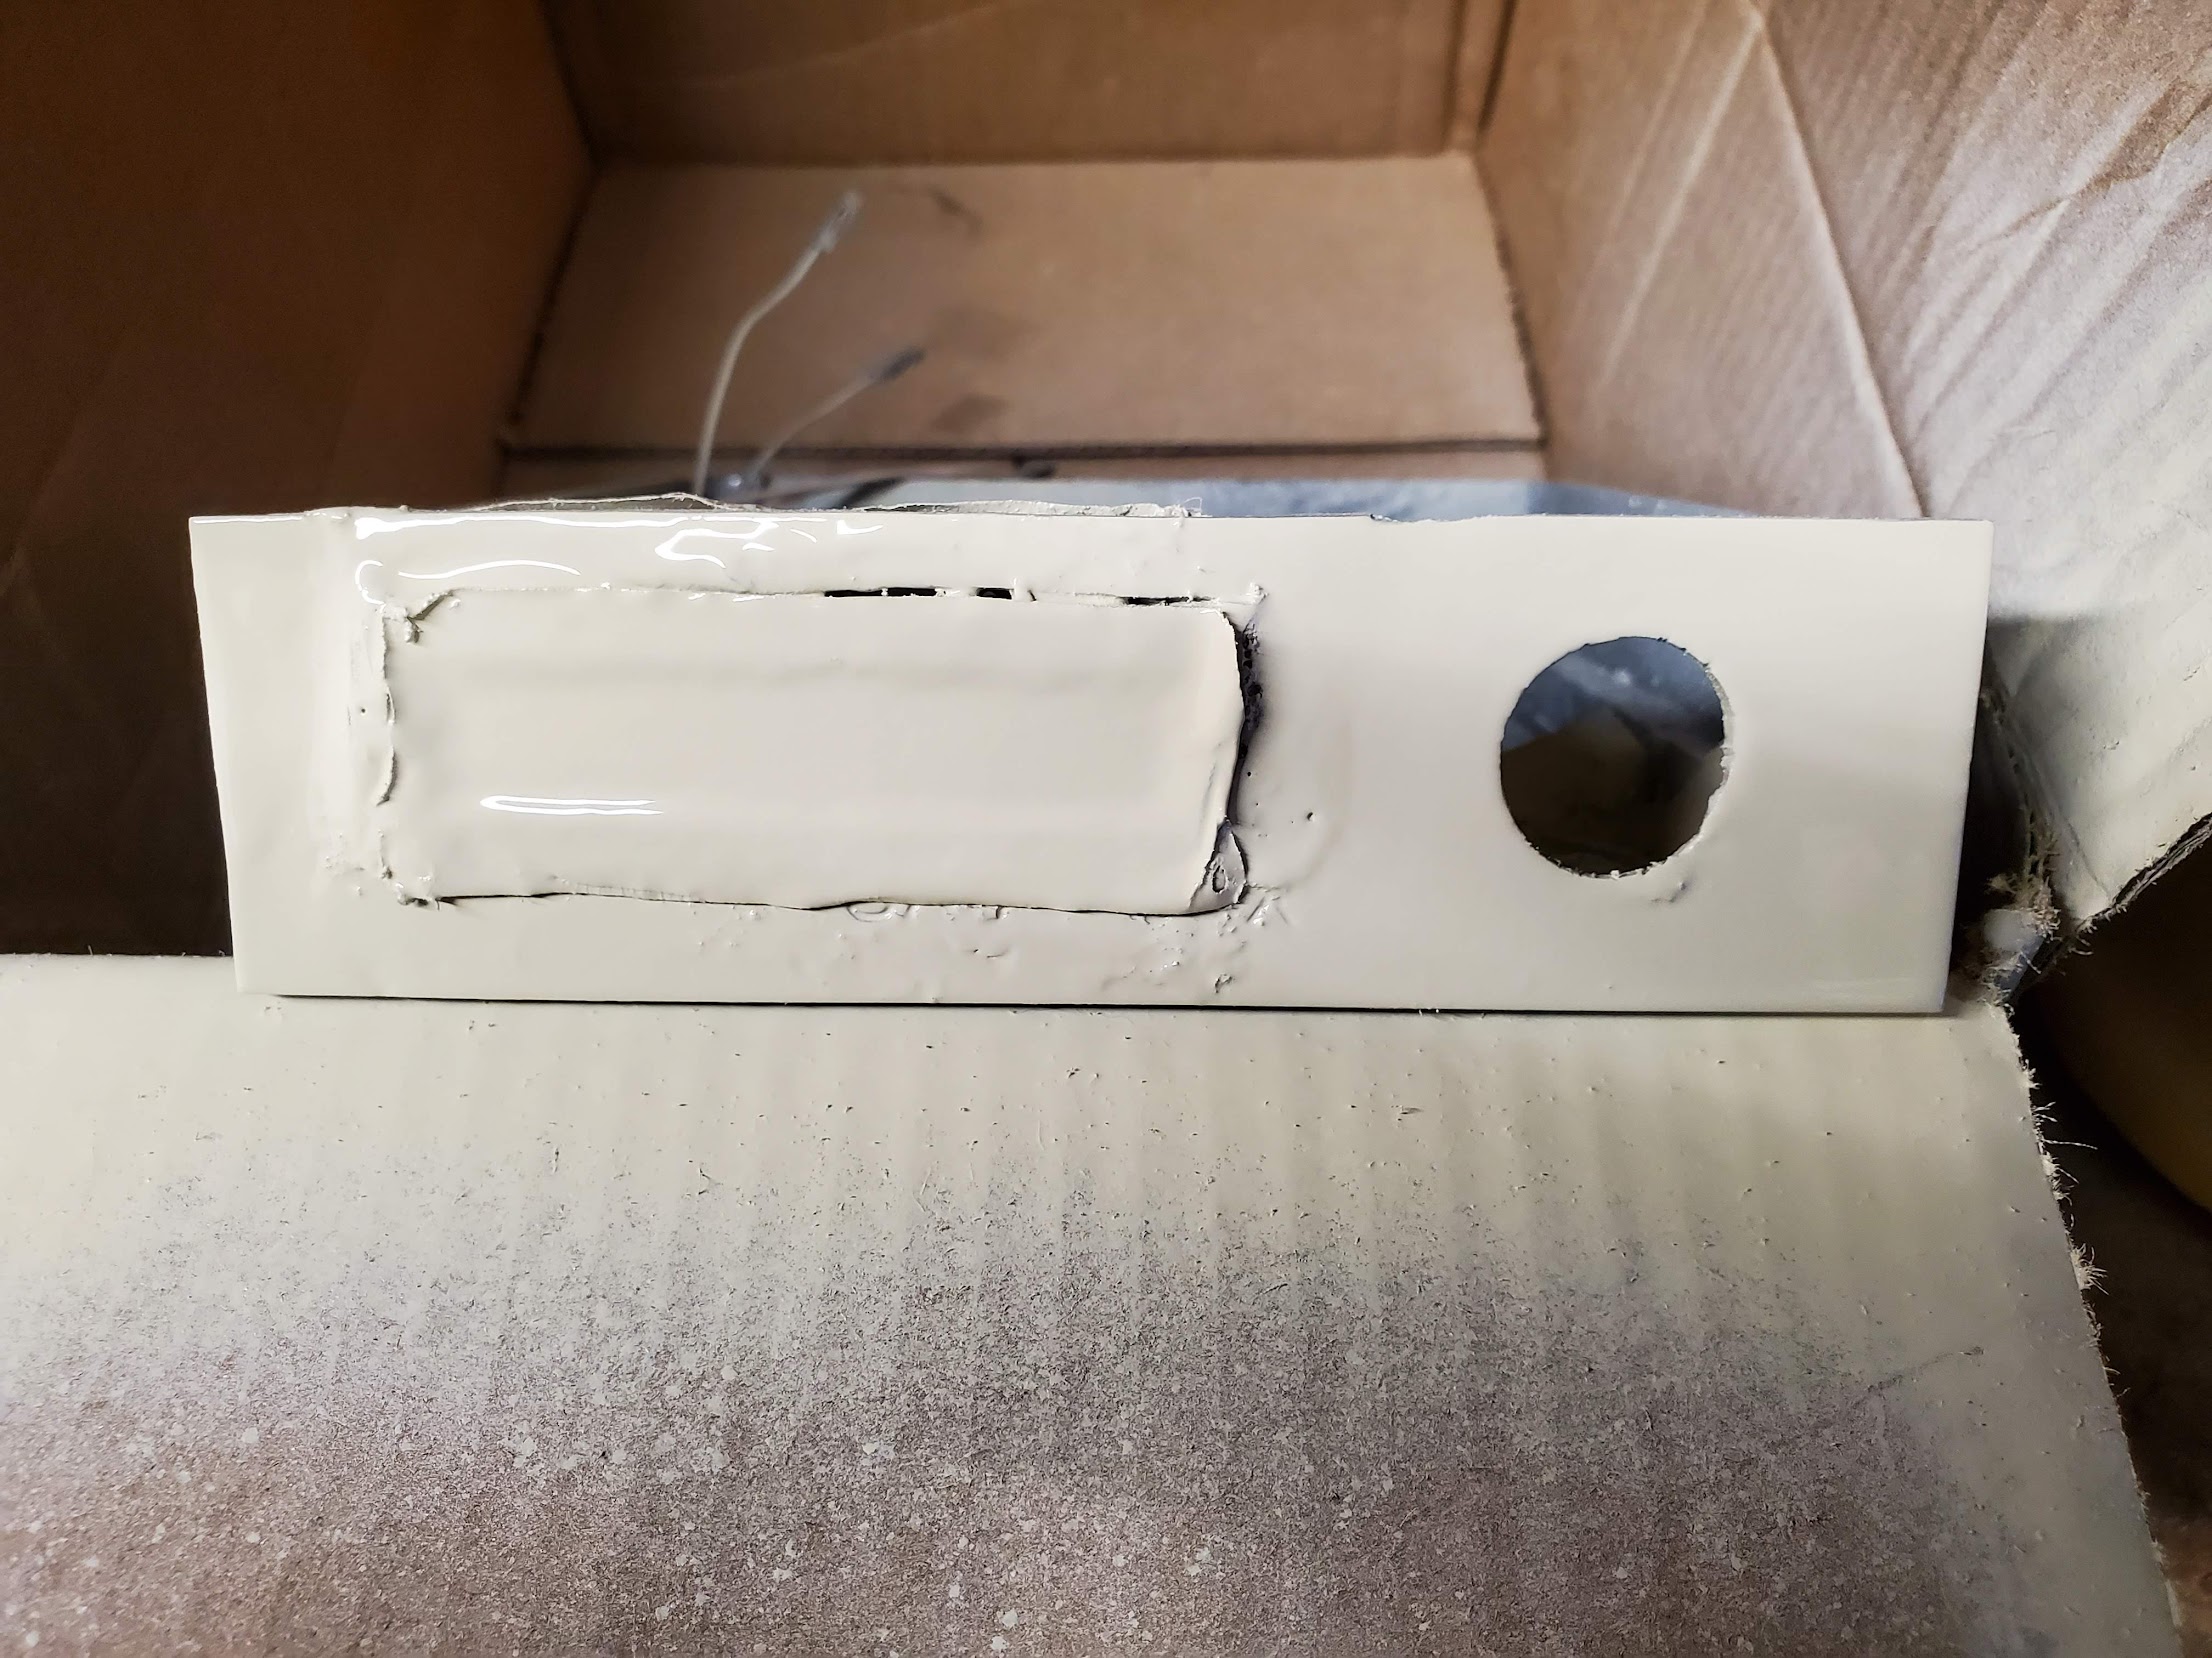
After I proved that it worked, I enclosed it in a 5.25” bay drawer, masked it off, and painted it beige to match the case
The code
You can get the code here on my github.
The code consists of two parts. The arduino code, and a perl utility that actually communicates with the display/arduino.
The arduino part is in the arduino_program directory, and the program for interacting with it is in the cpu_watch directory.
void handleSerialCommunication() {
  int currentPosition = 0;
  int currentLine = 0;
  if (Serial.available() > 0) {
    lcd.clear();
    // Grab all lines from serial input
    while(Serial.available() > 0) {
      if (currentPosition == 16) {
        // line wrap
        currentLine = 1;
        currentPosition = 0;
      }
      lcd.setCursor(currentPosition, currentLine);
      lcd.print((char)Serial.read());
      currentPosition++;
    }
  }
Going over the code itself, the handleSerialCommunication method is where most of the brains of the operation are.
What it does is it iterates the what is sent via the arduino’s serial port, and outputs the characters it gets, wrapping after 16 characters to the next line. Since the display supports 16 character lines, and has two lines.
use strict;
use Device::SerialPort;

#CONFIG:
my $device = '/dev/ttyACM1'; #serial device for the arduino
my $poll_frequency = 2; #in seconds


my $port = Device::SerialPort->new($device);

$port->baudrate(9600);
$port->databits(8);
$port->parity("none");

while(1) {
open(FH, '<', '/proc/cpuinfo') or die $!;
# Open up the CPU info file (Which contains the speed) and iterate it
	while(<FH>) {
		# Look for the right line
		if ($_ =~ /cpu MHz/) {
			my $mhz = $_;
			# Strip the extra crap from the line
			$mhz =~ s/cpu MHz\s+\:\s//;
			chomp($mhz);
			# Write the line to the serial port
			$port->write( sprintf('%.3fmhz', $mhz) );
			last;
		}
	}
	close(FH);
	sleep($poll_frequency);
}
The second part is a perl script that grabs data from /proc/cpuinfo, and sends it via the serial port. It looks for the CPU’s speed in megahertz via regular expresisons, and writes that data. It’s designed to run indefinitely, with a configurable polling interval. By default 2 seconds.